
Signing up for Azure Quantum from scratch
Azure is Microsoft’s cloud computing service, which goes far beyond Azure Quantum. To get a sense of what people use Azure for, have a look here:
Because of its global importance, signing up for Azure is maybe a bit more complicated than you are used to. To help you get started, I will use this post to walk you through the signing up process. At the end of this tutorial, you will be ready to explore our gallery notebooks, write your own, and use the hardware and simulators of our partners. To get there as a first-time user, you have to take the following steps, which are explained below:
- First, create a general Azure account
- Next, get a free subscription
- Last, create a Quantum Workspace
Before you get started, you could check the availability of the Azure Quantum providers IonQ, Quantinuum, and Rigetti in your country, which you can do at the Global availability of Azure Quantum providers page.
Heads up: getting a quantum workspace is free, but you will need to provide a credit or debit card number to set up a subscription.
First, create your Azure account
You need a general Azure account to get access to Azure Quantum. To set up this account, go to
A note for students and educators in the US: If you have an .edu email address, then you might want to use that to set up your account as that gets you a free student subscription. But to keep things simple and as general as possible, I will assume here that you are not using a .edu address.
Once you have created an account, things should look like this:
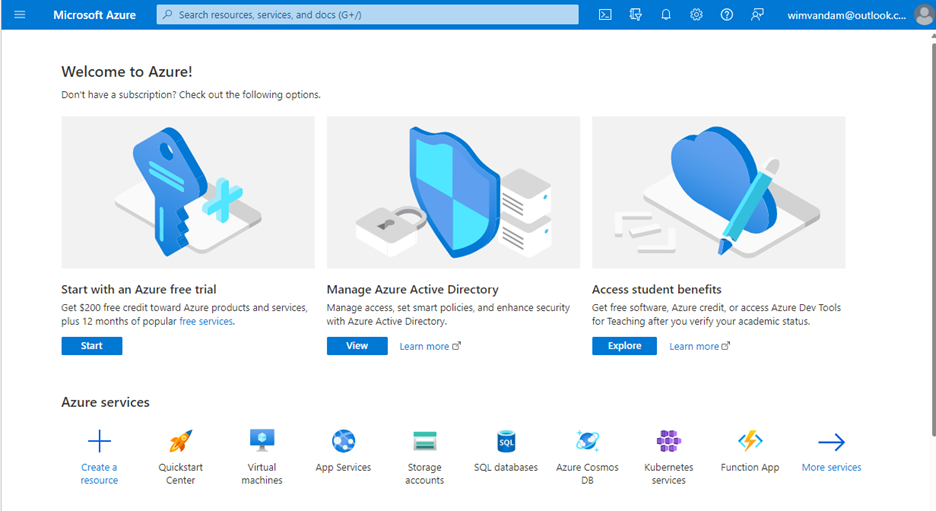
Next, start a subscription
Before you can get a quantum resource, you must create a subscription as part of your account. Select the blue “Start” button under “Start with an Azure free trial”. If this is your first Azure account, then you are eligible for the free subscription. You should now be at the site
which should look like this:
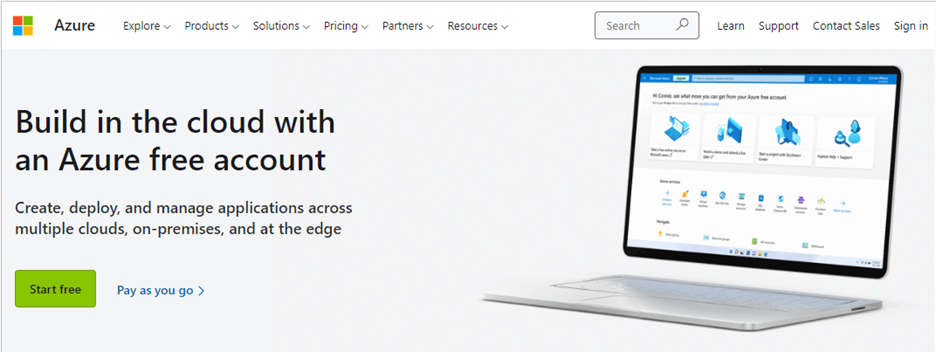
Select the “Start free” button and wait a few seconds. Now enter “profile” data. As part of this process, use “Text me” or “Call me” to get a verification code. Select “I agree to the customer agreement and privacy agreement”. Select “Next” and wait a few seconds. Now, since Azure provides paid services, you have to provide a credit card number. But, as it states: “you won’t be charged unless you move to pay-as-you-go pricing”. Enter this data, select “Sign up”, and wait a moment.
Last, create a Quantum Workspace
At this point you have a subscription and your portal site https://portal.azure.com/ should look like this:
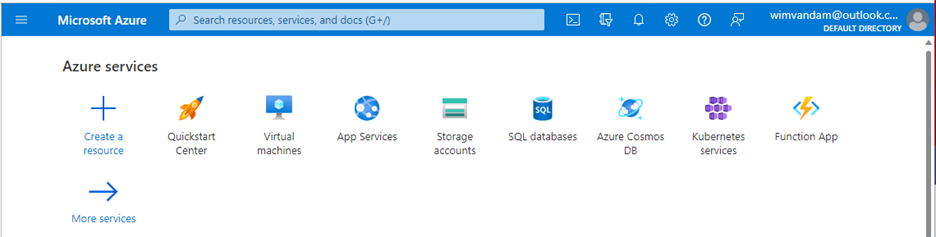
Your Quantum Workspace will be considered a resource, hence: select “+ Create a resource”, search for “Azure Quantum”, and when found, select “Create”.
When you get to the Create Quantum Workspace site, you want to select “Quick create”:
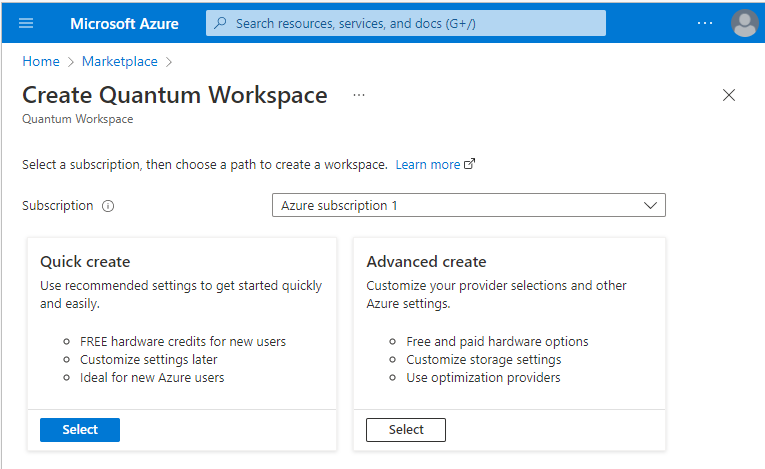
You’re almost there: give your workspace a proper name and enter your Region. Check Azure geographies page to see how the various regions are defined.
Hit the Create button at the bottom of the page and keep in mind that the deployment of the workspace takes about 5 minutes to complete. Once done, you can “Go to resource”. You can claim success if your portal looks like this:
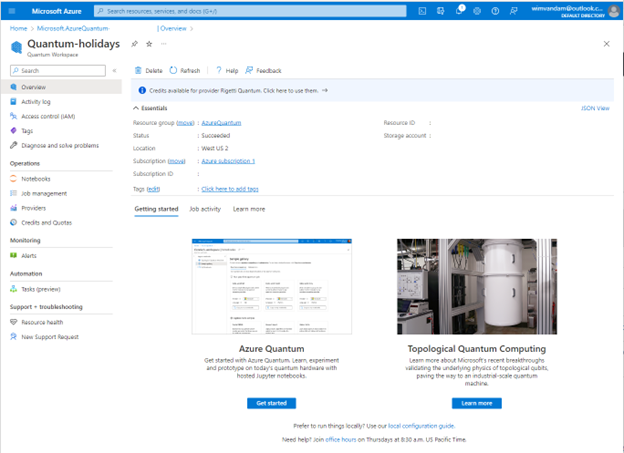
Congratulations, you are now ready to explore the many resources available on Azure Quantum, such as:
- “Getting started” notebooks, which enable you to write your Python + Q#/Qiskit/Cirq programs and to simulate or execute your code on the hardware of IonQ, Quantinuum, or Rigetti.
- The new Azure Quantum Resource Estimator for “estimating the running time, number of qubits and other resources needed by realistic models of quantum computers”.
- Our in-depth notebooks about Microsoft’s approach to Topological Quantum Computing
.
To get going with the gallery notebooks you first have to copy them to My notebooks so that you can view, execute, and edit them to your heart’s content.
Enjoy and Happy Holidays!
 Light
Light Dark
Dark
0 comments