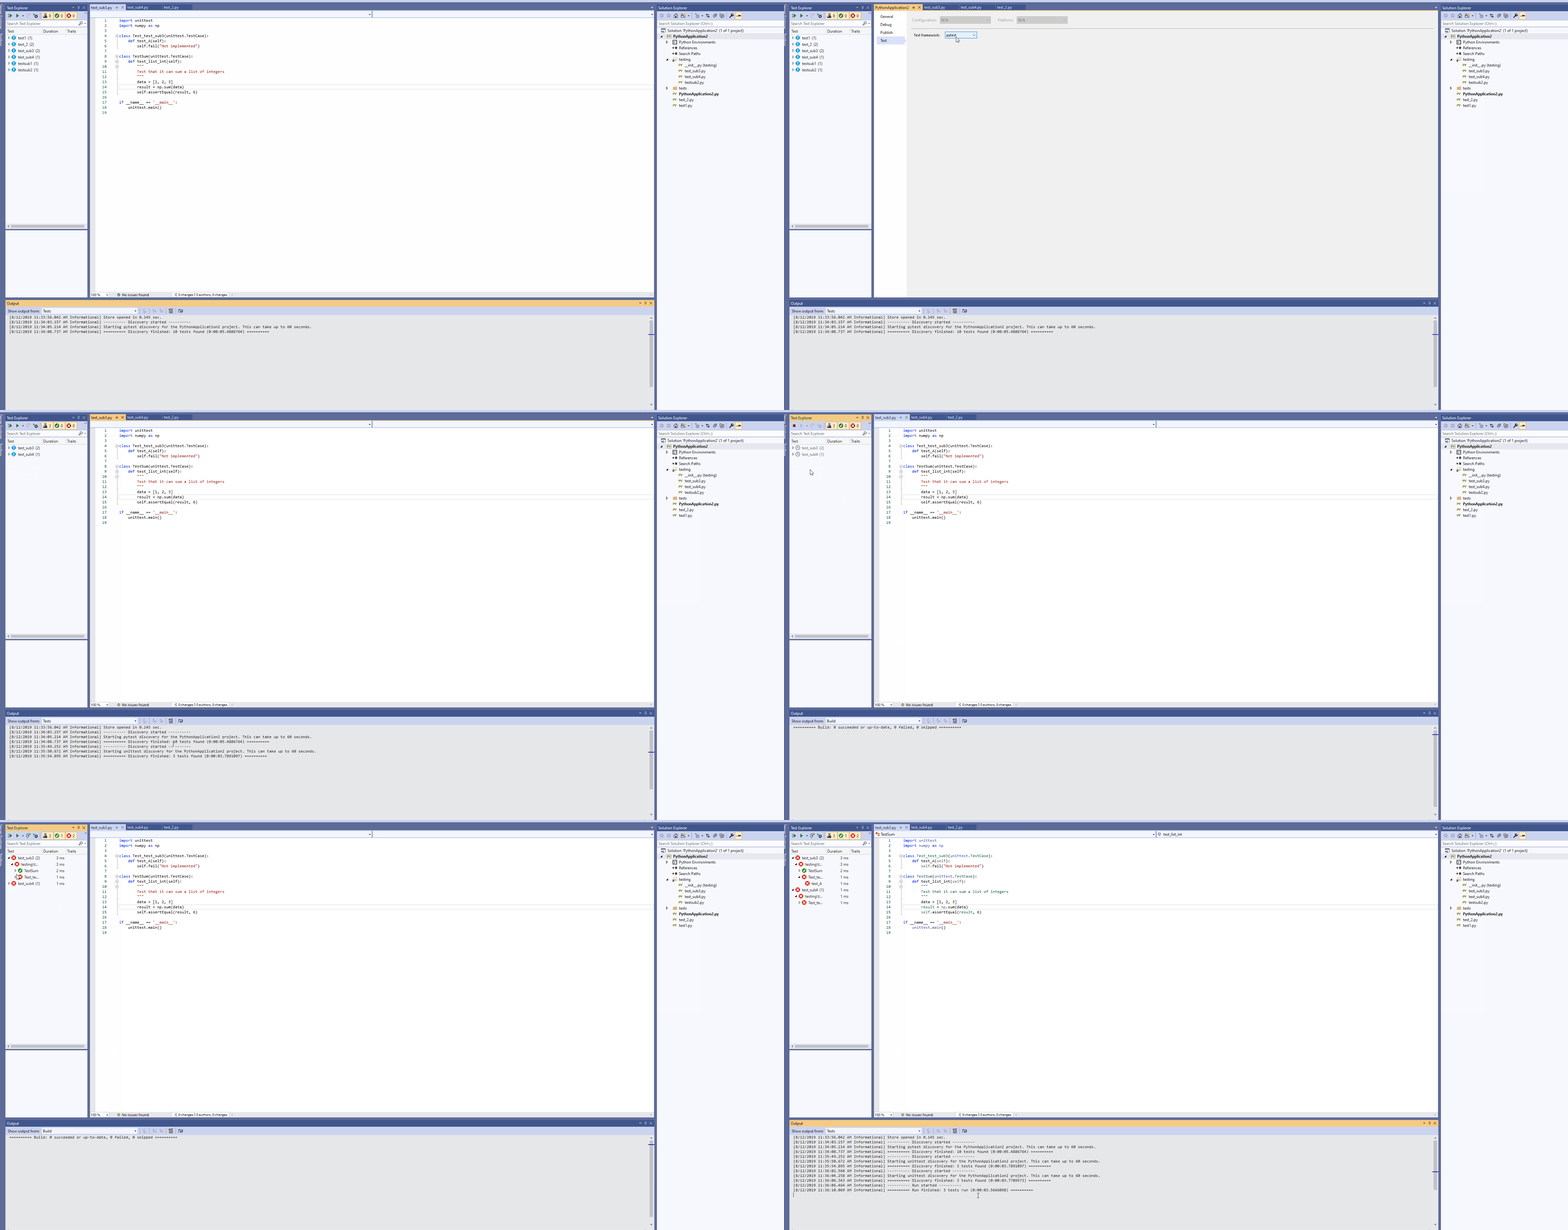
Today, we are releasing Visual Studio 2019 (16.3 Preview 2), which contains an updated testing experience for Python developers. We are happy to announce that the popular Python testing framework pytest is now supported. Additionally, we have re-worked the unittest experience for Python users in this release.
Continue reading to learn more about how you can enable and configure pytest and/or unittest for your development environment. What’s even better is that each testing framework is supported in both project mode and in Open Folder scenarios.
Enabling and Configuring Testing for Projects
Configuring and working with Python tests in Visual Studio is easier than ever before.
For users who are new to the testing experience within Visual Studio 2019 for Python projects, right-click on the project name and select the ‘Properties’ option. This option opens the project designer, which allows you to configure tests by going to the ‘Test’ tab.
From this tab, simply click the ’Test Framework’ dropdown box to select the testing framework you wish to use:

- For unittest, we use the project’s root directory for test discovery. This is a default setting that can be modified to include the path to the folder that contains your tests (if your tests are included in a sub-directory). We also use the unittest framework’s default pattern for test filenames (this also can be modified if you use a different file naming system for your test files). Prior to this release, unittest discovery was automatically initiated for the user. Now, the user is required to manually configure testing.
- For pytest, you can specify a .ini configuration file which contains test filename patterns in addition to many other testing options.
Once you select and save your changes in the window, test discovery is initiated in the Test Explorer. If the Test Explorer is not open, navigate to the Toolbar and select Test > Windows > Test Explorer. Test Discovery can take up to 60 seconds, after which the test discovery process will end.
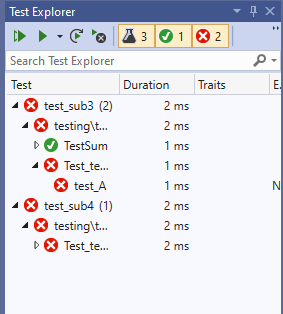
Once in the Test Explorer window, you have the ability to re-run your tests (by clicking the ‘Run All’ button or pressing CTRL + R,A) as well as view the status of your test runs. Additionally, you can see the total number of tests your project contains and the duration of test runs:

If you wish to keep working while tests are running in the background but want to monitor the progress of your test run, you can go to the Output window and choose ‘Show output from: Tests’:

We have also made it simple for users with pre-existing projects that contain test files to quickly continue working with their code in Visual Studio 2019. When you open a project that contains testing configuration files (e.g. a .ini file for pytest), but you have not installed or enabled pytest, you will be prompted to install the necessary packages and configure them for the Python environment in which you are working:
![]()
For open folder scenarios (described below), these informational bars will also be triggered if you have not configured your workspace for pytest or unittest.
Configuring Tests for Open Folder Scenarios
In this release of Visual Studio 2019, users can configure tests to work in our popular open folder scenario.
To configure and enable tests, navigate to the Solution explorer, click the “Show All Files” icon to show all files in the current folder and select the PythonSettings.json file within the ‘Local Settings’ folder. (If this file doesn’t exist, create one in ‘Local Settings’ folder). Next, add the field TestFramework: “pytest” to your settings file or TestFramework: “unittest” depending on the testing framework you wish to use.

For the unittest framework, If UnitTestRootDirectory and/or UnitTestPattern are not specified in PythonSettings.json, they are added and assigned default values of “.” and “test*.py”, respectively.
As in project mode, editing and saving any file triggers test discovery for the test framework that you specified. If you already have the Test Explorer window open, clicking CTRL + R,A also triggers discovery.
Note: If your folder contains a ‘src’ directory which is separate from the folder that contains your tests, you’ll need to specify the path to the src folder in your PythonSettings.json with the setting SearchPaths:

Debugging Tests
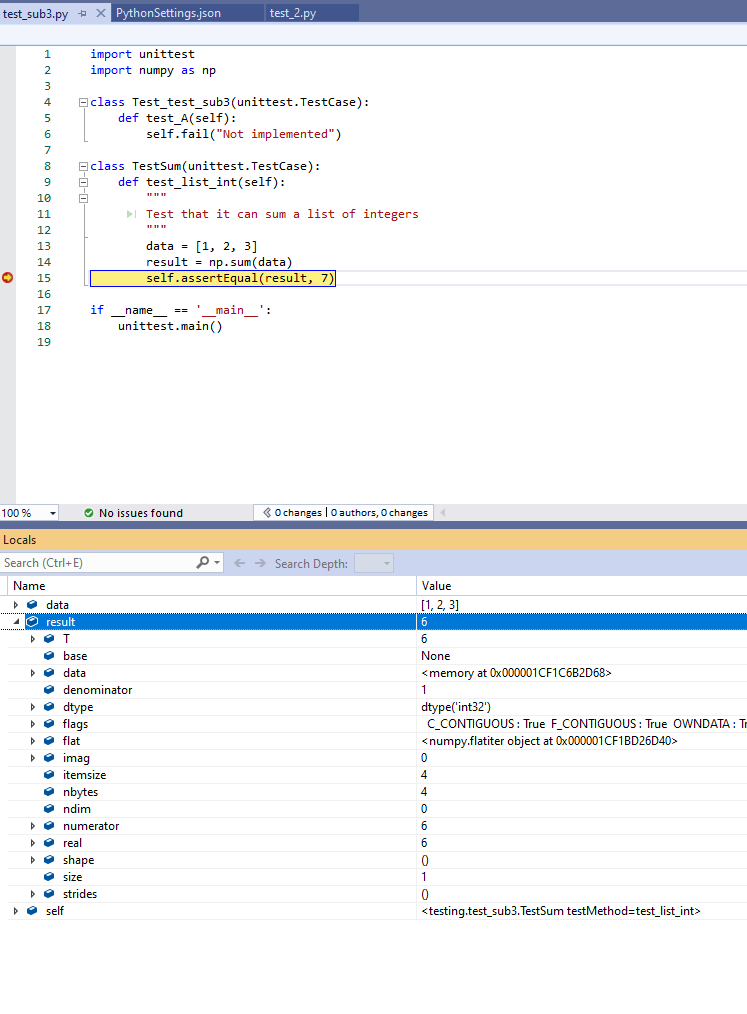
In this latest release, we’ve updated test debugging to use our new ptvsd 4 debugger, which is faster and more reliable than ptvsd 3. We’ve added an option so that you can use the legacy debugger if you run into issues. To enable it, go to Tools > Options > Python > Debugging > Use Legacy Debugger and check the box to enable it.
As in previous releases, if you wish to debug a test, set an initial breakpoint in your code, then right-click the test (or a selection) in Test Explorer and select Debug Selected Tests. Visual Studio starts the Python debugger as it would for application code.

Note: everyone that tries to debug a test will find that the debugging does not automatically end when the debugging session completes. This is a known issue and the current workaround is to click ‘Stop Debugging’ (Shift + F5).
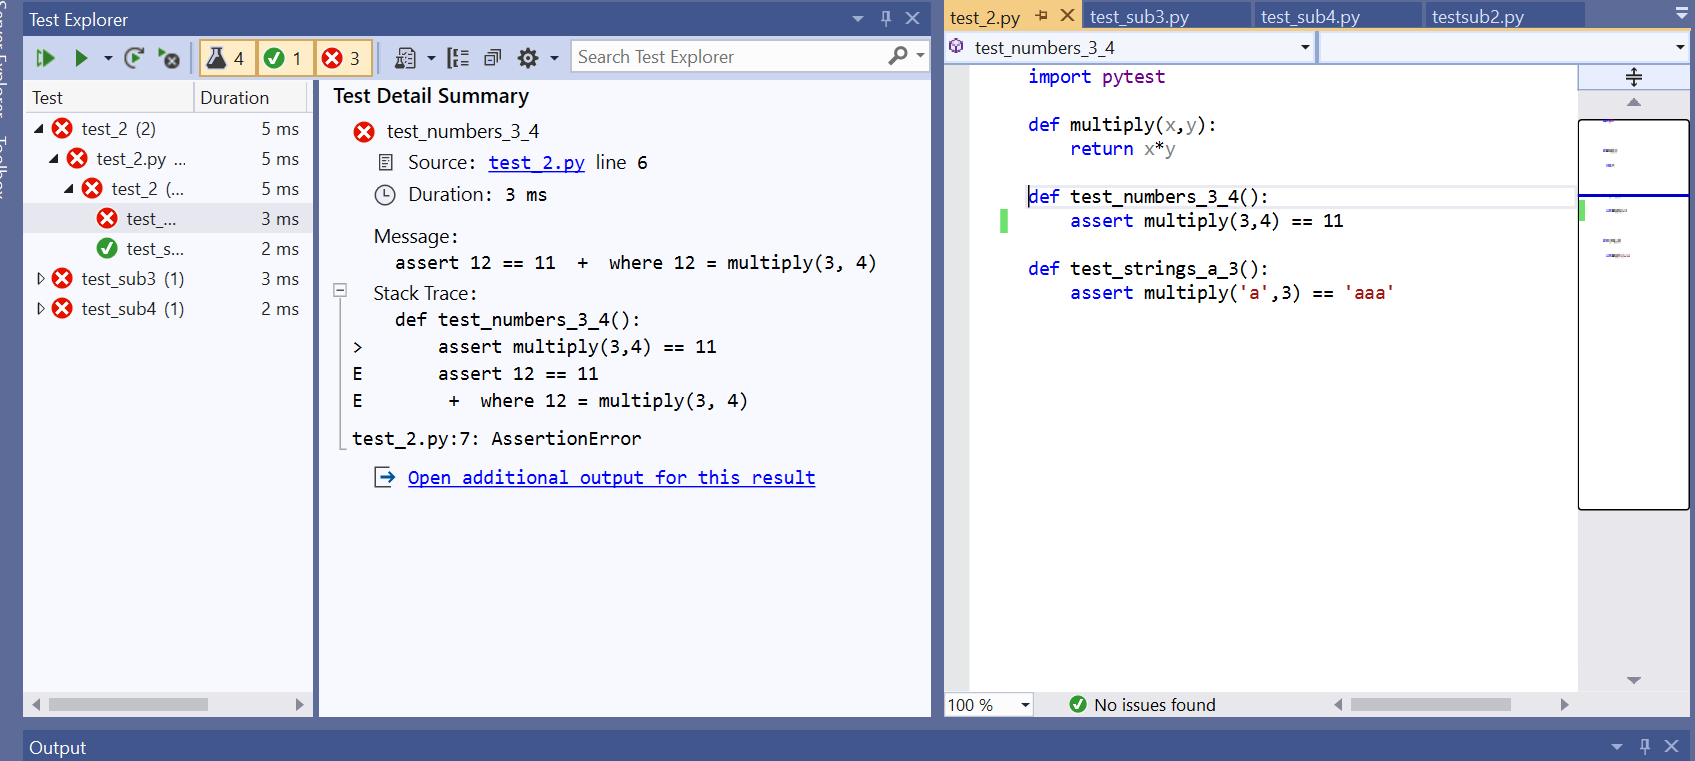
There’s also the ‘Test Detail Summary’ view that allows you to see the Stack Trace of a failed test which makes troubleshooting failed tests even easier. To access this view, simply click on the test within the Test Explorer that you wish to inspect and the ‘Test Detail Summary’ window will appear.

Try it Out!
Be sure to download Visual Studio 2019 (16.3 Preview 2), install the Python Workload, and give feedback or view a list of existing issues on our GitHub repo.

Hi, I’ve just installed Visual Studio 13.3.6.
My project is made of many folders with python classes; for each folder there is a sub-folder called “test” where I put my test*.py files.
The problem I’m having is that test discovery doesn’t look for subfolders if I put the field UnitTestRootDirectory= “.”
What am I missing? If if set UnitTestRootDirectory to something like : “.\folder1\folder2\test” then I see the tests.
Thank you for your time and greetings from Italy!
kind regards,
Stefano
see issue https://github.com/microsoft/PTVS/issues/5851