
This post from Senior Premier Developer Consultant Laurie Atkinson gives you a step-by-step guide to getting started with Angular development.
Follow these steps to get up and running with an Angular application including source control, editor tooling, and essential commands.
Step 1 – Use Visual Studio Team Services (VSTS) for Source Control
(NOTE: If this is not available to you, any Git repository will work.)
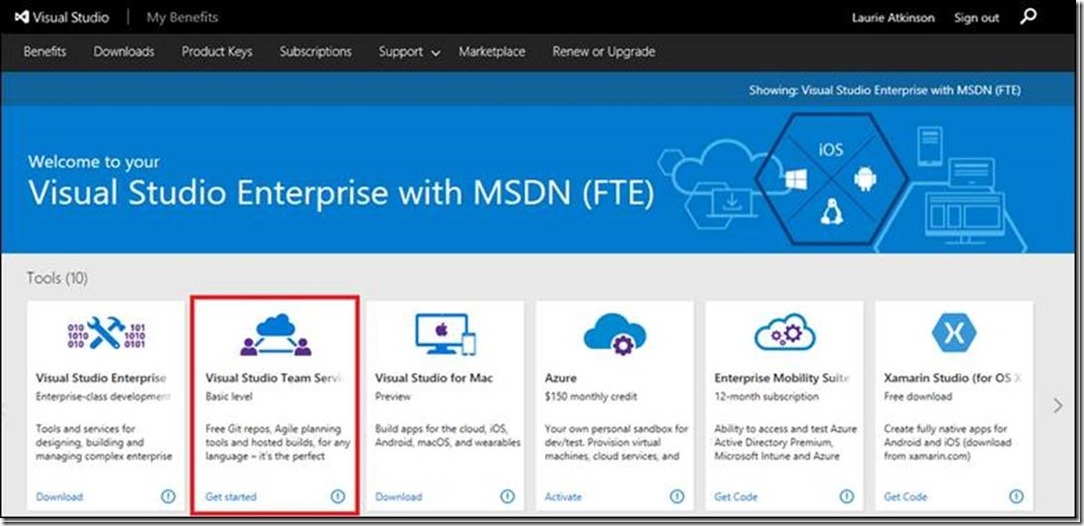
- Navigate to my.visualstudio.com and log in with your MSDN account.
- Under Tools, select Visual Studio Team Services
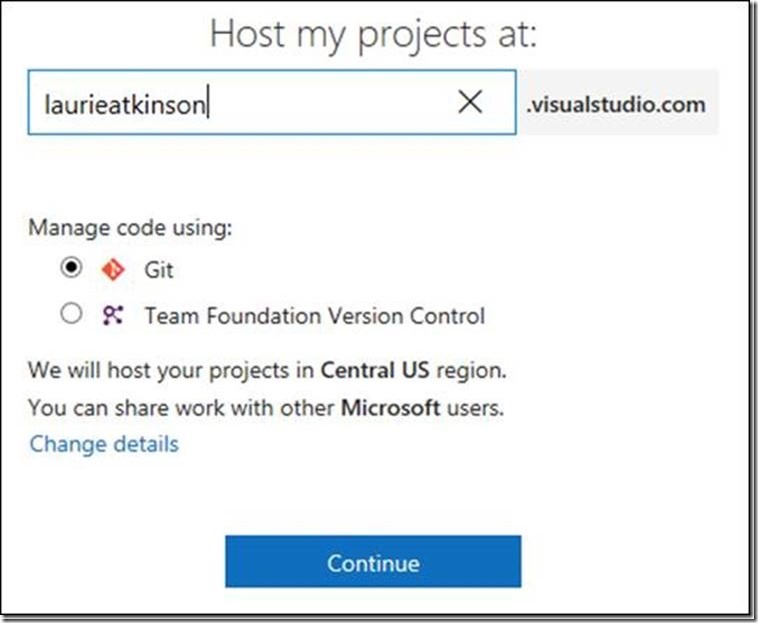
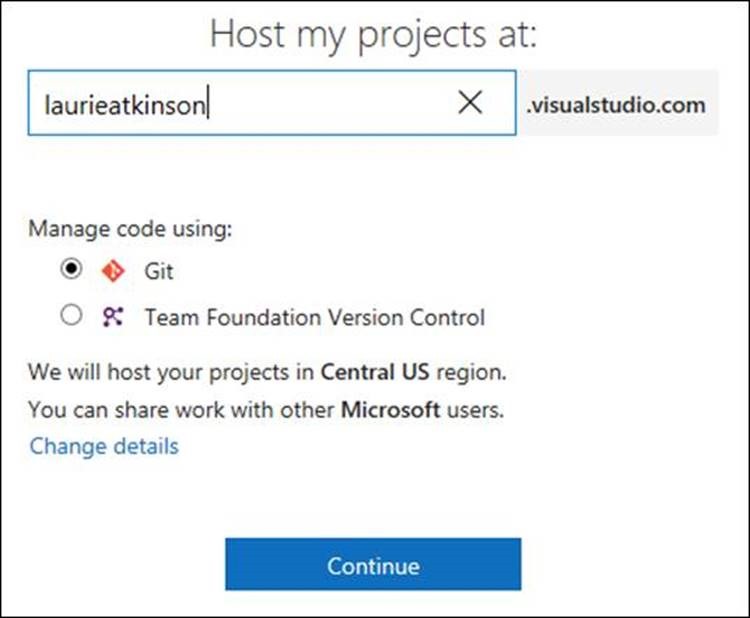
- Choose a domain name to host your project and make sure that Git is selected.
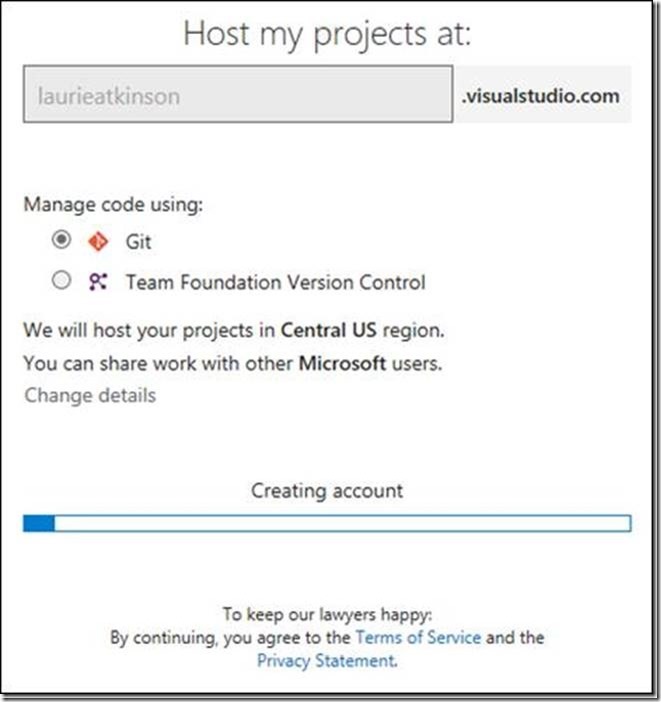
- Wait while your project is created.
- When complete, the landing page for your project appears and the URL to the project is [your-project-name].visualstudio.com
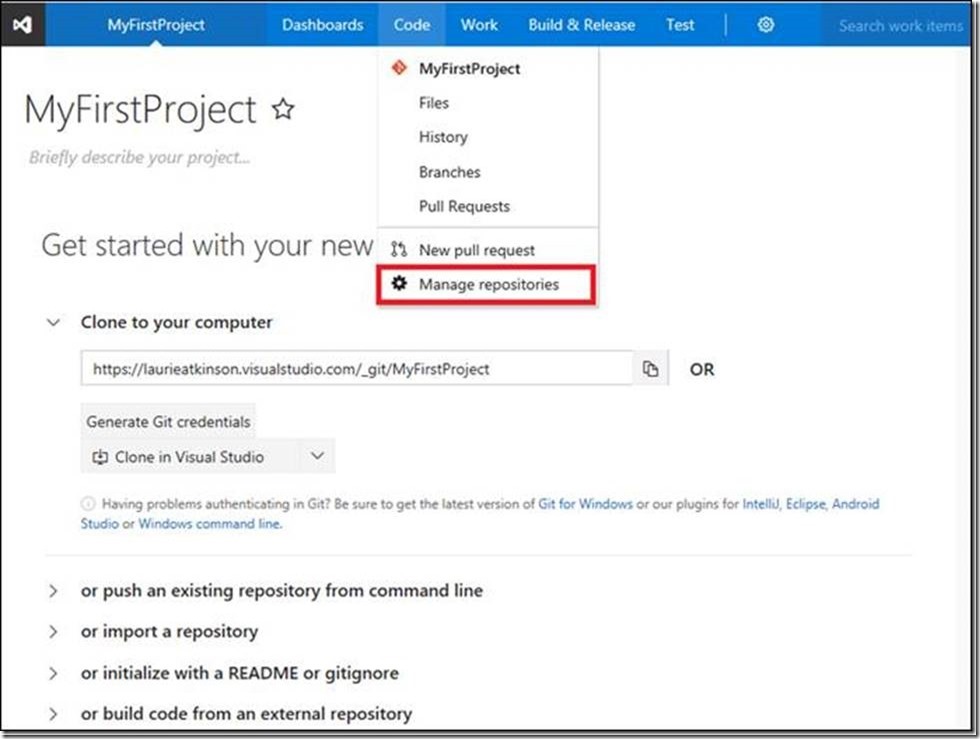
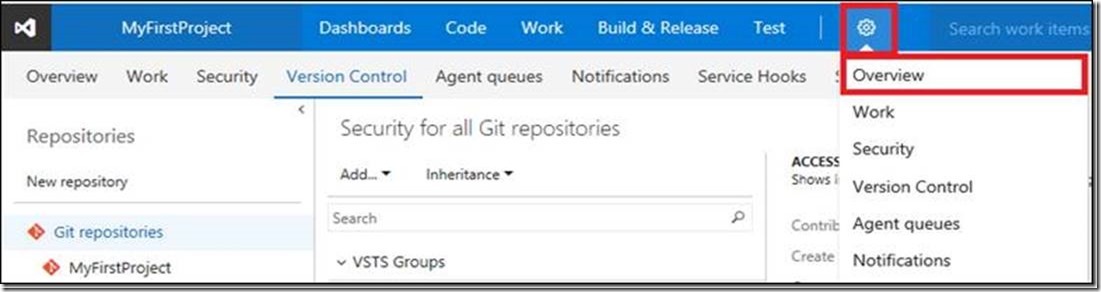
- Access your Git repository under Code –> Manage repositories.
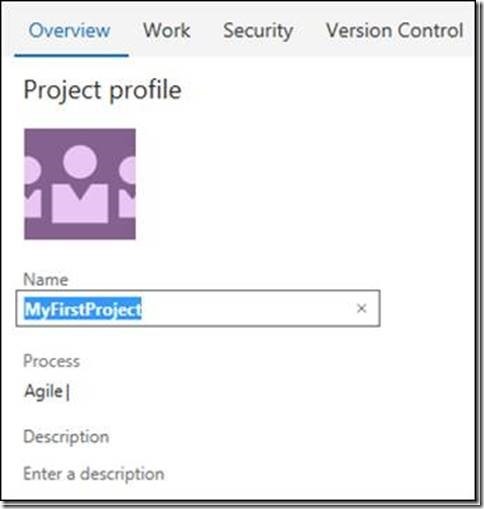
- Since VSTS named the project MyFirstProject, the name needs to be changed. This is done under Settings –> Overview.
Hovering over the name of your project in the left sidebar will allow you to edit it
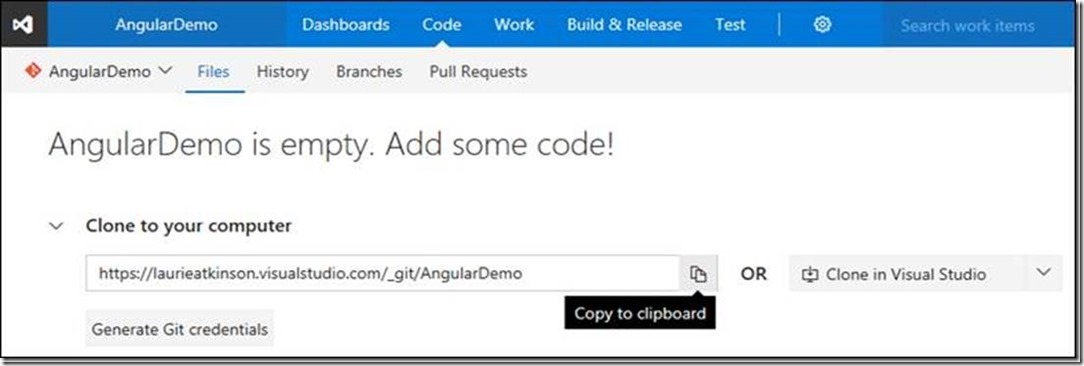
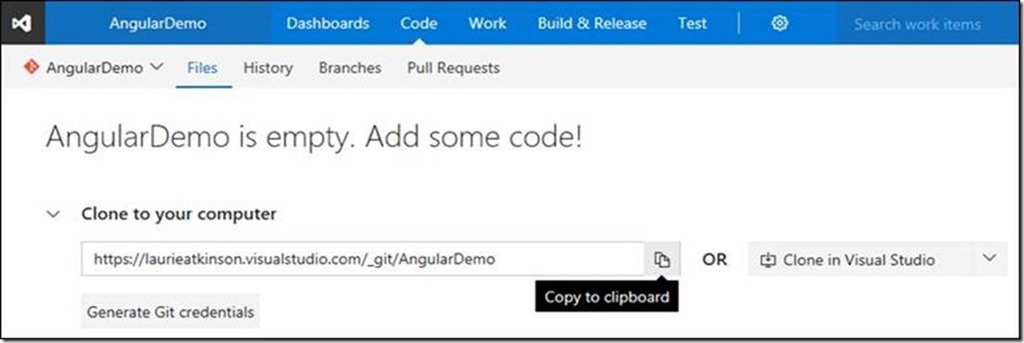
- Find the URL to your Git repository under Code à Files. Copy it to your clipboard. You will need this URL to clone the repository to Visual Studio Code.
Step 2 – Use Visual Studio Code for editing your code
- Download and install Visual Studio Code (VS Code) from https://code.visualstudio.com/
- Run VS Code and open a folder into which you want the project to be cloned.
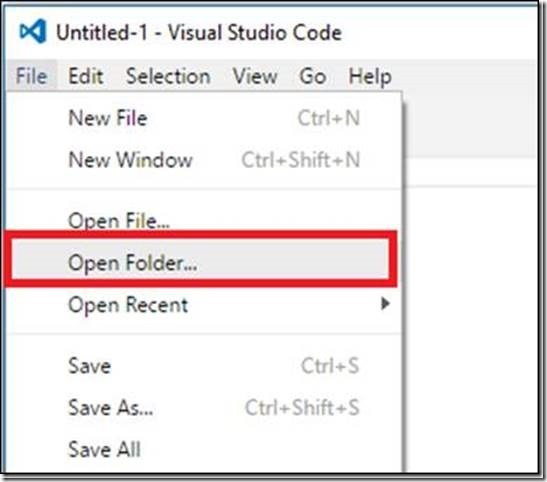
- Open a terminal window from inside VS Code using either View à Integrated Terminal or the shortcut key Ctl + `.
- Git clone the repository using the URL copied in step 6.
Step 3 – Set up Angular and its dependencies
- Install prerequisites for Angular and Angular-CLI – Node 6.9.0 or higher – https://nodejs.org/en/download/ – NPM 3 or higher. – bundled with Node NOTE: You can verify your existing Node and NPM versions by running these commands in the terminal window. node -v npm -v
- Install the command line interface for Angular (Angular CLI). The latest instructions are found here. https://github.com/angular/angular-cli#installation

- From the terminal window inside VS Code, use the Angular CLI to create your application. Make sure you execute the command from the project folder that will contain this generated application.

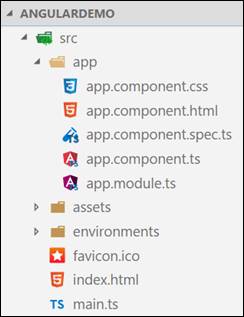
When the Angular CLI completes, you should now have a folder in your specified directory named AngularDemo. Open this new folder from VS Code.
- Run the newly created application using the NPM script located in package.json and created by the Angular CLI.

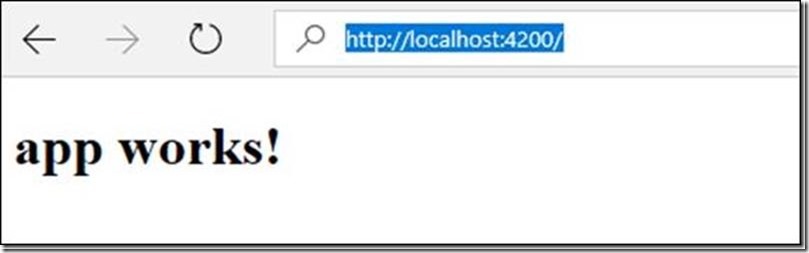
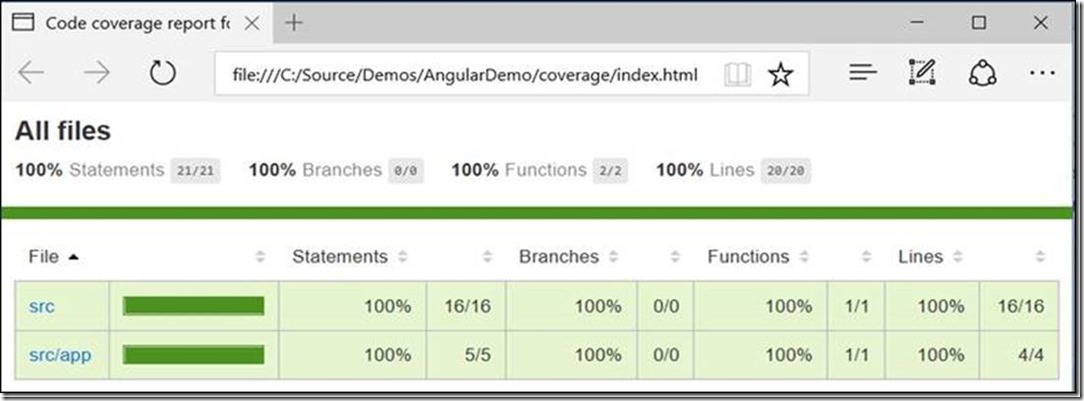
- Navigate to the running application in your browser.
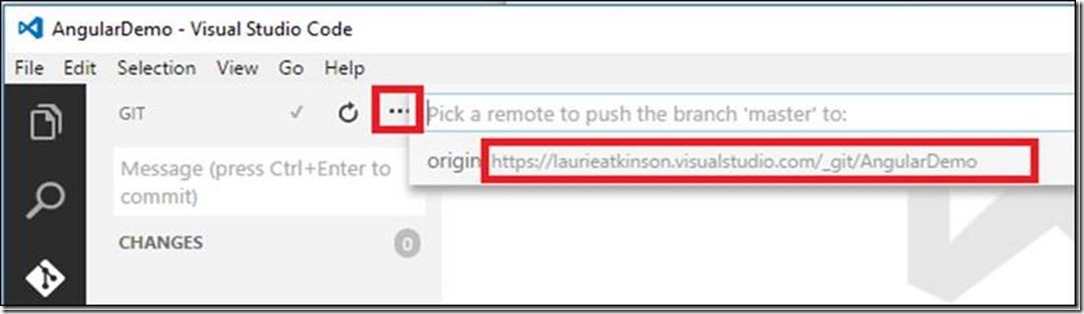
Step 4 – Commit changes from VS Code to VSTS
- Commit your newly created application to VSTS project from the Git tab in VS Code. This is done from the check mark icon labelled “Commit All”.
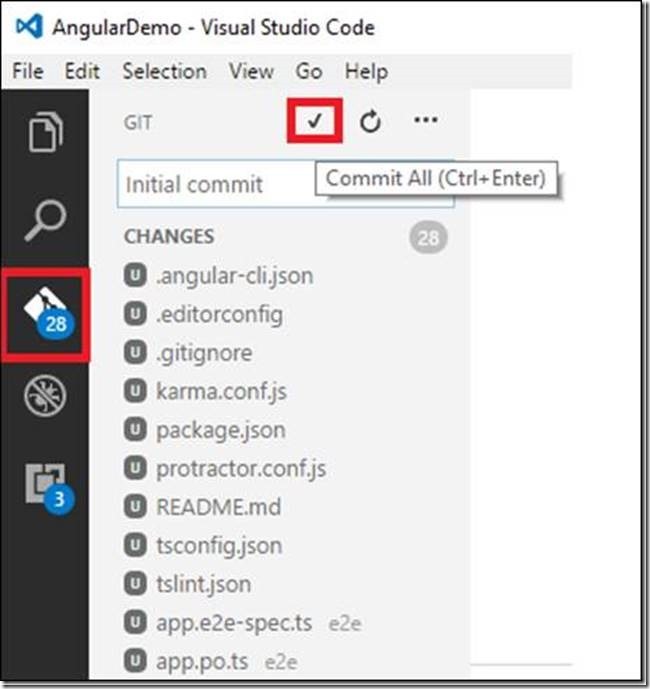
Note that the name of the repository is viewable from this tab as well.
Step 5 – Install VS Code “Must-Have” Extensions
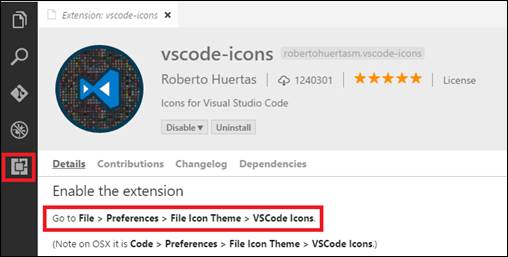
- From the Extensions menu, install the following:
vscode-icons which improves the readability of the explorer tab by adding useful icons to your files.
TypeScript Hero which provides typeahead and quick actions for adding import statements.


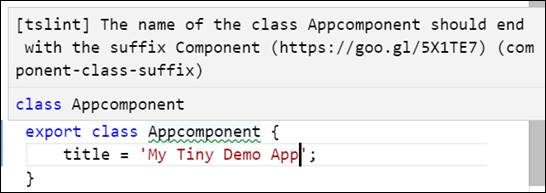
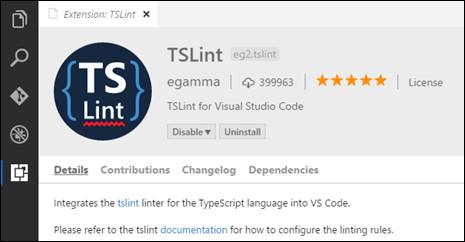
TSLint which adds interactive code analysis during development.

0 comments