
App Dev Manager Omer Amin describes an improved approach for monitoring disk throttling in Azure virtual machines.
In my previous blog article (Azure Ultra Disk Storage is here), I described a solution for monitoring disk throttling. After getting feedback from customers, I found that the performance was quite slow if you have many virtual machines. It took a lot of time to iterate through the performance data to find instances where the disk or virtual machines was throttled.
To reduce run times, I found that I could drastically reduce end-to-end time by relying on Log Analytics to perform the work. This did require an additional step to upload the Disk and VM Throttling limits to a custom log in Log Analytics. However, the payload was so small that it did not really impact the total time. Log Analytics does require some additional setup time when data is first uploaded to a log. This means that running this script the first time may take up to 20-30 minutes to complete. This is a one-time delay and subsequent run times do not have this delay. This limitation was mitigated by adding a loop to wait and check every minute for the data to show up. Once the data is ready, the script can proceed and compute the results.
See the updated script at https://github.com/omeramin/Azure-Disk-Throttling-PS
The new version uses the following logic:
- Get list of all VMs and Disks in subscription.
- Get Azure Compute capabilities for each SKU using Azure REST API.
- Match Disks to each corresponding VM, add in the VM IOPS, Disk Bytes Limit.
- Post Disk\VM data to Log Analytics.
- Doing this for performance reasons. It is faster to run the throttling queries in Log Analytics compared to doing it locally.
- Run a log analytics query that will output Disks and VMs that were throttled.
- Output results.
I am including the full setup instructions here as well so that you can easily get started with this solution.
Connect VMs to Log Analytics Workspace
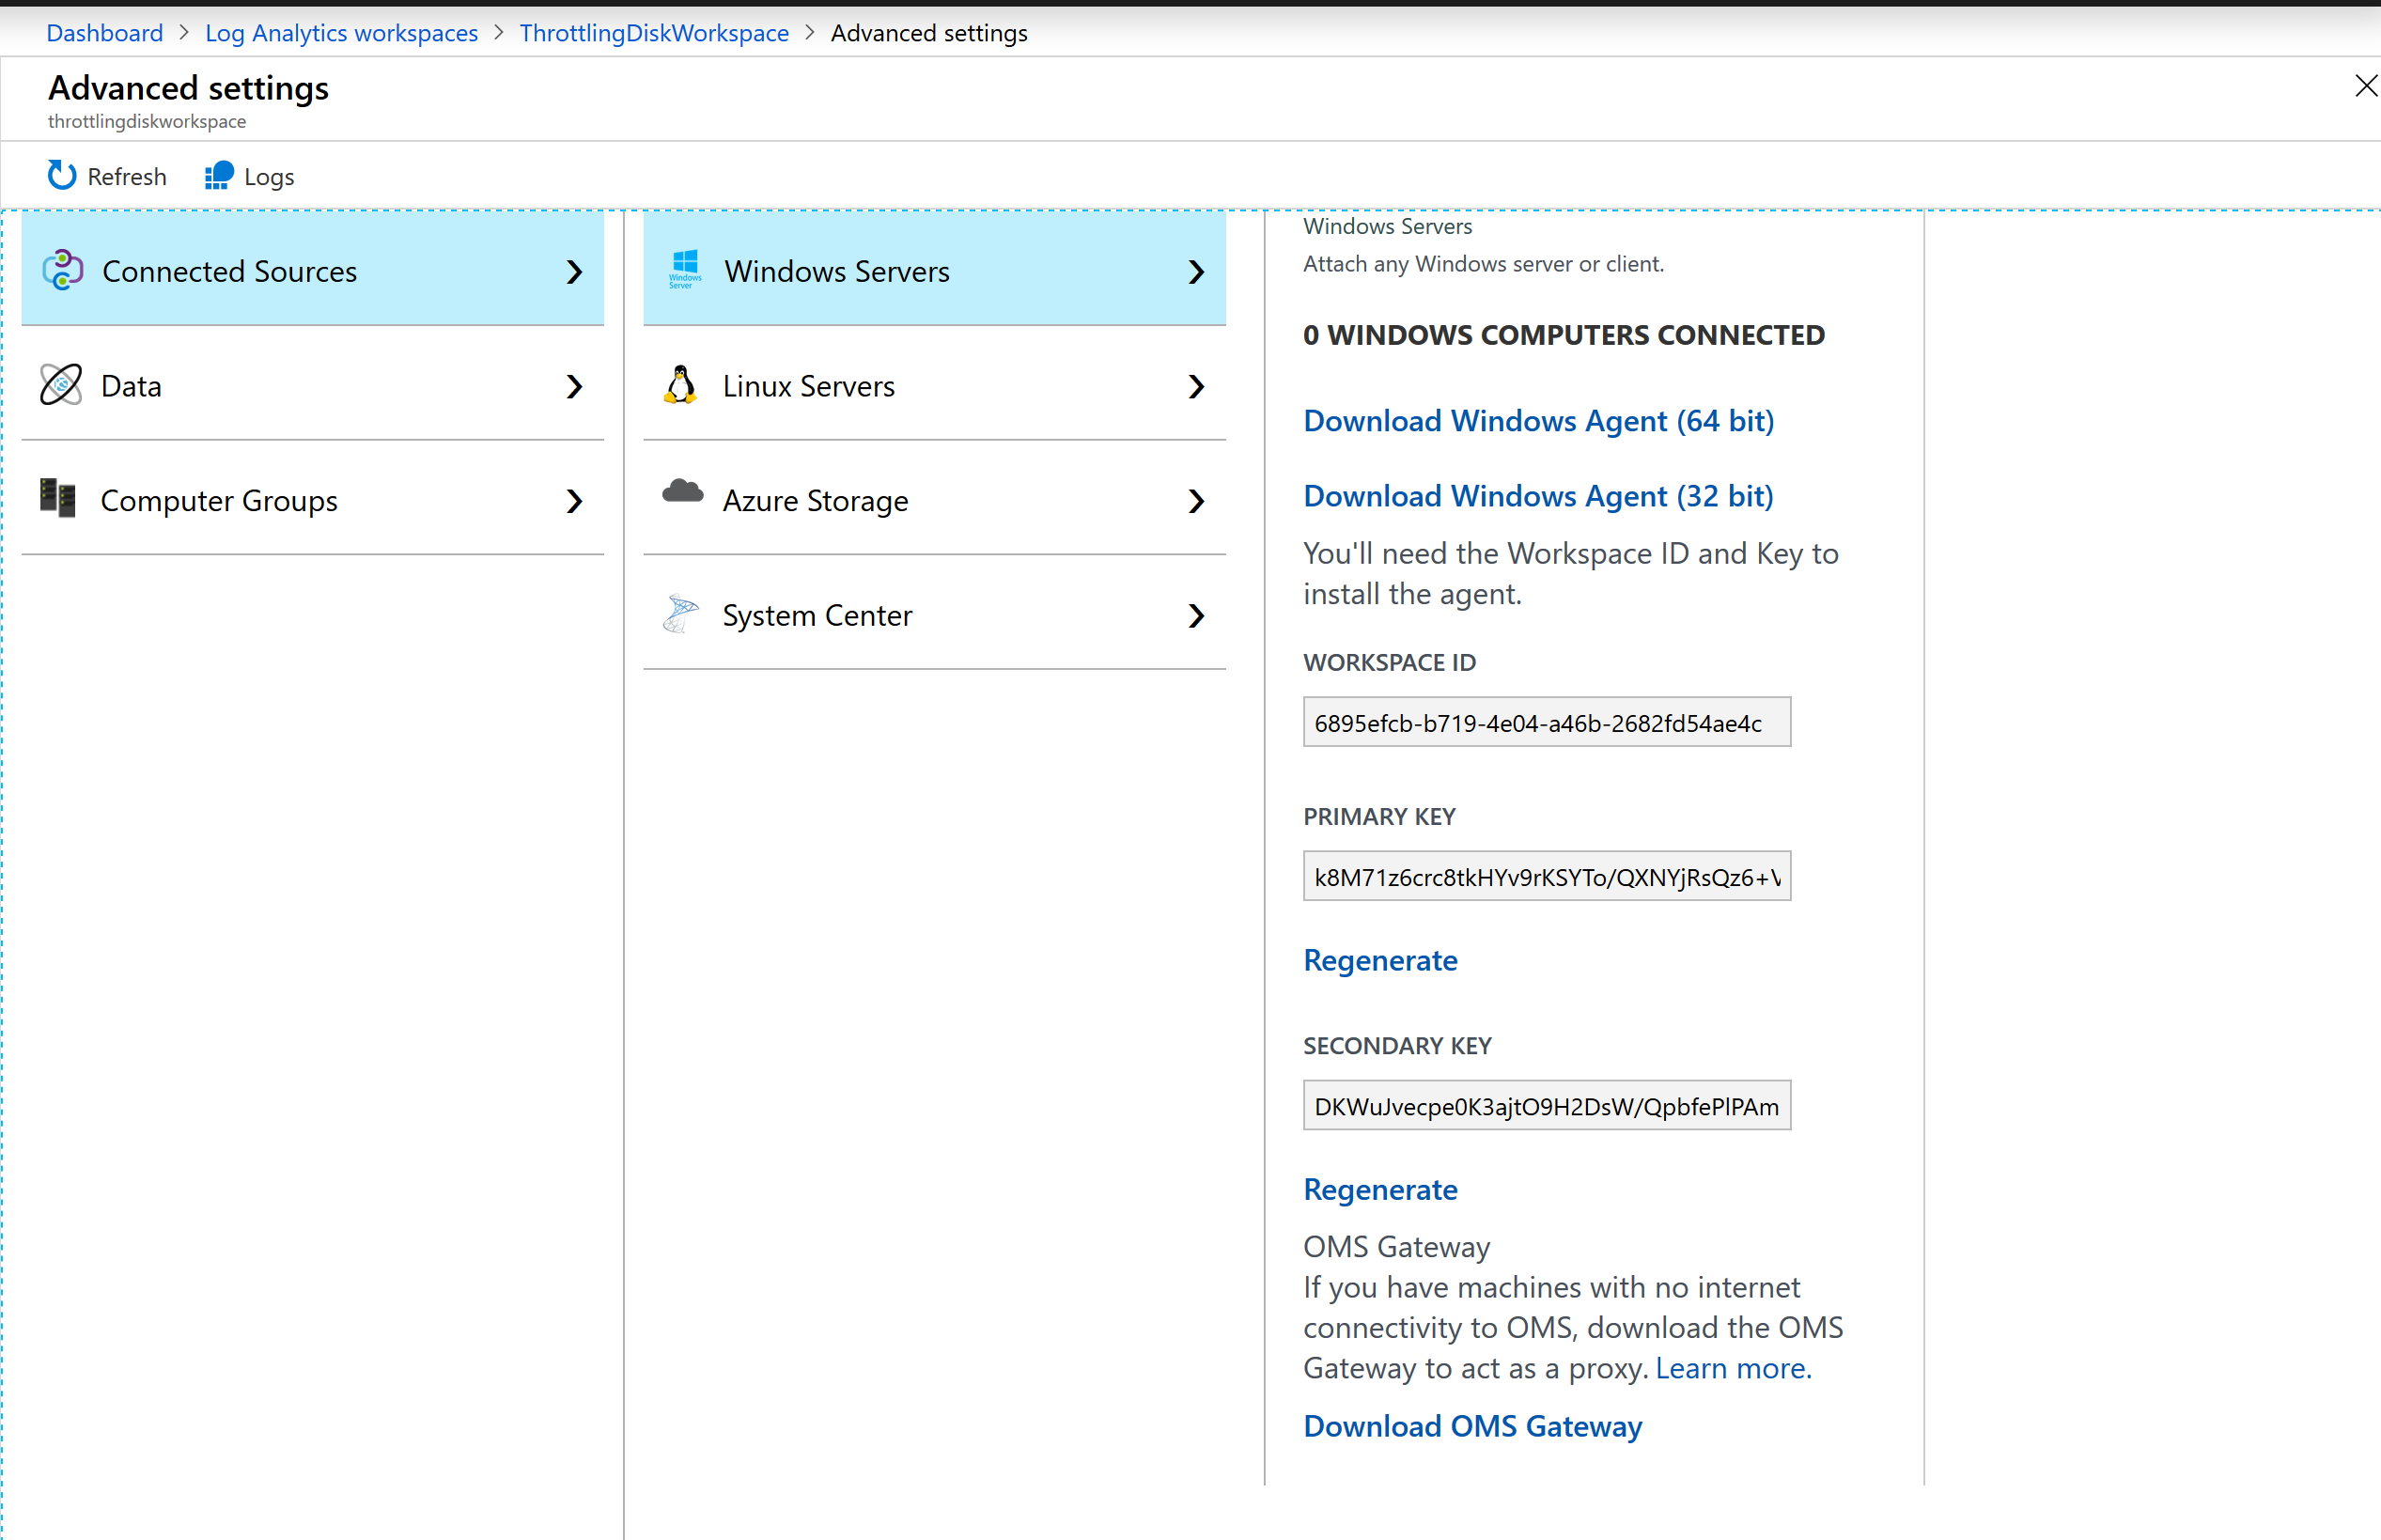
Create a new Log Analytics workspace, or you can use an existing one. Once you have a Log Analytics workspace, you will need to configure your VMs to point to this workspace.
Note: data can take up to 30 minutes to arrive when you first connect the workspace.

Save the Workspace ID and Primary Key to a text file
You will need these values later in the PowerShell script.
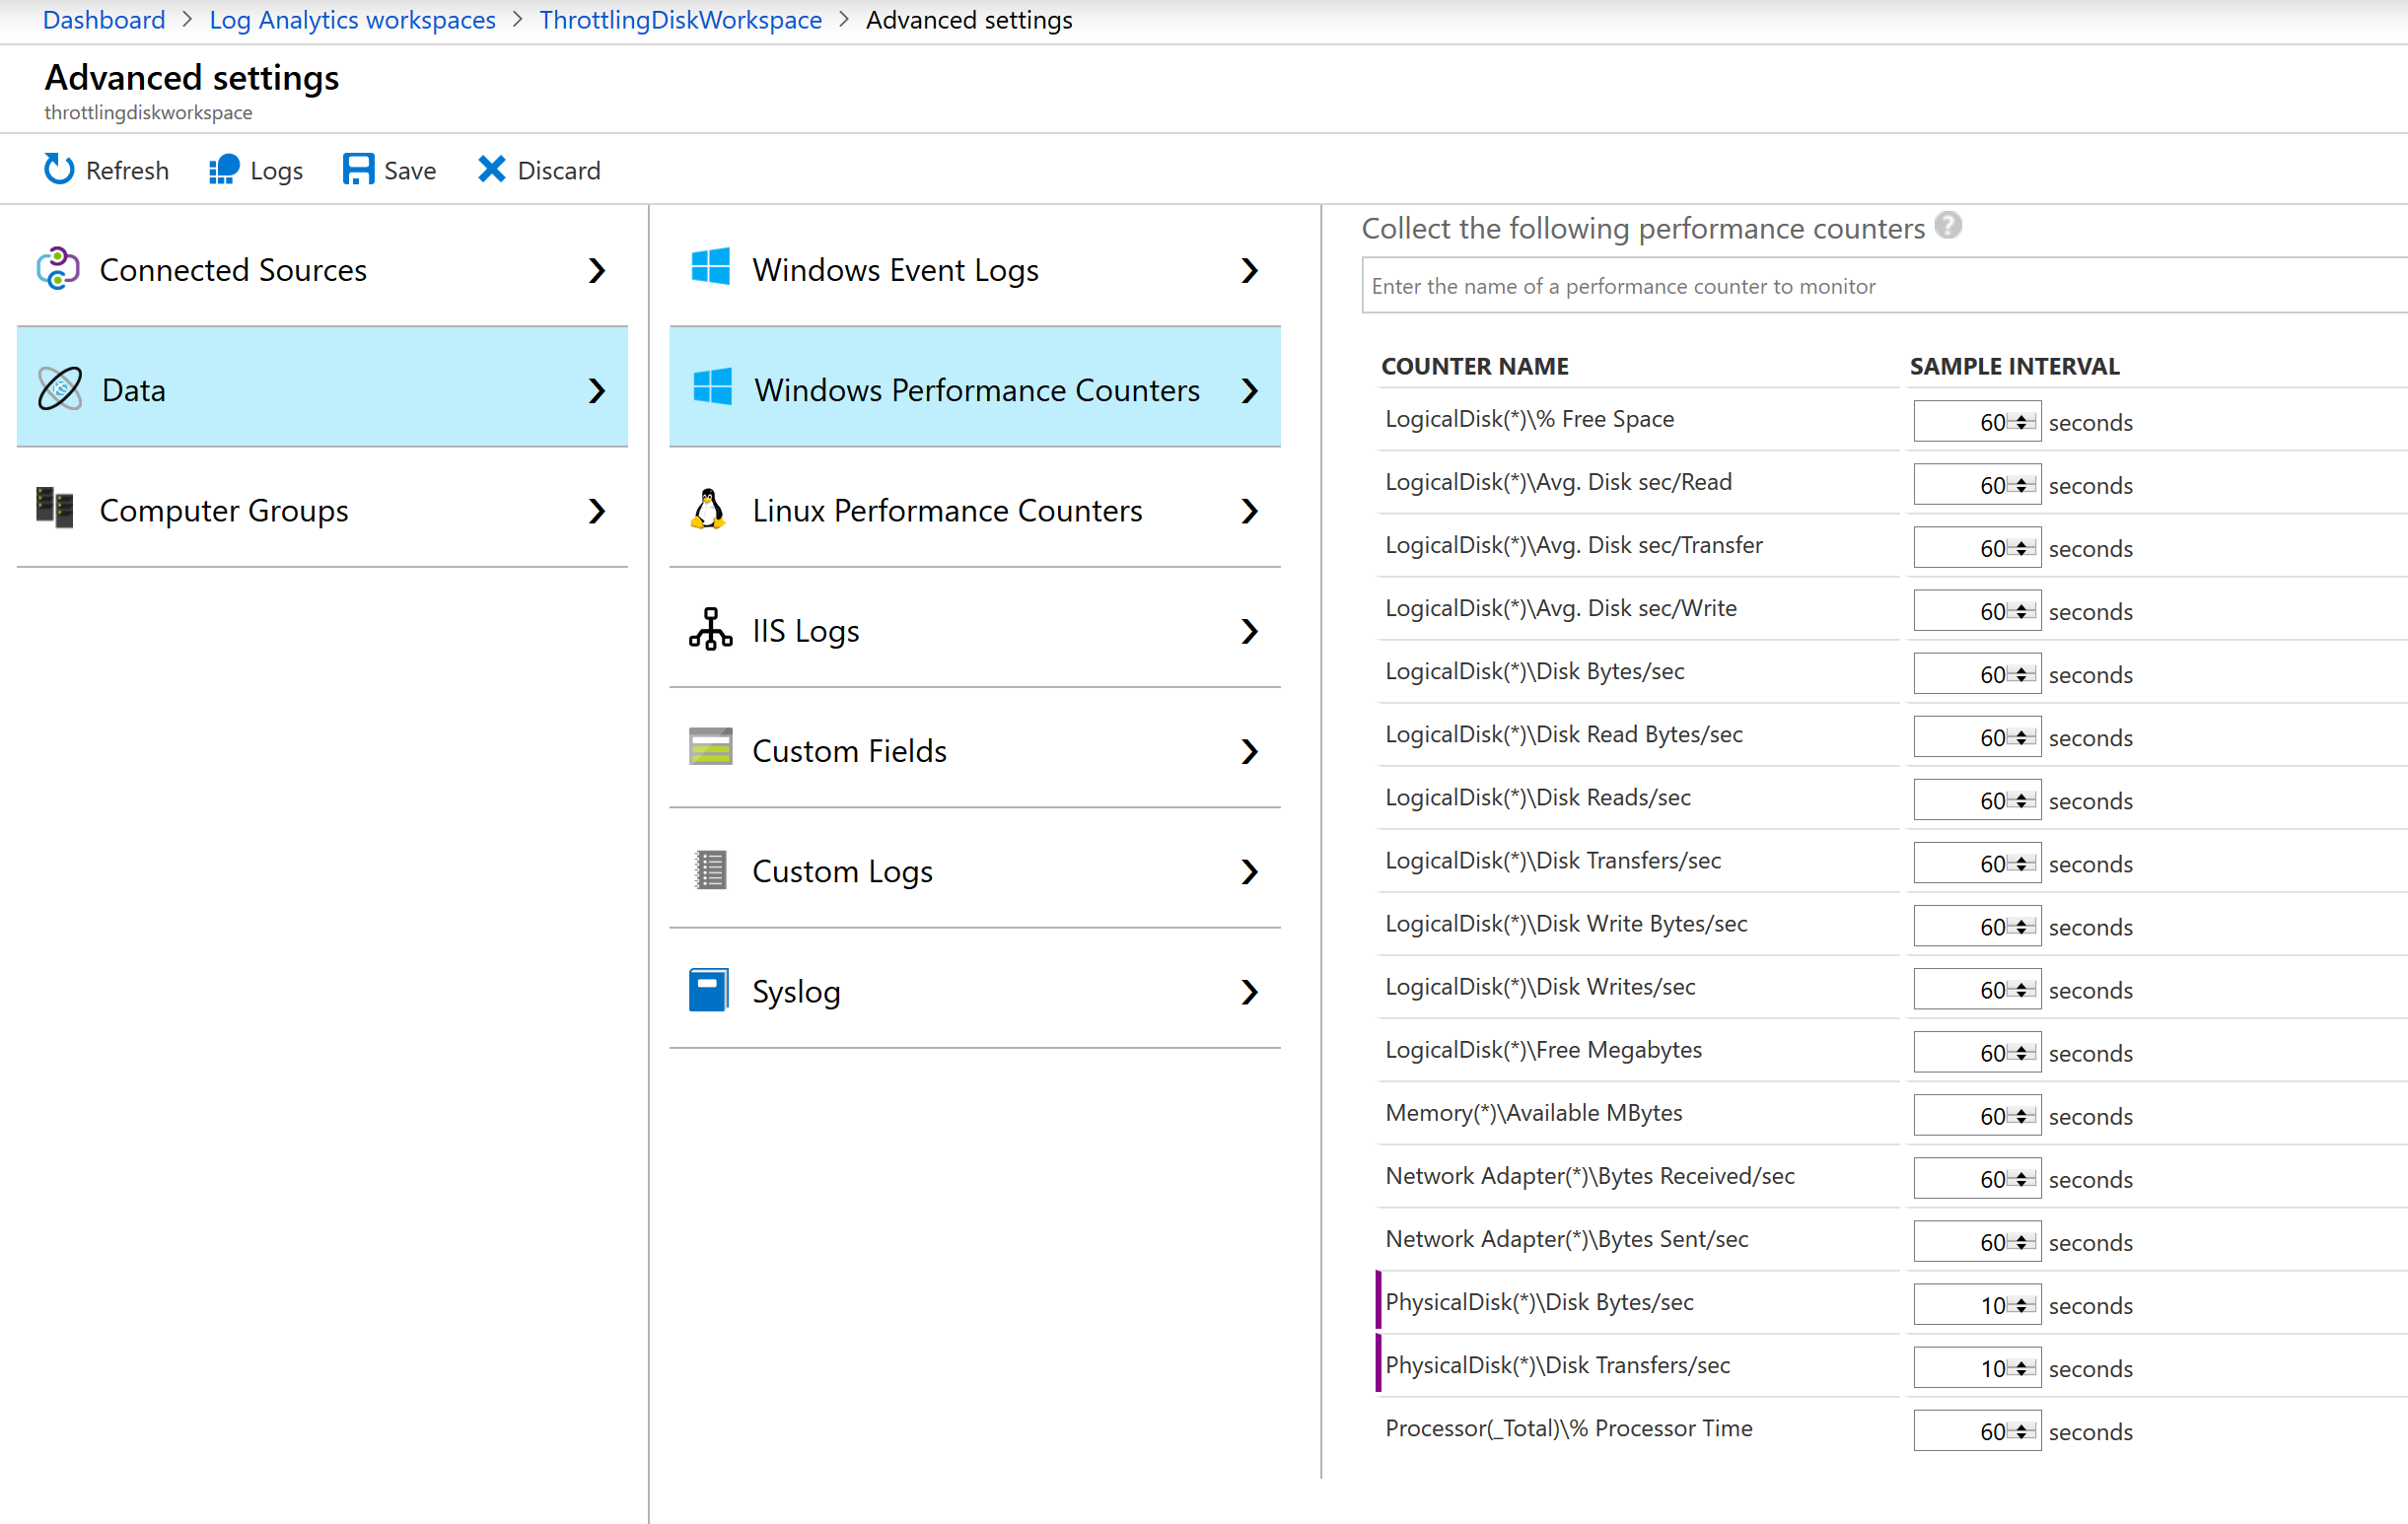
Configure the Workspace
Once the Log Analytics workspace is setup, then you need to configure the Workspace to collect the “PhysicalDisk\Disk Bytes/sec” and “PhysicalDisk\Disk Transfers/sec” counters.
Note: there is no space in PhysicalDisk. Make sure to have the correct spelling, otherwise data will not be collected properly.
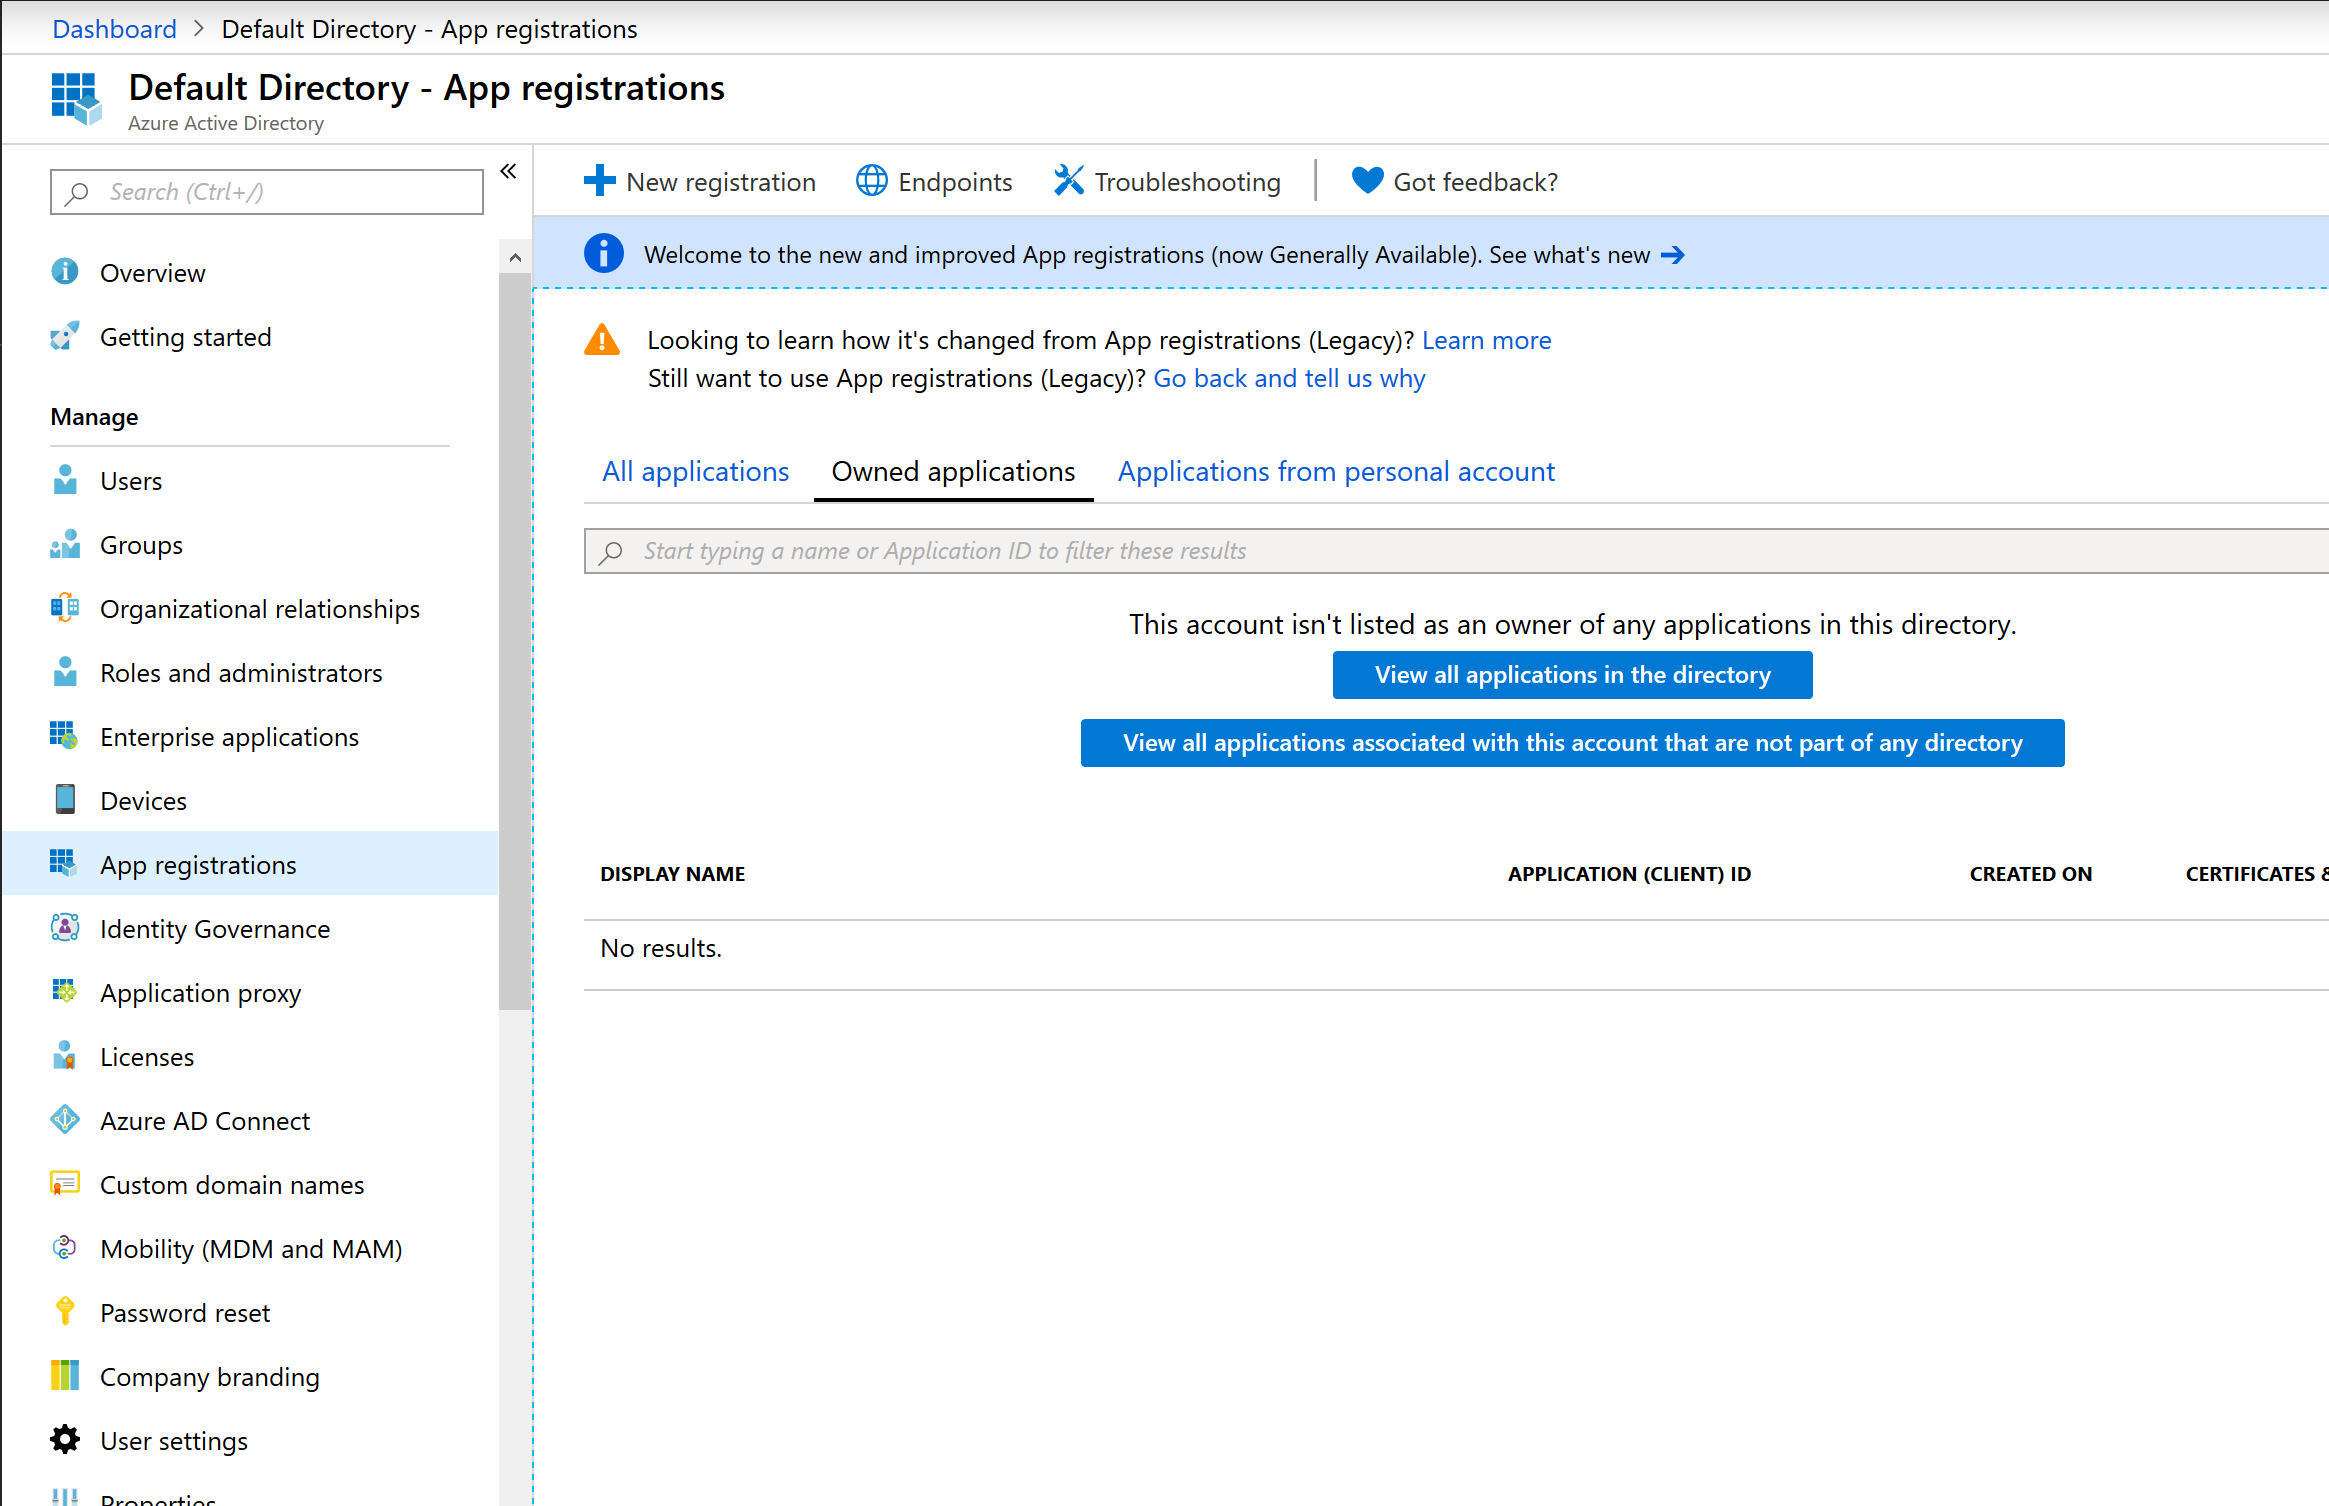
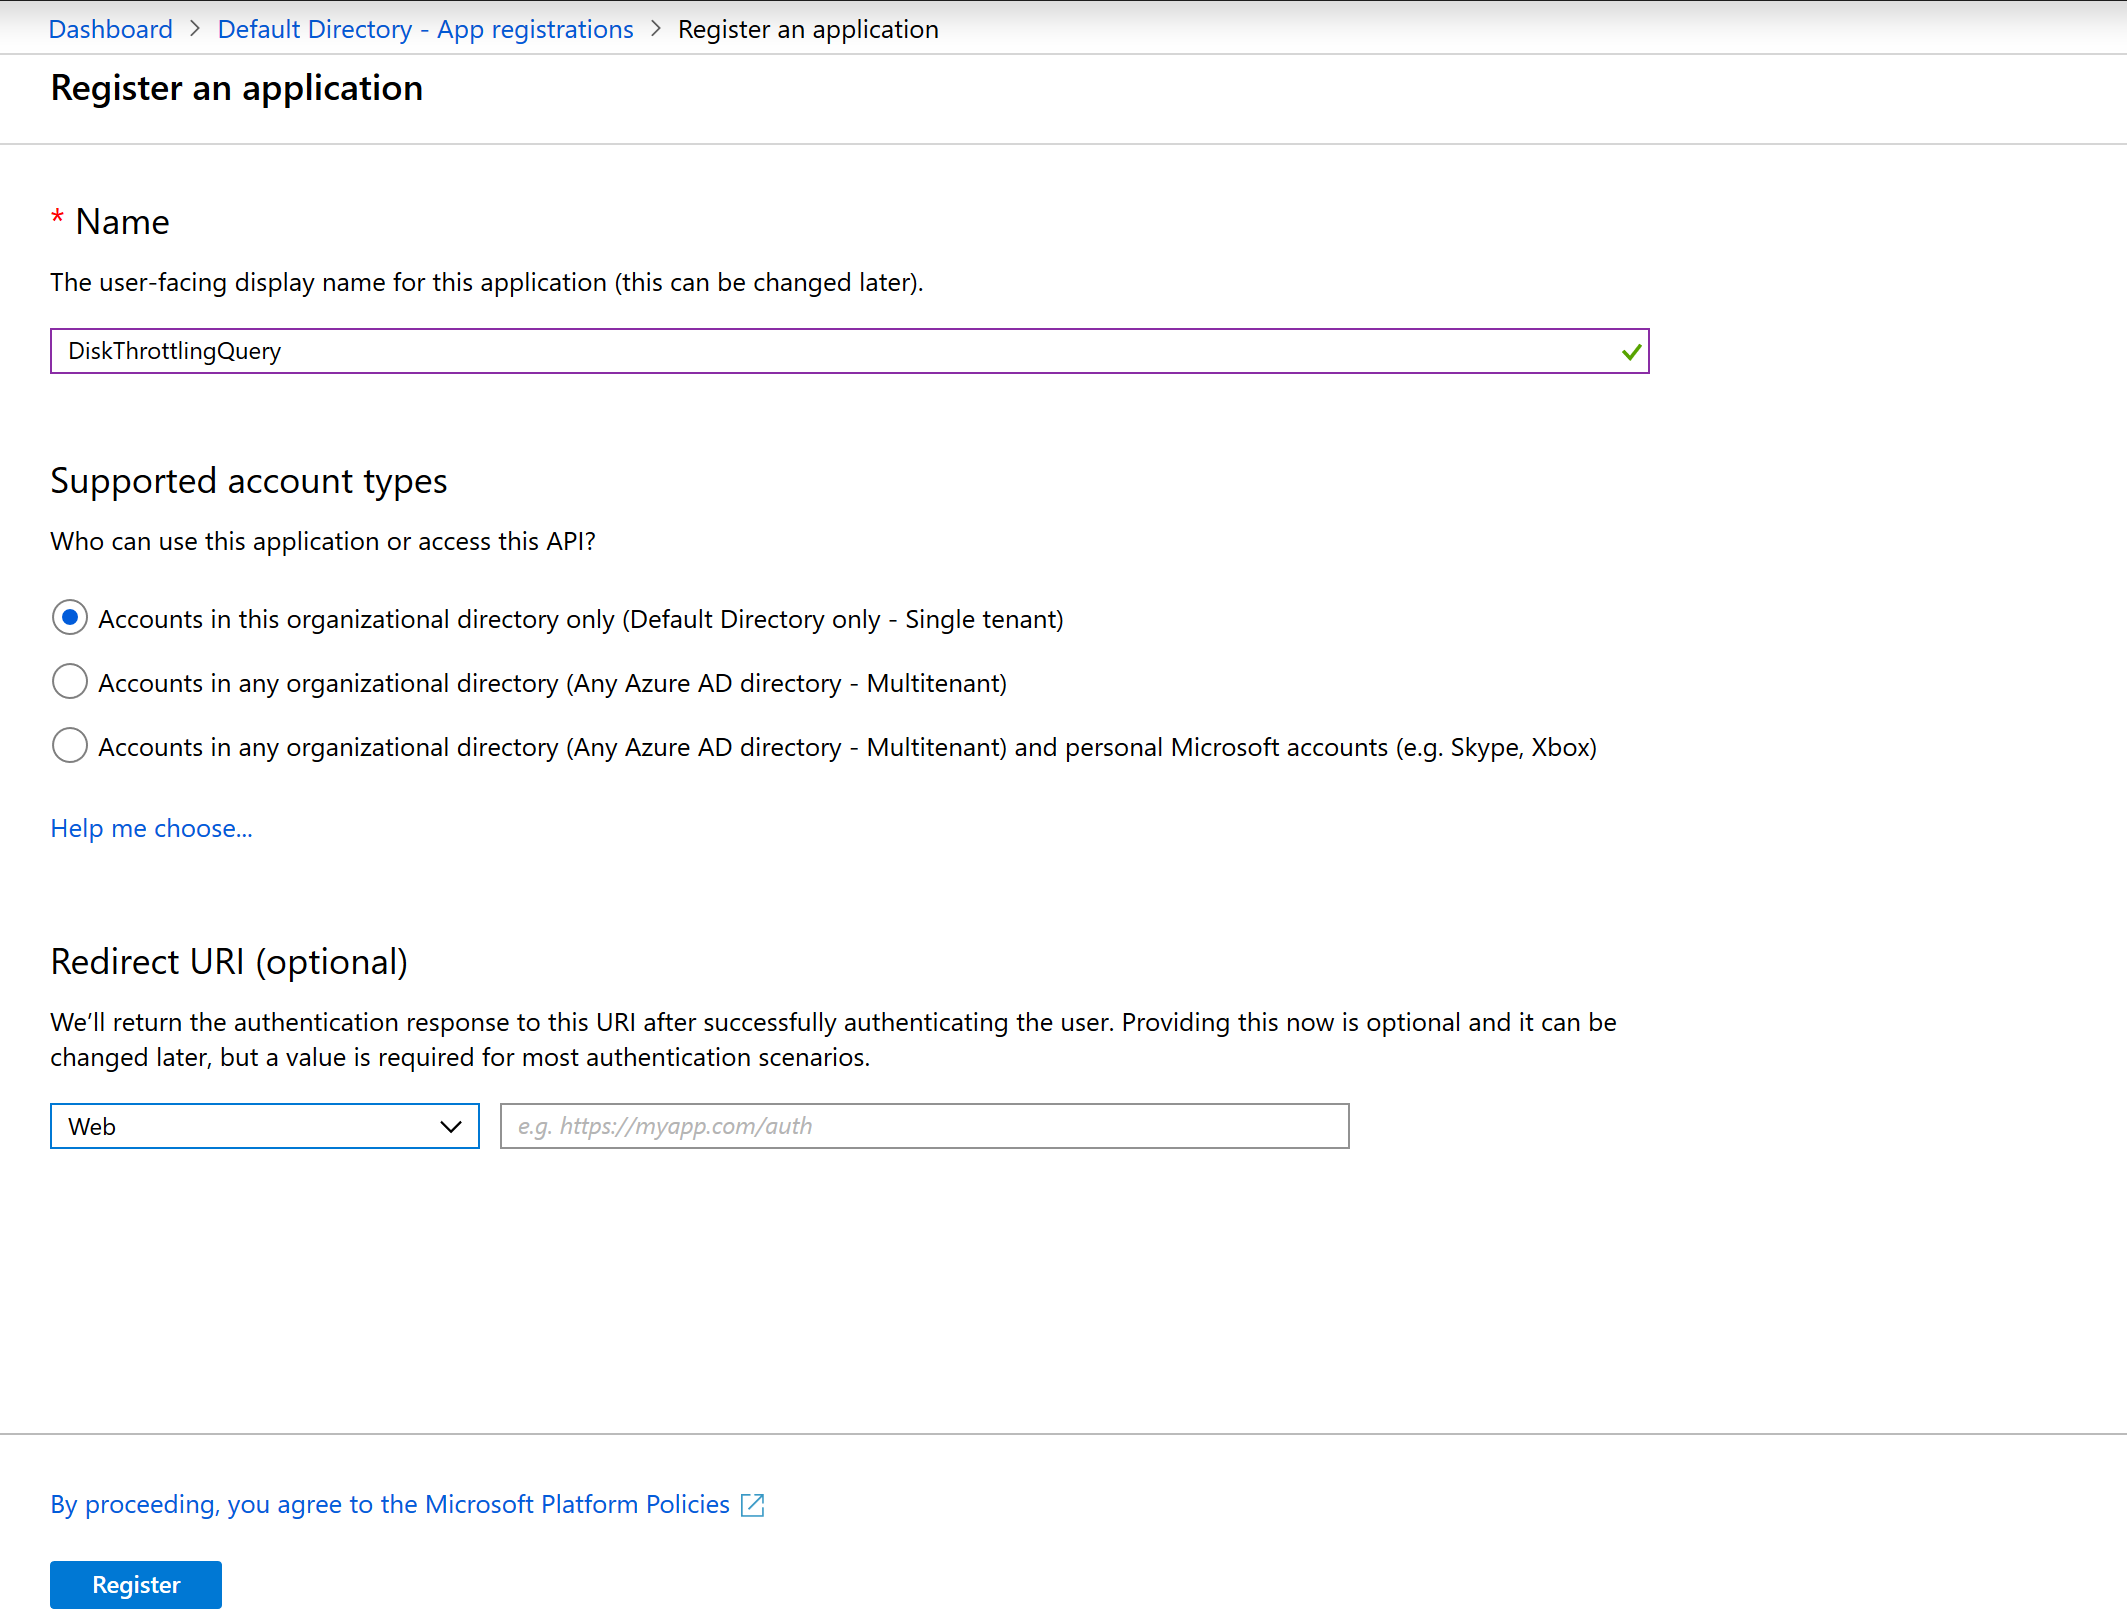
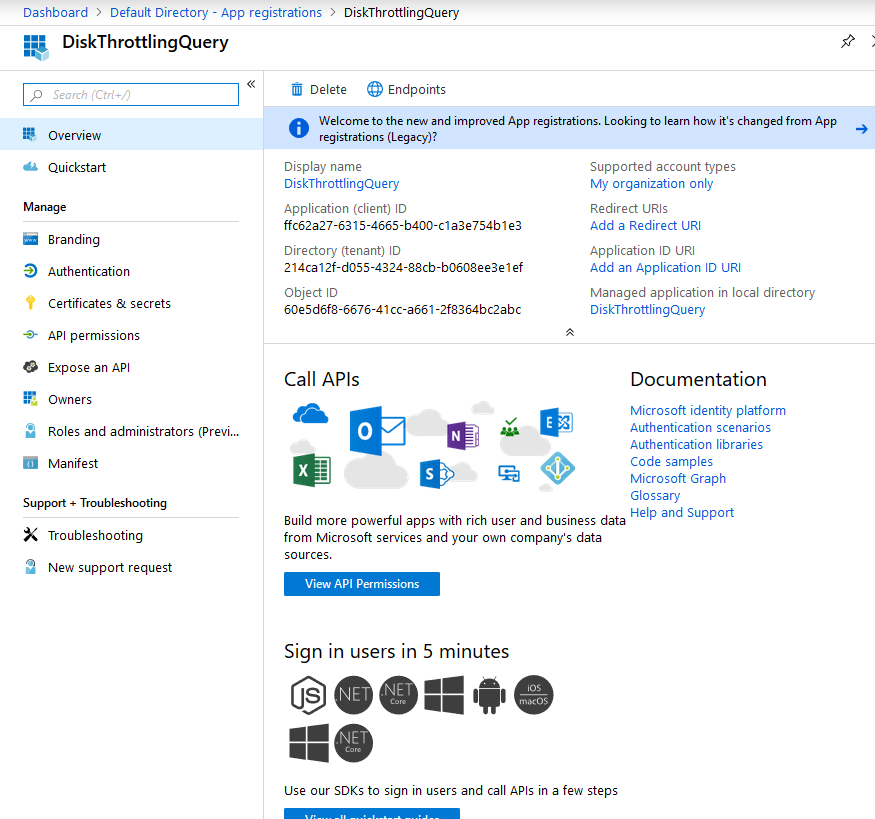
Create a new Azure AD Application Registration
This is required so that you can make Azure REST API calls from PowerShell.
Save the Application (Client) ID and Directory (Tenant) ID
You can see this on the App Registration page for your app.
Create a Client Secret
Once the Azure AD App Registration is created, create a Client Secret that will be used for authentication. Save the Client Secret to a text file. You will need this later for the PowerShell script.

Assign Azure AD App Registration permissions
Give your new Azure AD App Registration permissions to connect to the Log Analytics workspace as a Contributor.
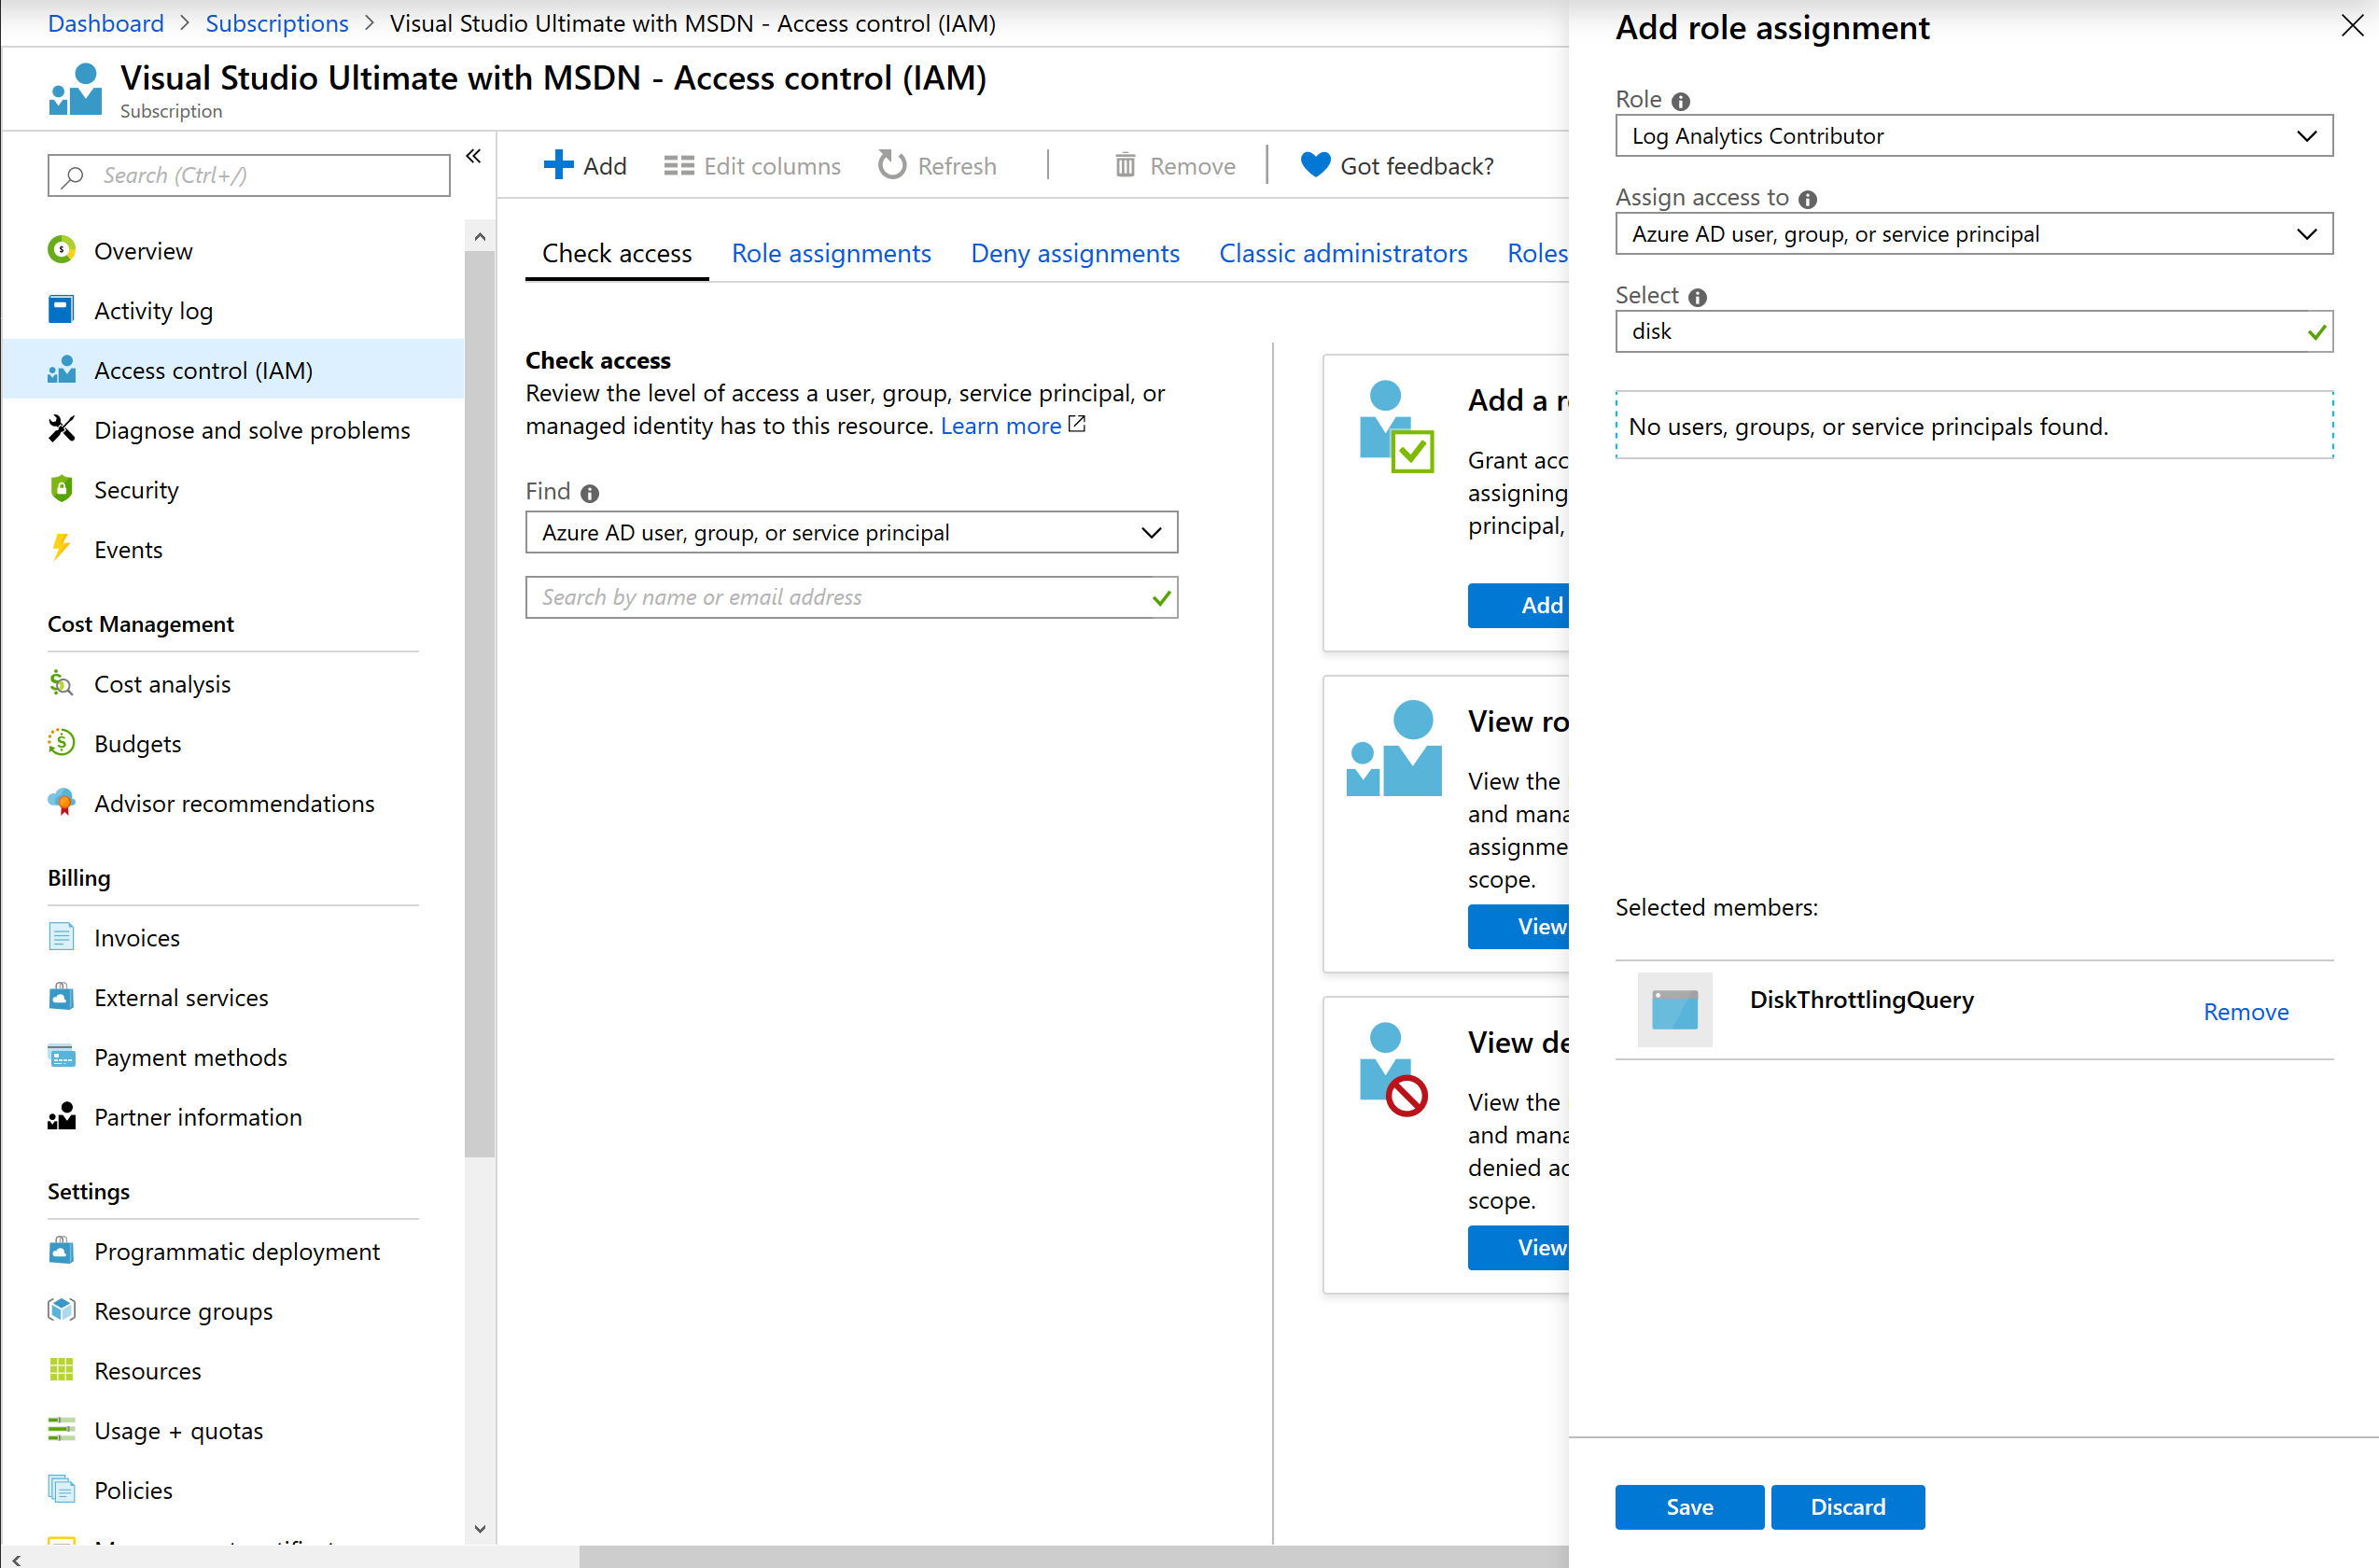
Use your Azure AD App Registration name here.
Download the PowerShell script
Download the PowerShell script from https://github.com/omeramin/Azure-Disk-Throttling-PS/blob/master/DiskThrottle.ps1

Update the values in the script from the values you saved earlier during setup.
You can Subscription ID from the Subscriptions pane in the portal, or run Get-AzSubscription in PowerShell
Run the PowerShell script
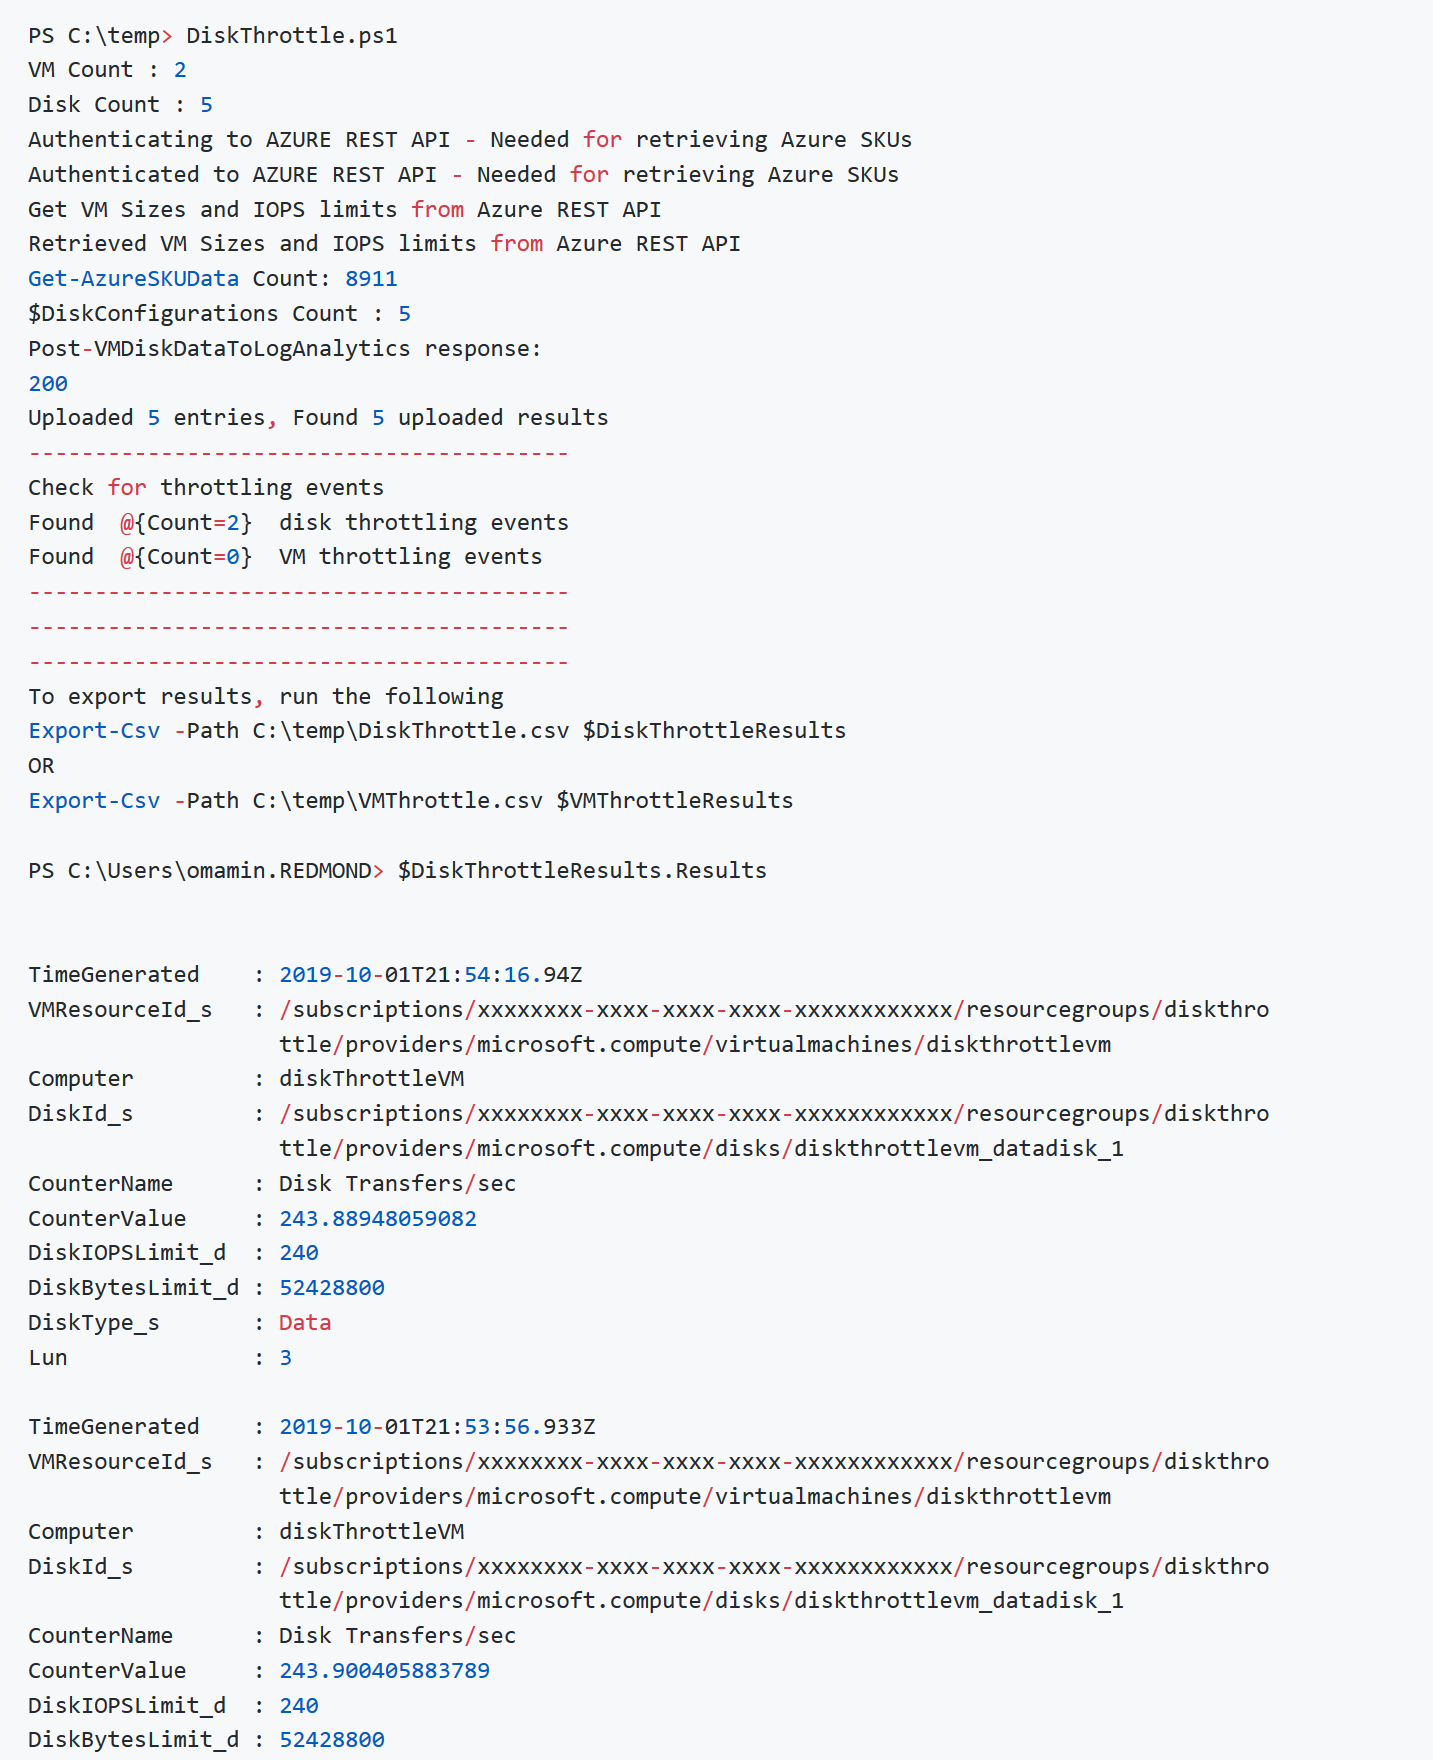
You should see output similar to the following.
At the end of the script, you can view the Disk and VM Throttling events by dumping the objects, or you can also export the results to CSV for further analysis.
Display in PowerShell:
- $DiskThrottleResults
- $VMThrottleResults
Export to CSV:
- Export-Csv -Path C:\temp\DiskThrottle.csv $DiskThrottleResults
- Export-Csv -Path C:\temp\VMThrottle.csv $VMThrottleResults
Example:
Troubleshooting & Improvements
If you run into any issues, please open an Issue, or submit a Pull Request for any improvements.
0 comments