List of all posts in the #30DaysMSGraph series
-Today’s post written by Martin Boejstrup
In Day 25 we learned how to update OneNote using Microsoft Graph. In todays post we will show you how to make Microsoft Graph API calls using Microsoft Flow.

For those of you who are not familiar with Microsoft Flow, do not worry. Microsoft Flow is easy to get started with; Get started with Microsoft Flow. If you do not what to make the Flow from scratch, you can import the flow packed in your environment; Import your flows across environments. Download the Flow Package here.
To use Microsoft Flow, you also need assign a Flow License. They are included in all Office 365 license types.
Azure AD App registration
As mentioned in Day 9 and Day 10 we covered the process for registering Azure AD Apps. Either of the app registrations should work with the instructions in this article. To use Microsoft Graph in Microsoft Flow you need to register an Application ID and a Secret key.
You also need your tenant name ex. Contoso.onmicrosoft.com
Create a Flow to get all users using Microsoft Graph
Open https://flow.microsoft.com , click My flows and click New-Create from blank
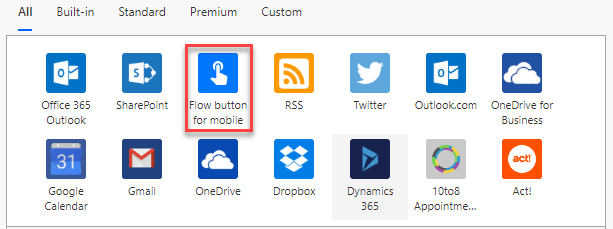
Add Flow button as trigger
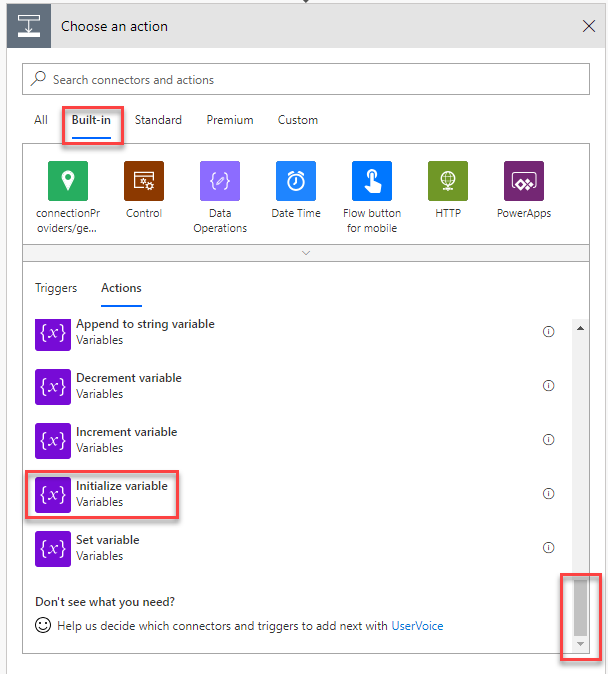
Add a step (action) – Initialize variable
Add a name, change the type to String and add the value of the Graph URL.
In this example the Graph URL (https://graph.microsoft.com/v1.0/users?$filter=Department eq ‘IT’) is getting all users and filter where Department is IT.

Read more about filter option in Day 5 – Query Parameters Part 1 post.
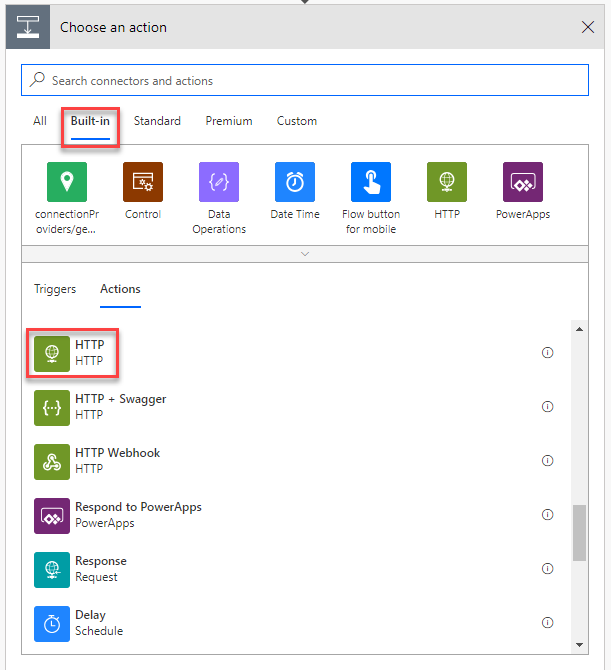
Add a step (action) – HTTP-HTTP
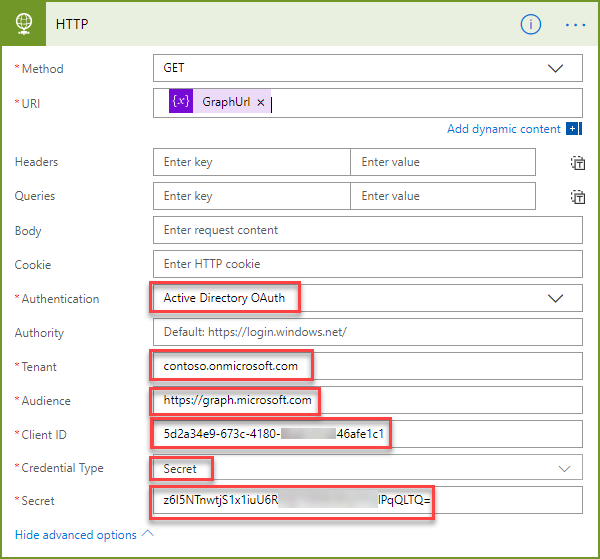
Change method to GET, Add the GraphUrl variable, and click Show advanced options

Set Authentication to Active Directory OAuth, enter your tenant name, set Audience to https://graph.microsoft.com, enter ApplicationID, Client ID (you created in Day 9 or Day 10)
, Set Credential Type to Secret and the Secret key (you created in Day 9 or Day 10)
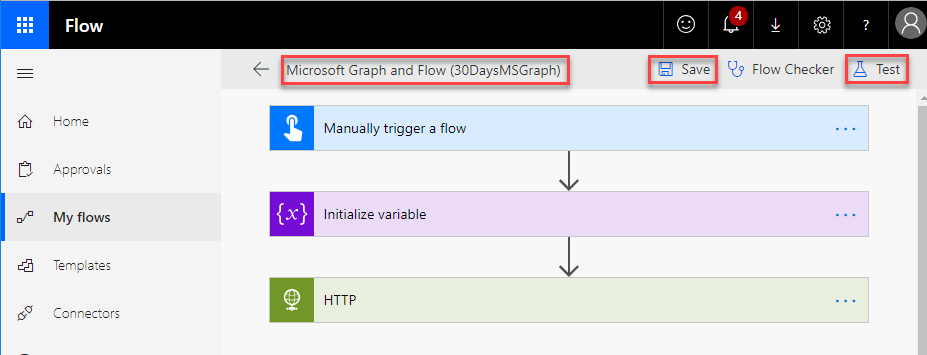
Give the Flow a name, click Save and Test the flow.
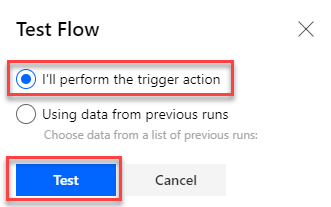
Chose I’ll perform the trigger action and Test
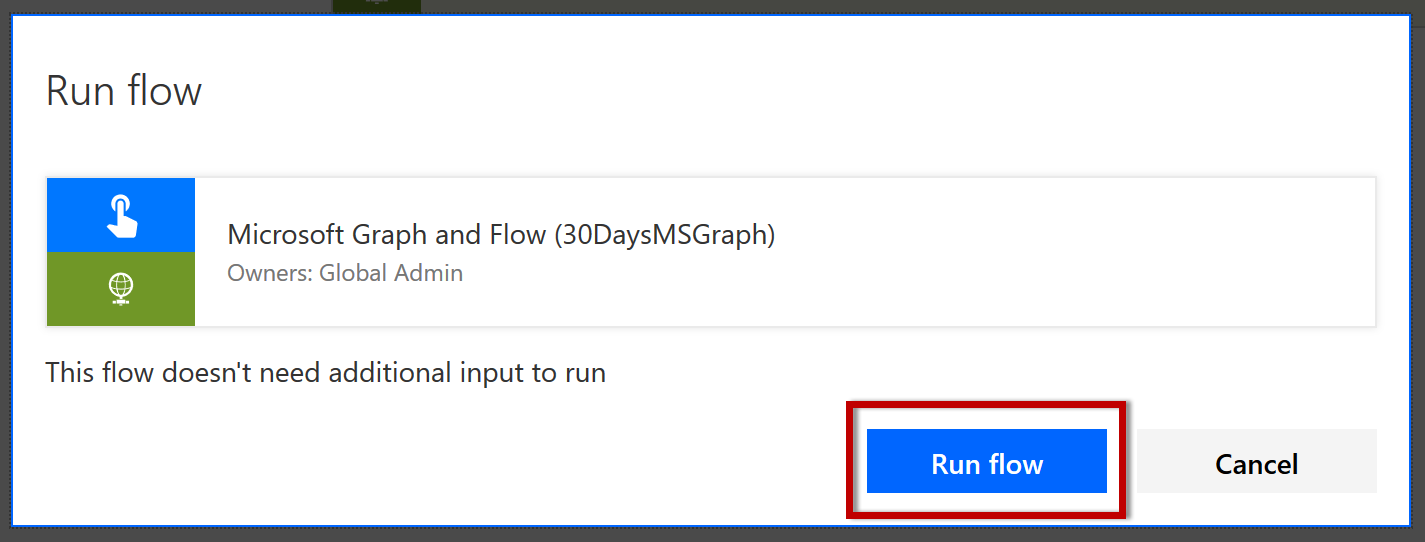
Click the “Run flow” button.
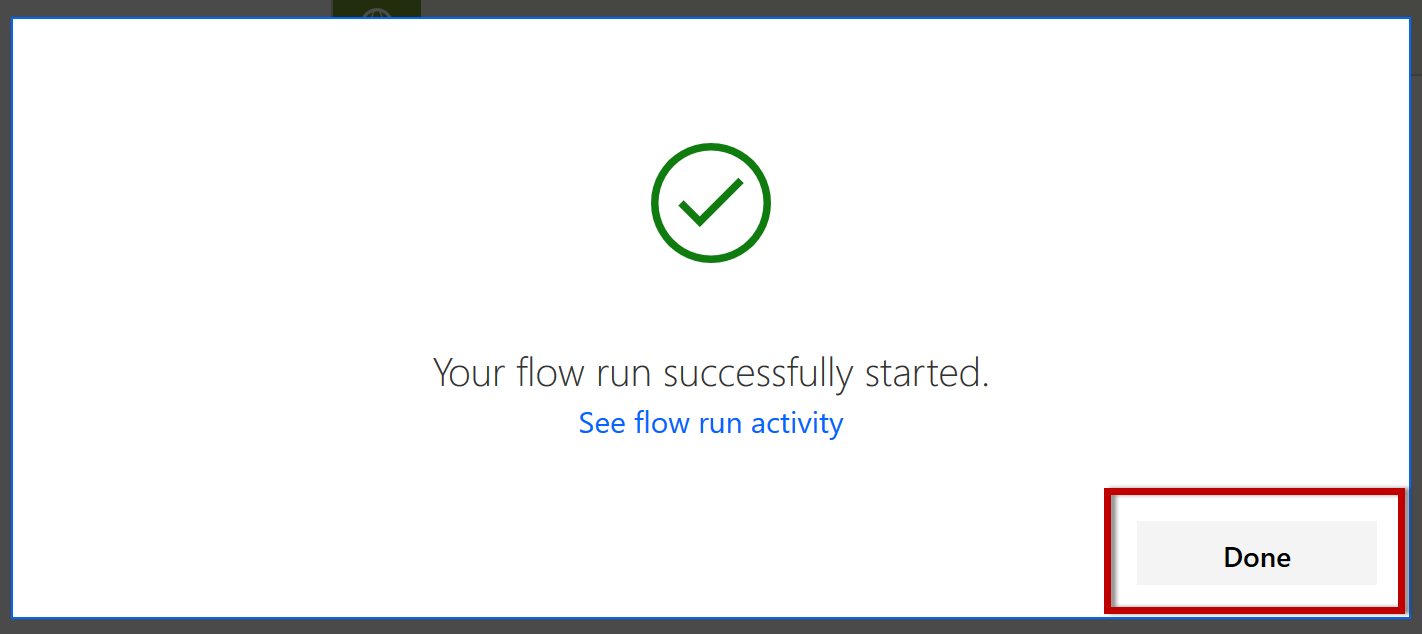
Click “Done” button after the Flow execution is complete.
Check the Run history
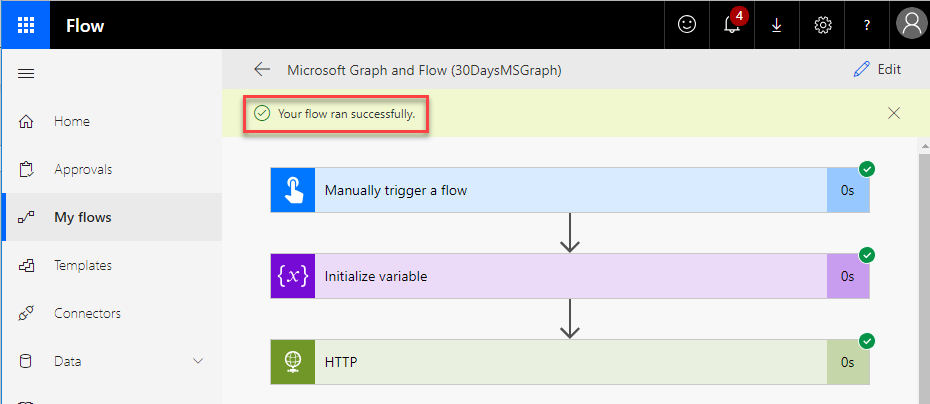
Click on the HTTP action to view the result in the request body:
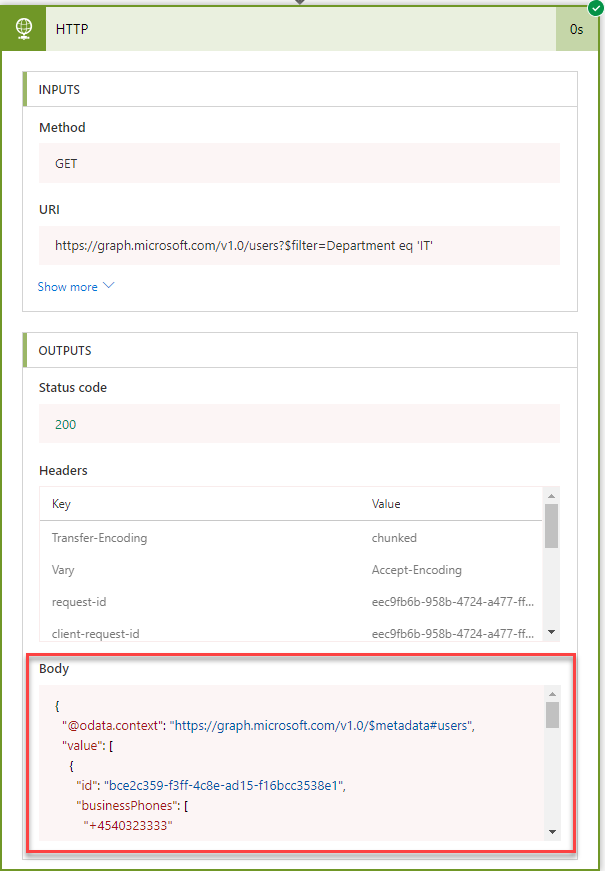
Now we you have the result as JSON format.
Edit the flow again and add the Create HTML table action
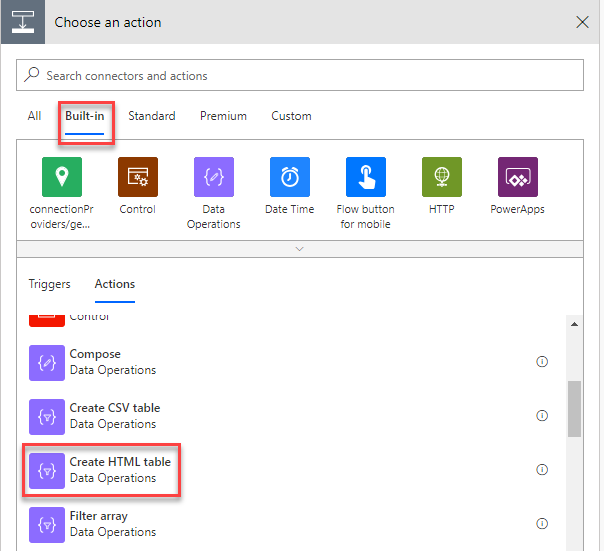
Add the Expression body(‘HTTP’)[‘value’] in From, and Include headers

Click Save and Test the flow.
Click on the Create HTML Table action to view the result in the request body
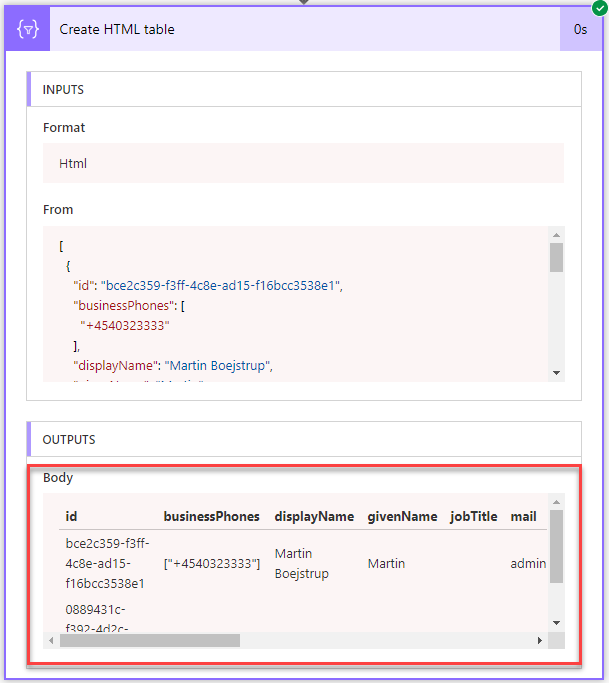
You have now made a sample on how to use Microsoft Graph using Flow. Add more actions to archive your needs.
Try It Out
Create your own Microsoft Flow using Microsoft Graph. Then do one of the following:
- Create Azure AD app registration (refer to Day 9 or Day 10 posts for more information)
- Create the Flow using the above sample or download the flow package and update that.
Join us tomorrow as we will show you how to use Microsoft Graph to talk to Teams in Day 27.

0 comments