


VS Code is where many cross-platform and web developers already work, but getting package identity, MSIX packaging, and Windows SDK tooling often meant reaching for Visual Studio or command-line tools. The WinApp VS Code extension brings the full power of the Windows App Development CLI directly into VS Code. Via the extension, you can initialize, run, debug, package, and sign Windows applications from a variety of development frameworks without ever leaving the editor.
Whether you’re building with .NET, WPF, WinUI, C++, Electron, Rust, Tauri, or Flutter, this extension can help you streamline your Windows development process.

Ready to get started? The WinApp VS Code extension is now available in public preview on the Visual Studio Code Marketplace.
Let’s walk through what’s included.
🐛 Integrated Launching and Debugging with Package Identity
Many Windows APIs — notifications, background tasks, on-device AI, share targets — require your app to have package identity. Traditionally, getting identity meant building a full MSIX installer or running from Visual Studio. With the WinApp extension, you can run Windows apps with package identity without having to leave VS Code.
The extension provides a custom winapp debug type that gives your app package identity, launches your app, and attaches your debugger, all from a single F5 press.
How it works:
After the user presses F5 to start a debug session, the extension:
- Locates your build output and manifest
- Launches your app via
winapp runto give it package identity - Attaches a child debug session using your preferred debugger
Supported debuggers:
debuggerType |
Language | Required Extension |
coreclr (default) |
C# / .NET | C# Dev Kit |
cppvsdbg |
C / C++ | C/C++ |
node |
Node.js / Electron | Built-in |
Getting started is as simple as adding a winapp configuration to your launch.json:
{
  "version": "0.2.0",
  "configurations": [
    {
      "type": "winapp",
      "request": "launch",
      "name": "WinApp: Launch and Attach"
    }
  ]
}
Automate the build step
The winapp debug type assumes your project has already been built. It does not build automatically. After making code changes, you need to rebuild before pressing F5.
The good news: you can automate this with a preLaunchTask so your project is always built before every debug session.
1. Define a build task in .vscode/tasks.json (example for .NET):
{
  "version": "2.0.0",
  "tasks": [
    {
      "label": "build",
      "command": "dotnet",
      "type": "process",
      "args": ["build", "${workspaceFolder}"],
      "problemMatcher": "$msCompile"
    }
  ]
}
2. Reference it in your launch.json:
{
  "type": "winapp",
  "request": "launch",
  "name": "WinApp: Launch and Attach",
  "preLaunchTask": "build"
}
Now every time you press F5, VS Code will build your project first, then launch it with package identity and attach the debugger, just like the full Visual Studio experience.
See the full Debugging Guide for more details.
🎨 Command Palette Commands
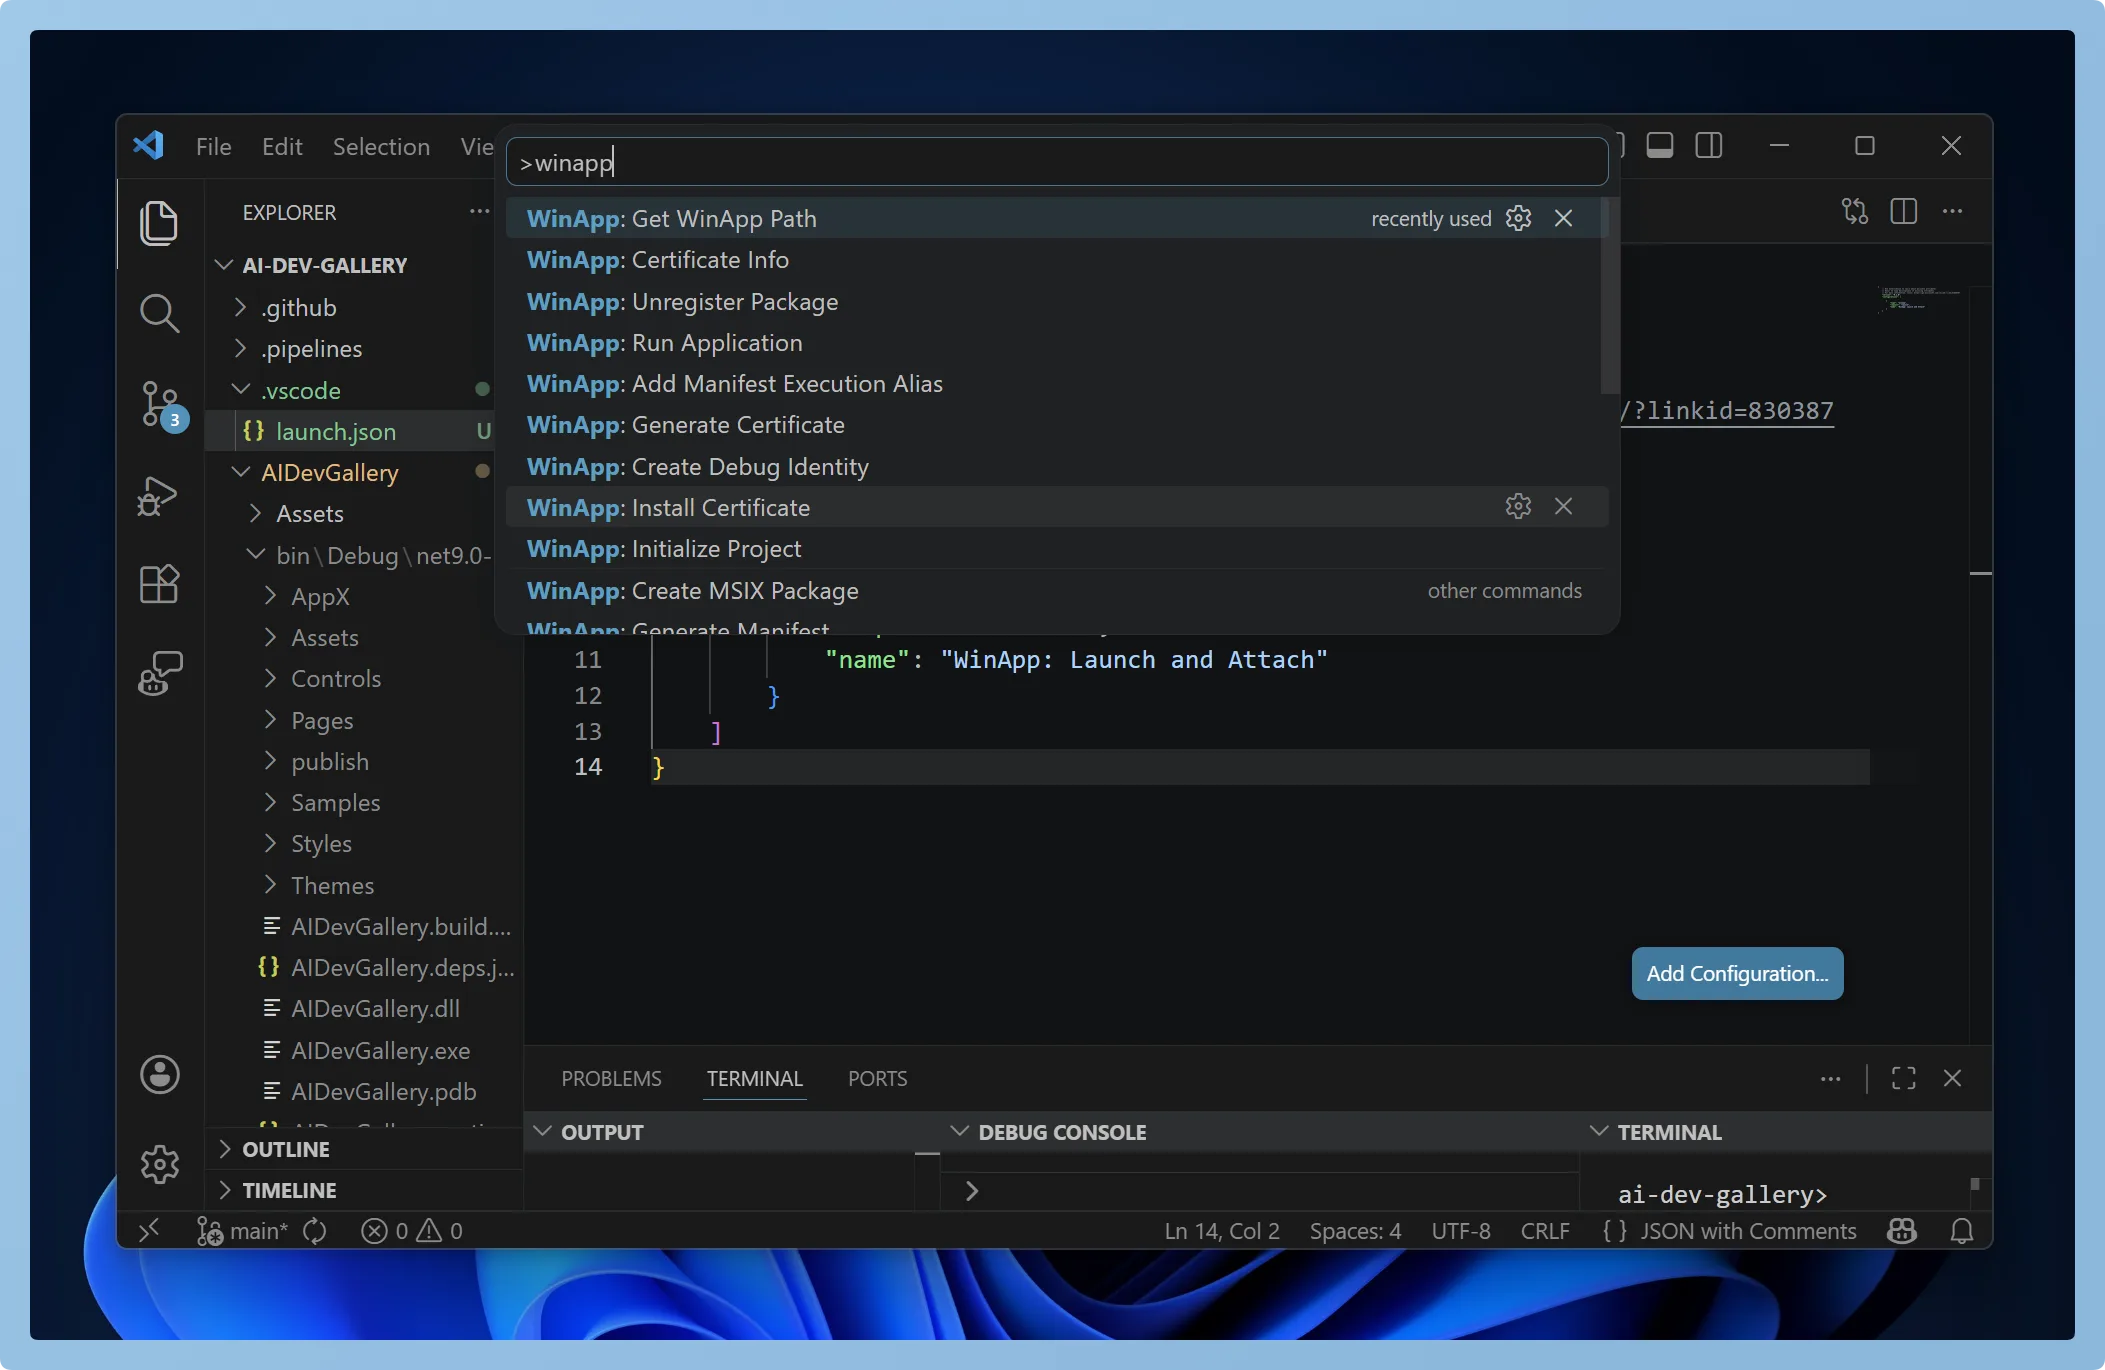
Many of the WinApp CLI commands are available from the VS Code Command Palette (Ctrl+Shift+P). Type WinApp and you’ll see the full list:
- Initialize Project: configure your project with the Windows SDK and/or Windows App SDK
- Restore / Update Packages: manage project dependencies
- Run Application: launch your app as a loose-layout packaged app with full package identity
- Create Debug Identity: add sparse package identity to an existing executable for F5 debugging
- Unregister Package: clean up sideloaded development packages when you’re done
- Create MSIX Package: package your app into an MSIX, with options for certificates and self-contained runtime
- Generate Manifest: create a
Package.appxmanifestfrom a template - Add Manifest Execution Alias: add a command-line alias so your packaged app can be launched by name
- Update Manifest Assets: auto-generate all required app icons from a single source image
- Generate / Install Certificate: create or install development certificates for signing
- Certificate Info: display certificate details (subject, thumbprint, expiry) to verify a certificate matches your manifest
- Sign Package: sign an MSIX package or executable
- Run SDK Tool: run
makeappx,signtool,mt, ormakepriwith custom arguments - Get WinApp Path: show paths to installed SDK components
No separate CLI installation required. The WinApp CLI is bundled with the extension.
The WinApp extension commands work with the same frameworks as the WinApp CLI:
- .NET: WPF, WinForms, Console, WinUI3
- C / C++: Win32, CMake, MSBuild
- Electron / Node.js
- Rust
- Tauri
- Flutter
🚀 Get Started
Install from the VS Code Marketplace:
- Open VS Code
- Go to the Extensions view (
Ctrl+Shift+X) - Search for WinApp
- Click Install
Or install from the command line:
code --install-extension Microsoft-WinAppCLI.winappRequirements:
- Windows 10 or later
- Visual Studio Code 1.109.0 or later
- For debugging, install the debugger extension that matches your app’s language (see supported debuggers above)
Once installed, open a Windows app project, hit Ctrl+Shift+P, type WinApp, and start exploring.
Head over to WinApp VS Code Extension for full documentation.
💬 We Want Your Feedback
This is a public preview; we’re actively developing the extension and want to hear from you. Your feedback directly shapes what we build next.
- Found a bug? File a bug
- Have a feature request? Open a feature request and tell us what would make your workflow better.
- Something confusing? Let us know. We want the experience to be smooth from day one.
Want to see what we’re working on? Check out our open VS Code extension issues on GitHub. Feel free to upvote, comment, or open new issues for features you’d like to see.
Happy coding! 🎉
0 comments
Be the first to start the discussion.