Providing secure and seamless access to applications is essential, especially when those applications leverage the power of AI-driven copilots. Copilot Studio is an innovative platform that allows you to create and customize AI copilots. However, if you’re trying to allow customers to access your Copilot-powered apps through Microsoft Entra External ID, you’ve probably noticed that there is no out-of-the-box integration.
Using the Generic OAUTH 2.0 service provider option within Copilot, this tutorial will guide you step-by-step on how to integrate Copilot and Microsoft Entra External ID—ensuring your customers can securely access your Copilot-powered applications.
Prerequisites
Before we dive in, make sure you have the following prerequisites in place:
- A Copilot Studio account.
- A published Copilot.
- An external tenant on the Microsoft Entra Admin center
- If you don’t have one, you can create one using our 30-day free trial or create an external tenant with an Azure subscription.
- An account with at least Cloud Application Administrator role.
Step 1: Obtain the redirect URL for the Copilot Studio chat bot
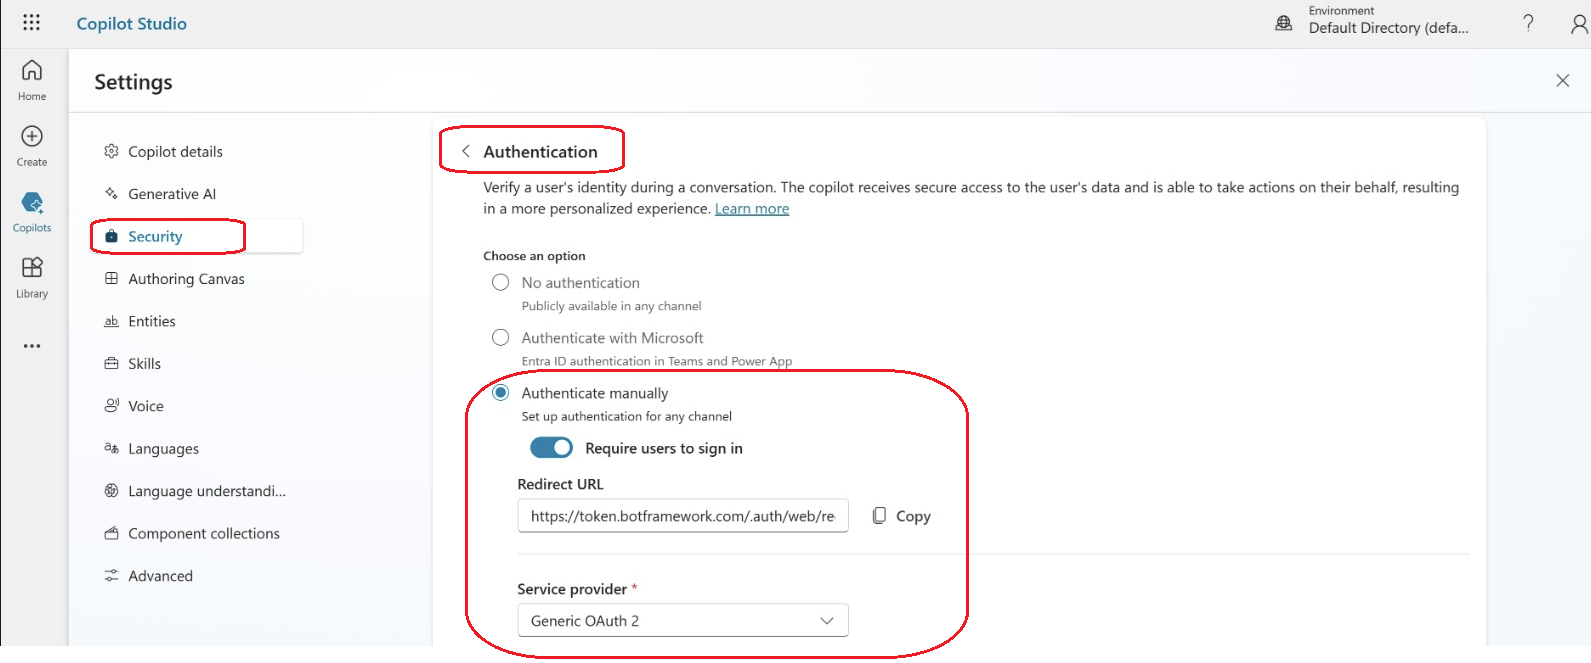
In Copilot Studio, select the appropriate copilot and navigate to Settings > Security > Authentication.
- Select Authenticate manually.
- Make sure that the Require users to sign in option is selected.
- Click Copy, and save the redirect URL for use in the next steps.

Step 2: Configure Microsoft Entra External ID
Now that you have the redirect URL, it’s time to set up and configure Microsoft Entra External ID.
Navigate to the Microsoft Entra Admin Center, click Applications and then select ‘App registrations’.
- Register an app using the redirect URL obtained in the previous step. Refer to our docs for quickstart guidance on registering an app.
- For Account type, select ‘Accounts in this organizational directory only’.
- Select ‘Web Platform’, and make sure you use the redirect URL obtained in Step 1.

-
Create a secret following the “Add Credentials” section in the quick start guide on registering an app. Copy it for use later.
-
Once the app is registered, copy and save the ‘client id’, ‘tenant name’, and ‘tenant id’ for the next step.
Step 3: Configure Authentication settings in Copilot Studio
For this step, make sure that the redirect URL from Step 1 is URL encoded as shown below (you can copy and paste the below).
http%3A%2F%2Ftoken.botframework.com%2F.auth%2Fweb%2Fredirect
Let’s configure the Authentication options within Copilot Studio.
- Go to Settings > Security > Authentication
- Select Authenticate Manually
- Select the Require users to sign in option.

- Redirect URL: Make sure this is the redirect URL from Step 1 (unencoded).
- Service Provider: Select ’Generic OAuth2’.
- Client ID: Use the client id obtained from the app registration in the previous step.
- Client Secret: Use the client secret obtained from the app registration in the previous step.
- Scope List Delimiter: use a comma (,).
- Authorization URL Template: Replace the ‘tenant name’ and ‘tenant id’ to obtain the value.
The Authorization URL template should look like the below.
https://<<TenantName>>.ciamlogin.com/<<TenantName>>.onmicrosoft.com/oauth2/v2.0/authorize
- Authorization URL query string template: Replace
<<ClientId>>with the ‘client id’ obtained from the app registration in the previous step. Replace<<RedirectUri>>with the encoded value, as outlined above.
See code sample:
?client_id=<<ClientId>>&redirect_uri=<<RedirectUri>>&scope=openid%20profile&response_type=code&state={state}
Note: Make sure to include the state={state} as shown above. Do not replace {state} with any value as this will be done automatically.
- Token URL template: Replace the ‘tenant name’ and ‘tenant id’ to obtain the value.
The token URL template should look like the below.
https://<<TenantName>>.ciamlogin.com/<<TenantName>>.onmicrosoft.com/oauth2/v2.0/token
-
Token URL query string template: use a question mark (?).
-
Token body template: Replace
<<ClientId>>with the ‘client id’ obtained from the app registration. Replace<<RedirectUri>>with the encoded value, as outlined above.
See code sample.
client_id=<<ClientId>>&redirect_uri=<<RedirectUri>>&grant_type=authorization_code&code={code}
- Refresh URL template: Replace the ‘tenant name’ to obtain the value.
The refresh URL template should look like the below.
https://<<TenantName>>.ciamlogin.com//<<TenantName>>.onmicrosoft.com/oauth2/v2.0/token
-
Refresh URL query string template: use a question mark (?).
-
Refresh body template: Replace
<<ClientId>>with the ‘client id’ obtained from the app registration in the previous step. Replace<<RedirectUri>>with the encoded value, as outlined above.
See code sample.
client_id=<<ClientId>>&redirect_uri=<<RedirectUri>>&grant_type=refresh_token&refresh_token={refresh_token}
Step 4: Test the Integration
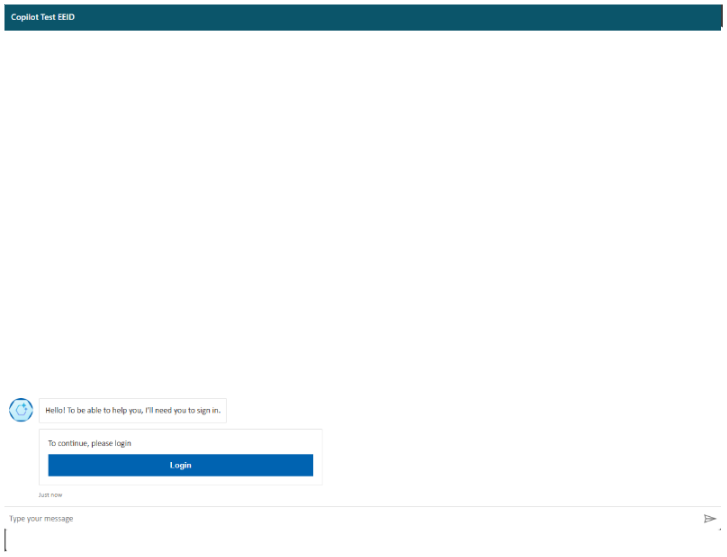
- Visit the bot’s demo website and click Login.

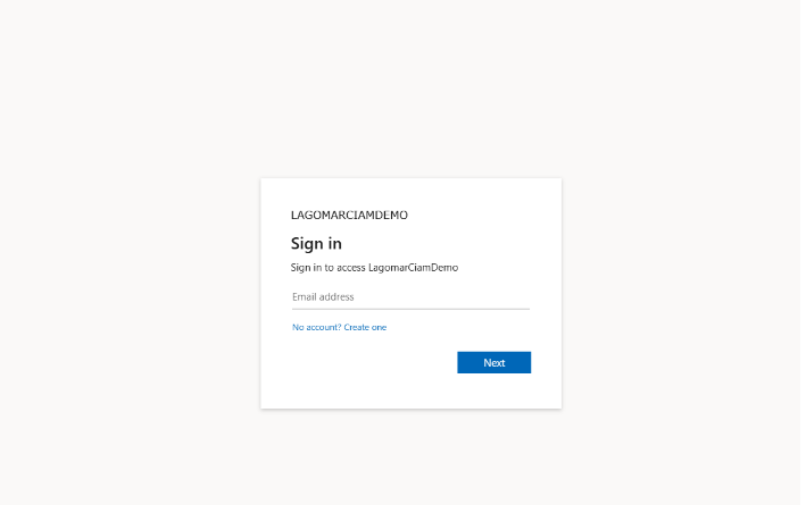
- Log in via External ID
- Use any of the available authentication options provided by External ID, such as username and password, email OTP, Facebook, or Google.

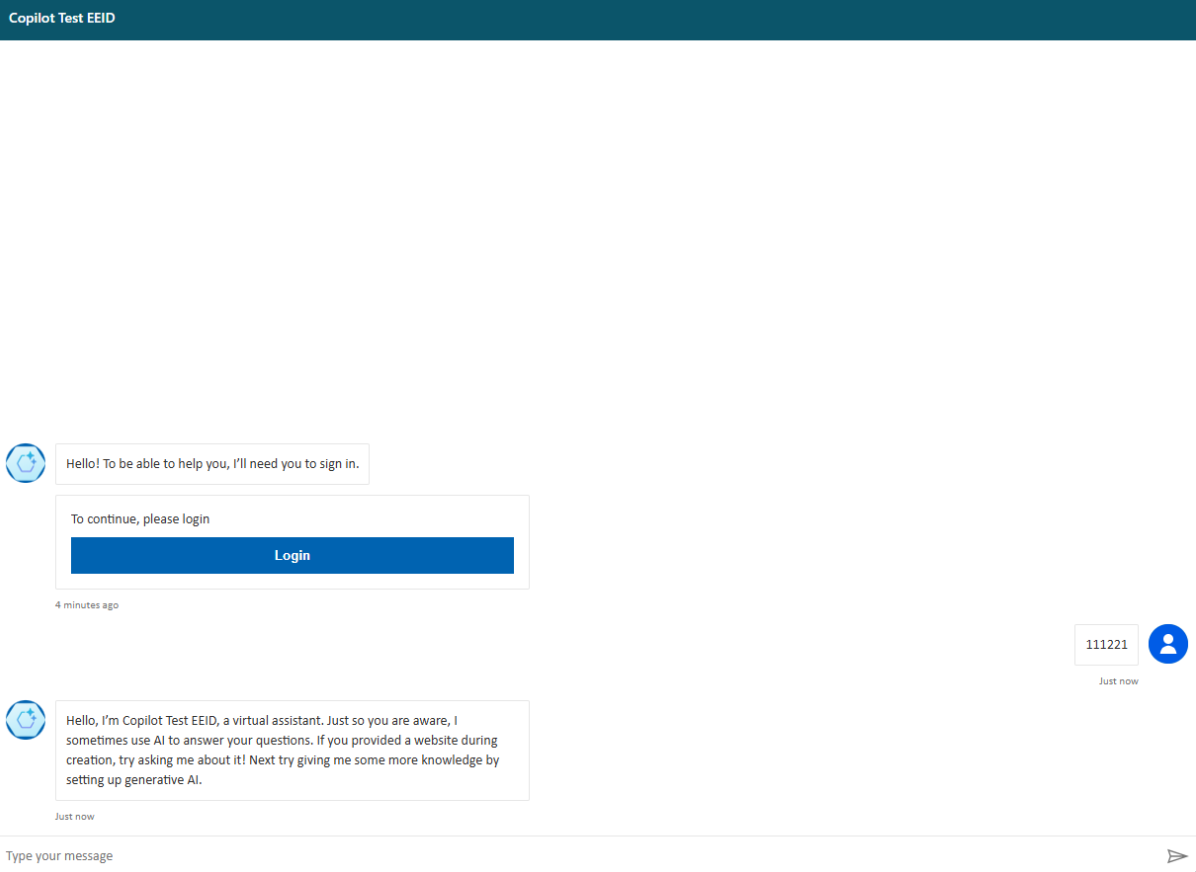
- After logging in, you will be redirected to a validation code page. Copy the code generated.

- Return to Copilot Studio’s authentication process and enter the code validator provided in previous step.

Let’s recap
Congratulations! You’ve successfully integrated Copilot Studio with Microsoft Entra External ID using the Generic OAuth 2.0 service provider. By following the steps in this tutorial, you’ve enabled external users to securely access your copilot-powered applications.
If you found this tutorial helpful or have questions and feedback, feel free to leave a comment below. You can also use our feedback form to share your thoughts and suggest new features to enhance External ID. We also encourage you to join our research panel to receive invites to participate in customer research.
To learn more and test out features in the Microsoft Entra portfolio, visit our developer center. Make sure you subscribe to the Identity developer blog for more insights and to keep up with the latest on all things Identity. And, follow us on YouTube for video overviews, tutorials, and deep dives.

Is it possible to create a step by step guide SSO with a Custom Agent that uses the Teams channel and that uses the ServiceNow prebuilt actions.
I trying to have the action use the users context so who ever engages the Agent it utilises that users access permissions to only surface what they have access too.
Hi, Thank you for the excellent guide. I just had one question, is it possible to somehow bypass the validation code step? So, the user just has to login into their microsoft account and the copilot just works.
Hi Aryman Deshwal,
Thank you for your kind words about the guide! I’m glad you found it helpful.
Regarding your question, the current integration does indeed require the validation code step as part of the login process. We understand that this can create some friction for users. However, we are planning to create an out-of-the-box integration between Copilot Studio and EEID that will streamline this process and improve the overall user experience.
Regards