
Hey there,
At the latest DockerCon (virtual) Conference, Docker announced a more tightened partnership with Microsoft, boosting the adoption and integration of Docker containers for Windows Server as well as Azure-running containerized workloads. A first announcement involved a cool integration with Azure Container Instance (ACI), a low-level container runtime on Azure, allowing you to run a container without the typical management complexity. While ACI has been around for 2 or more years already, it now becomes possible to manage and run your ACI-based containers directly from the Docker commandline.
And that’s exactly what I will guide you through in this post.
Prerequisites
- This capability is out of preview now, and requiring Docker Desktop Edge 2.3.2.0 or the more traditional Docker Desktop Stable 2.3.0.5
- An Azure subscription, allowing you to deploy and run Azure Container Instance
- A sample Docker container (you can grab “my example”) if you want, or use any other you like)
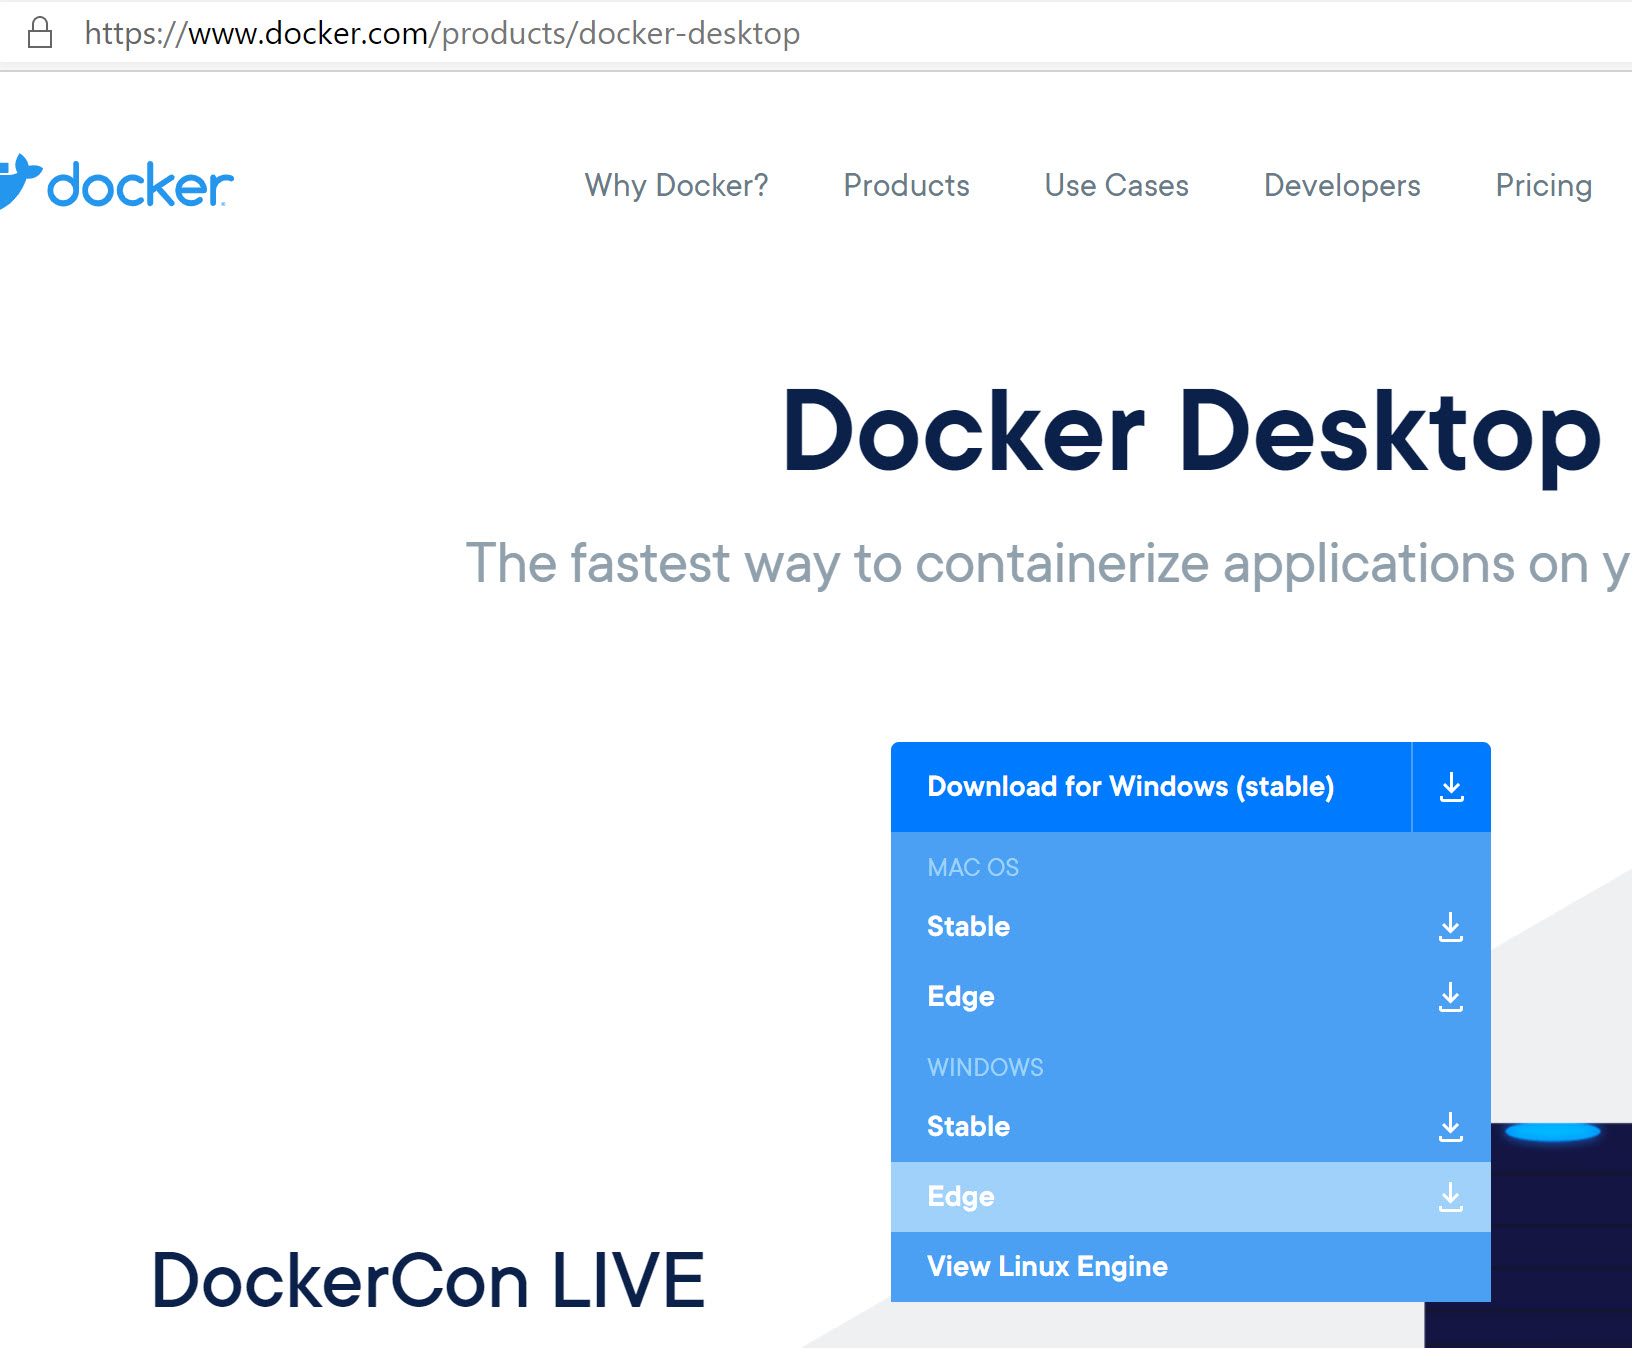
From the Docker website, download the Docker Desktop Edge or Stable edition (I’ve used Edge for this article fyi)
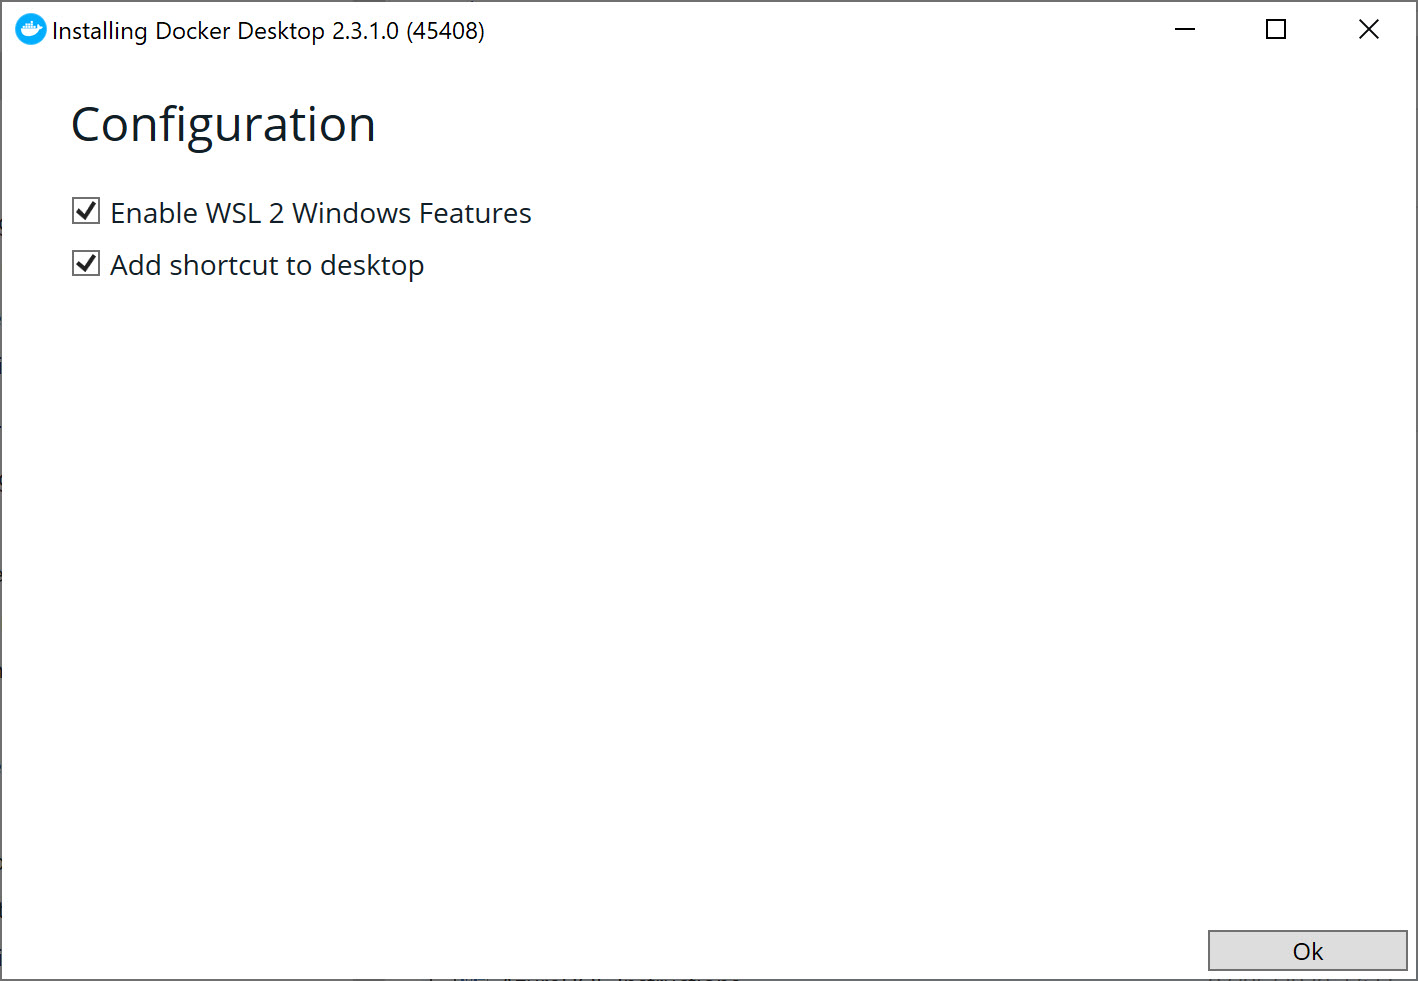
Accept the options to create a desktop shortcut and allow the integration with WSL (if that is what you were using before…)
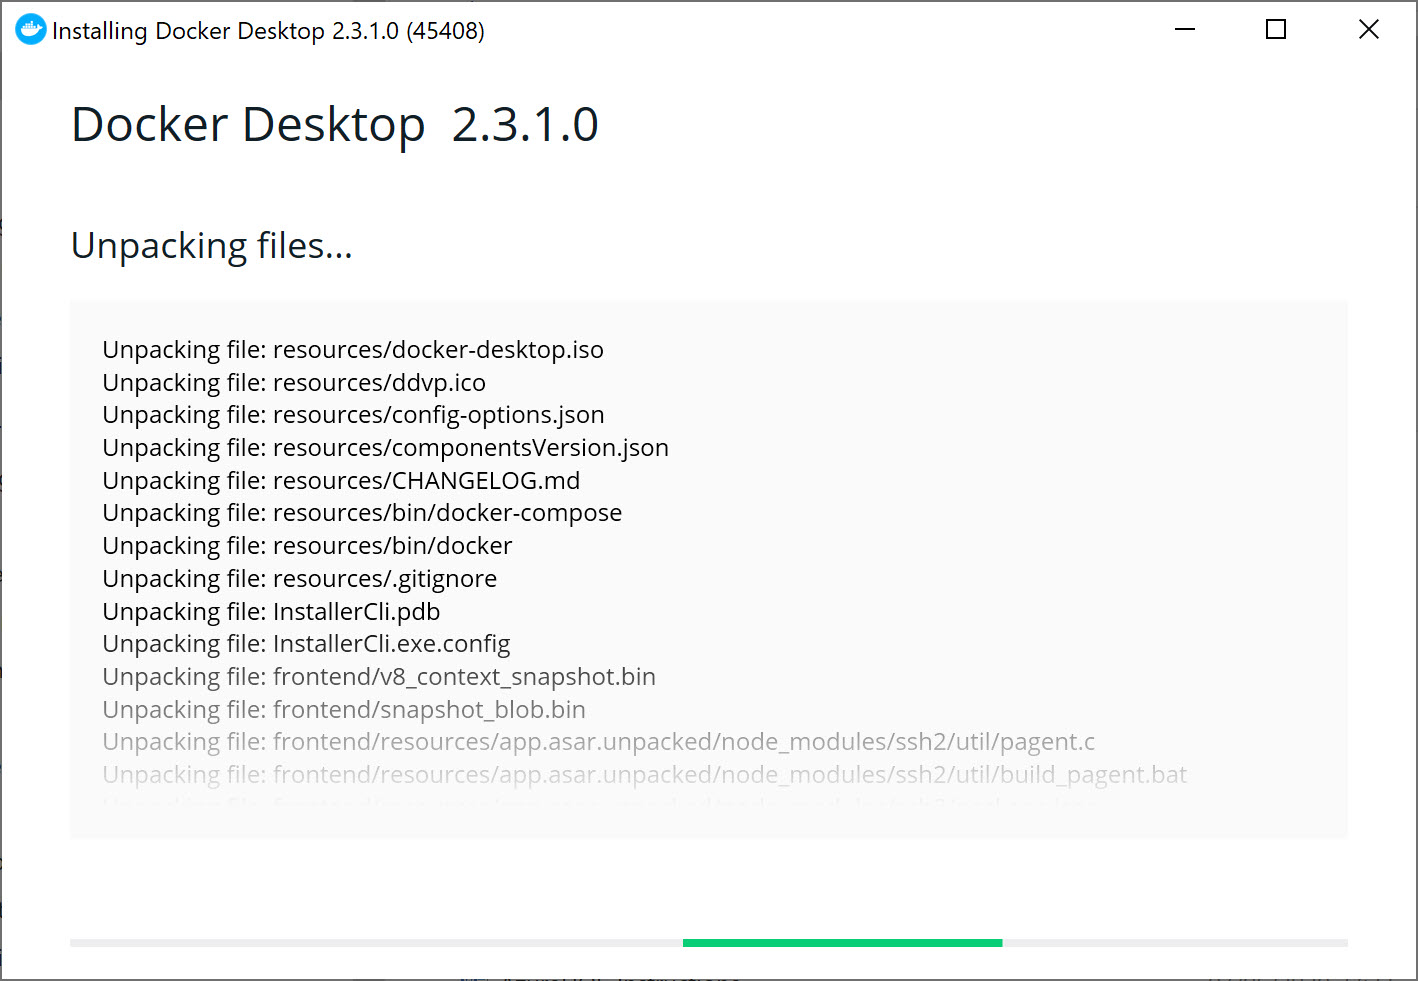
Wait for the component install to complete
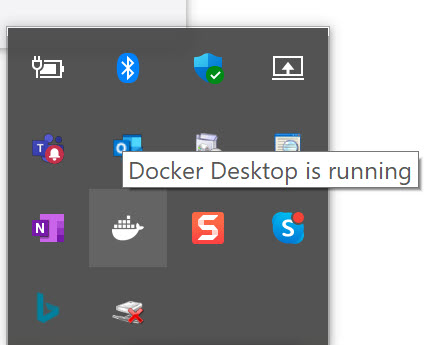
After only a few minutes, Docker Desktop should run fine. You can validate this from the Docker icon in the taskbar’s notification area; if it shouldn’t start automatically, you can start it from here as well, by right-clicking on it.
Confirm Docker Desktop is running fine from a Docker Perspective , by opening your Command Prompt, and running
Docker info
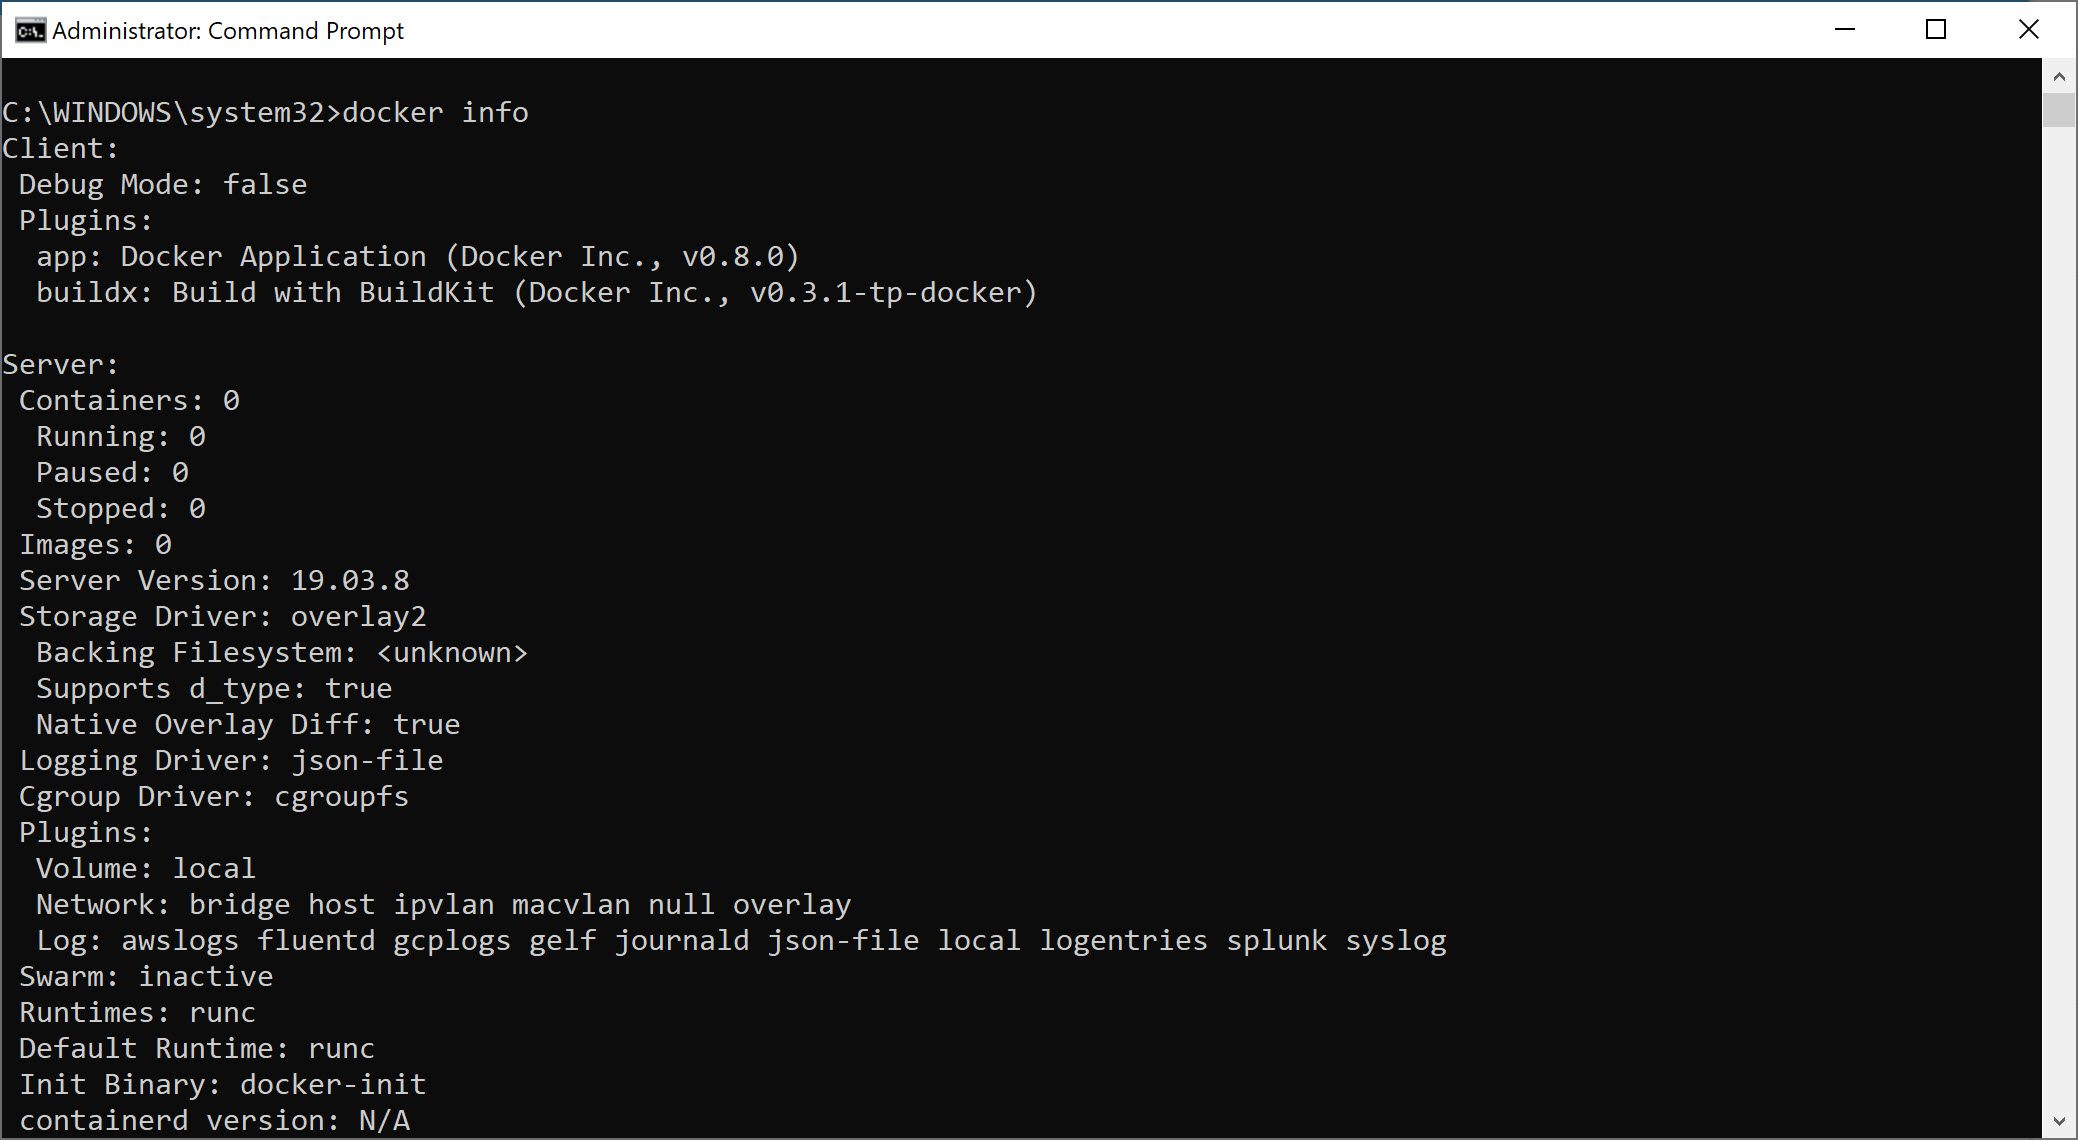
Nice, that Docker Desktop install went smooth!
On to the next step… Now we are running the latest Docker Desktop, it is time to play around with the newest Azure Container Instance (ACI) integration – which is the whole point of this blog post.
In short, you go through the following steps: – Authenticate to Azure, directly from Docker – connect Docker to Azure Container Instance by creating a “Docker Context” (think of this as an environment with its own settings, much like dev/test, staging, production. Or in our case, the “default context” being your local machine running Docker, and the other one being “Azure”) – Allocate a Docker Hub image to run as an Azure Container Instance, and run it
Authenticate to Azure, directly from Docker
The first feature that is part of the Docker Desktop, is allowing us to authenticate to Azure, directly from the Docker engine. Initiate the following command:
Docker Login Azure
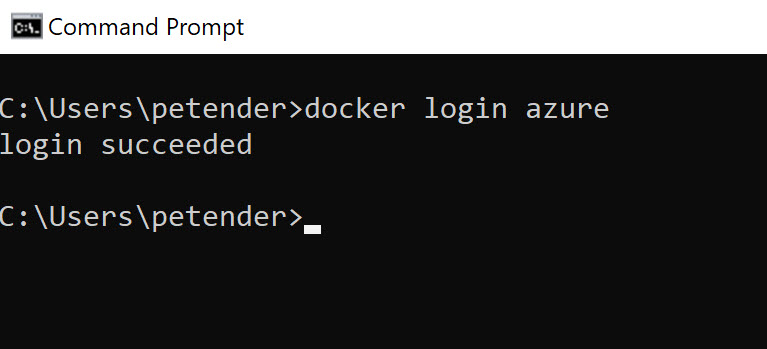
This will prompt you for your Azure subscription credentials in a browser, just like a regular Azure authentication prompt (this also recognizes MFA, to make this a rather secure option)
Creating a Docker Context
From your Command Prompt, create a new Docker Context, by running the following command:
docker context create aci <name_for_the_context>
Based on the authenticated logon from the previous step, it will list up the different Azure subscriptions linked to your account; using the “arrow” keys, you can select the subscription you want to use. Next, it will list up the different Resource Group within your subscription.
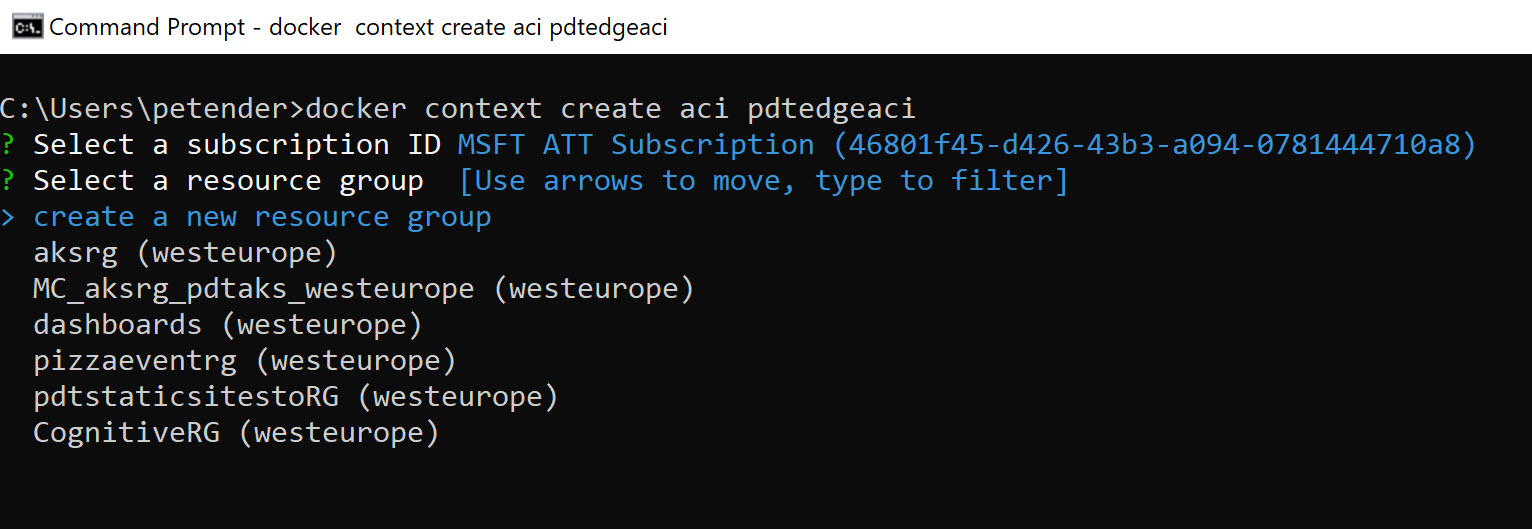
If you don’t want to use an existing Resource Group, you can create a new one:
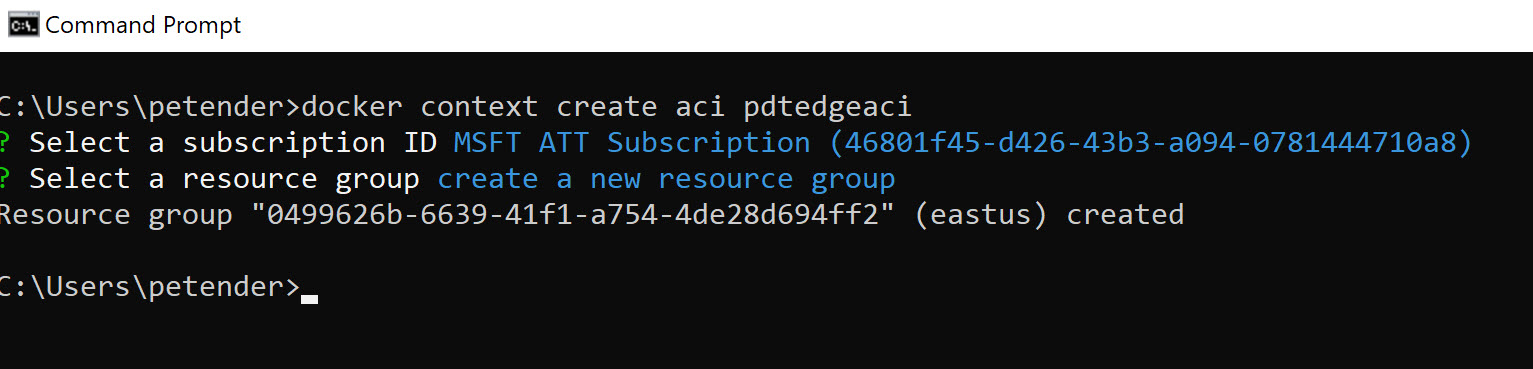
While this works, the naming convention for the newly created Resource Group is probably not going to work in any organization (naming convention policies etc…); so let’s run this command again, and create a new context, based on an already existing Resource Group we want to use, by running the following command:
docker context create aci <name_for_the_context> --location <azure_region_name> --resource-group <name_of_the_Azure_RG> --subscription <name_of_the_Azure_subscription>

The Docker Context, pointing to Azure ACI is available now. Let’s continue with running an actual container in the next step.
Running your ACI using a Docker Hub image
Before you can run the ACI integration, you first need to “switch context”, using the following command:
docker context use <name of the context>
Running a Docker container within the ACI instance, is based on the exact same Docker command you would use if it was running on your local machine:
docker run -d -p <portmapping> <name_of_the_container_image>
which looks like this for my example:
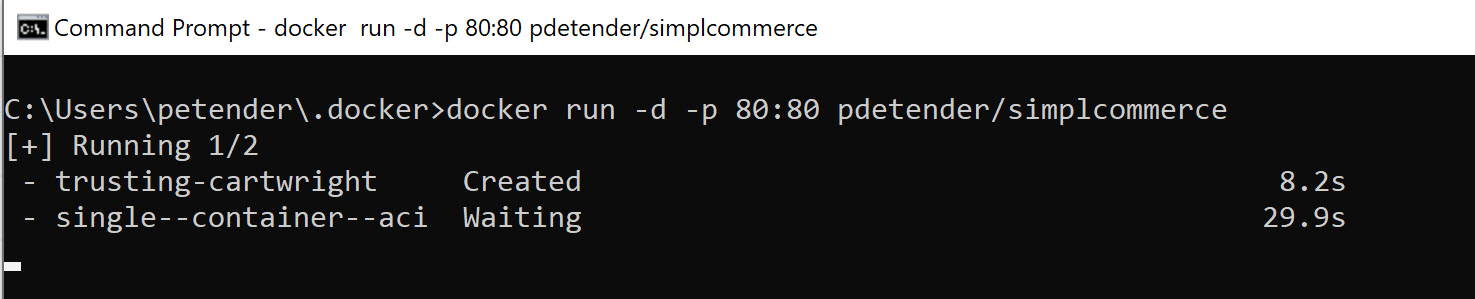
where – 80:80 tells the container to run the workload on port 80, and expose it to the outside world on port 80 as well – pdetender/simplcommerce points to an e-commerce application container I have available in my Docker Hub repository
At first, a new unique name for the Docker container runtime will get created (the “trusting-cartright”) in my example, followed by the deployment of a new Azure Container Instance
In less than a minute, the job is completed successfully. Time to validate the running container. This – again – is identical to validating your running Docker container instances on your local machine:
docker ps
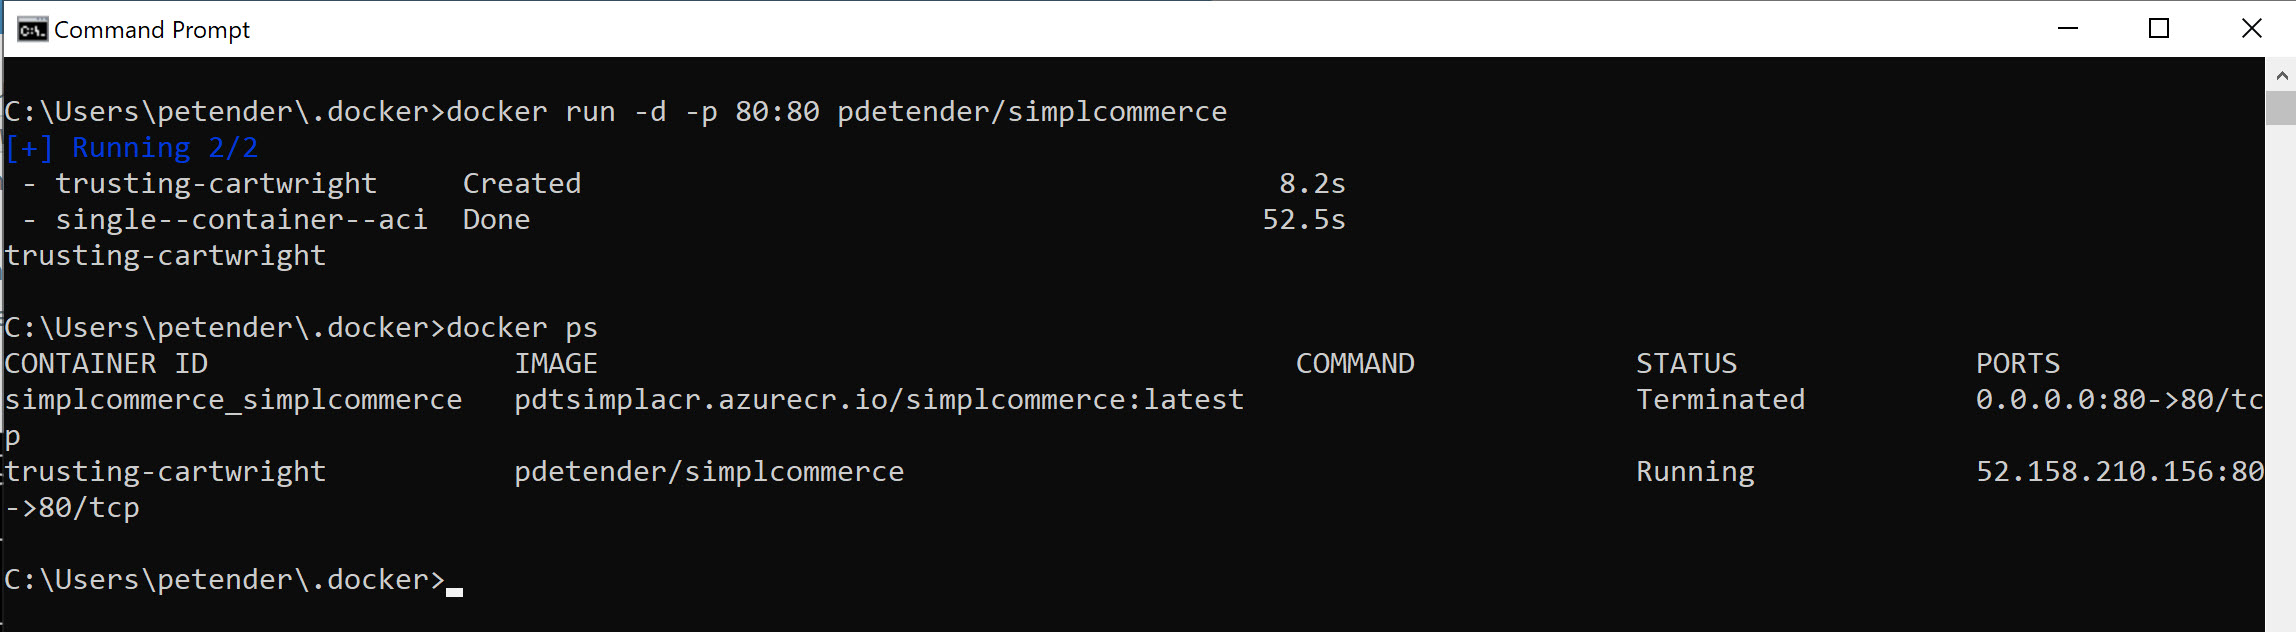
which shows you the running container instance, as well as the necessary details about the public-IP address of the instance. From your browser, connect to this public IP address, and see our sample workload in action:

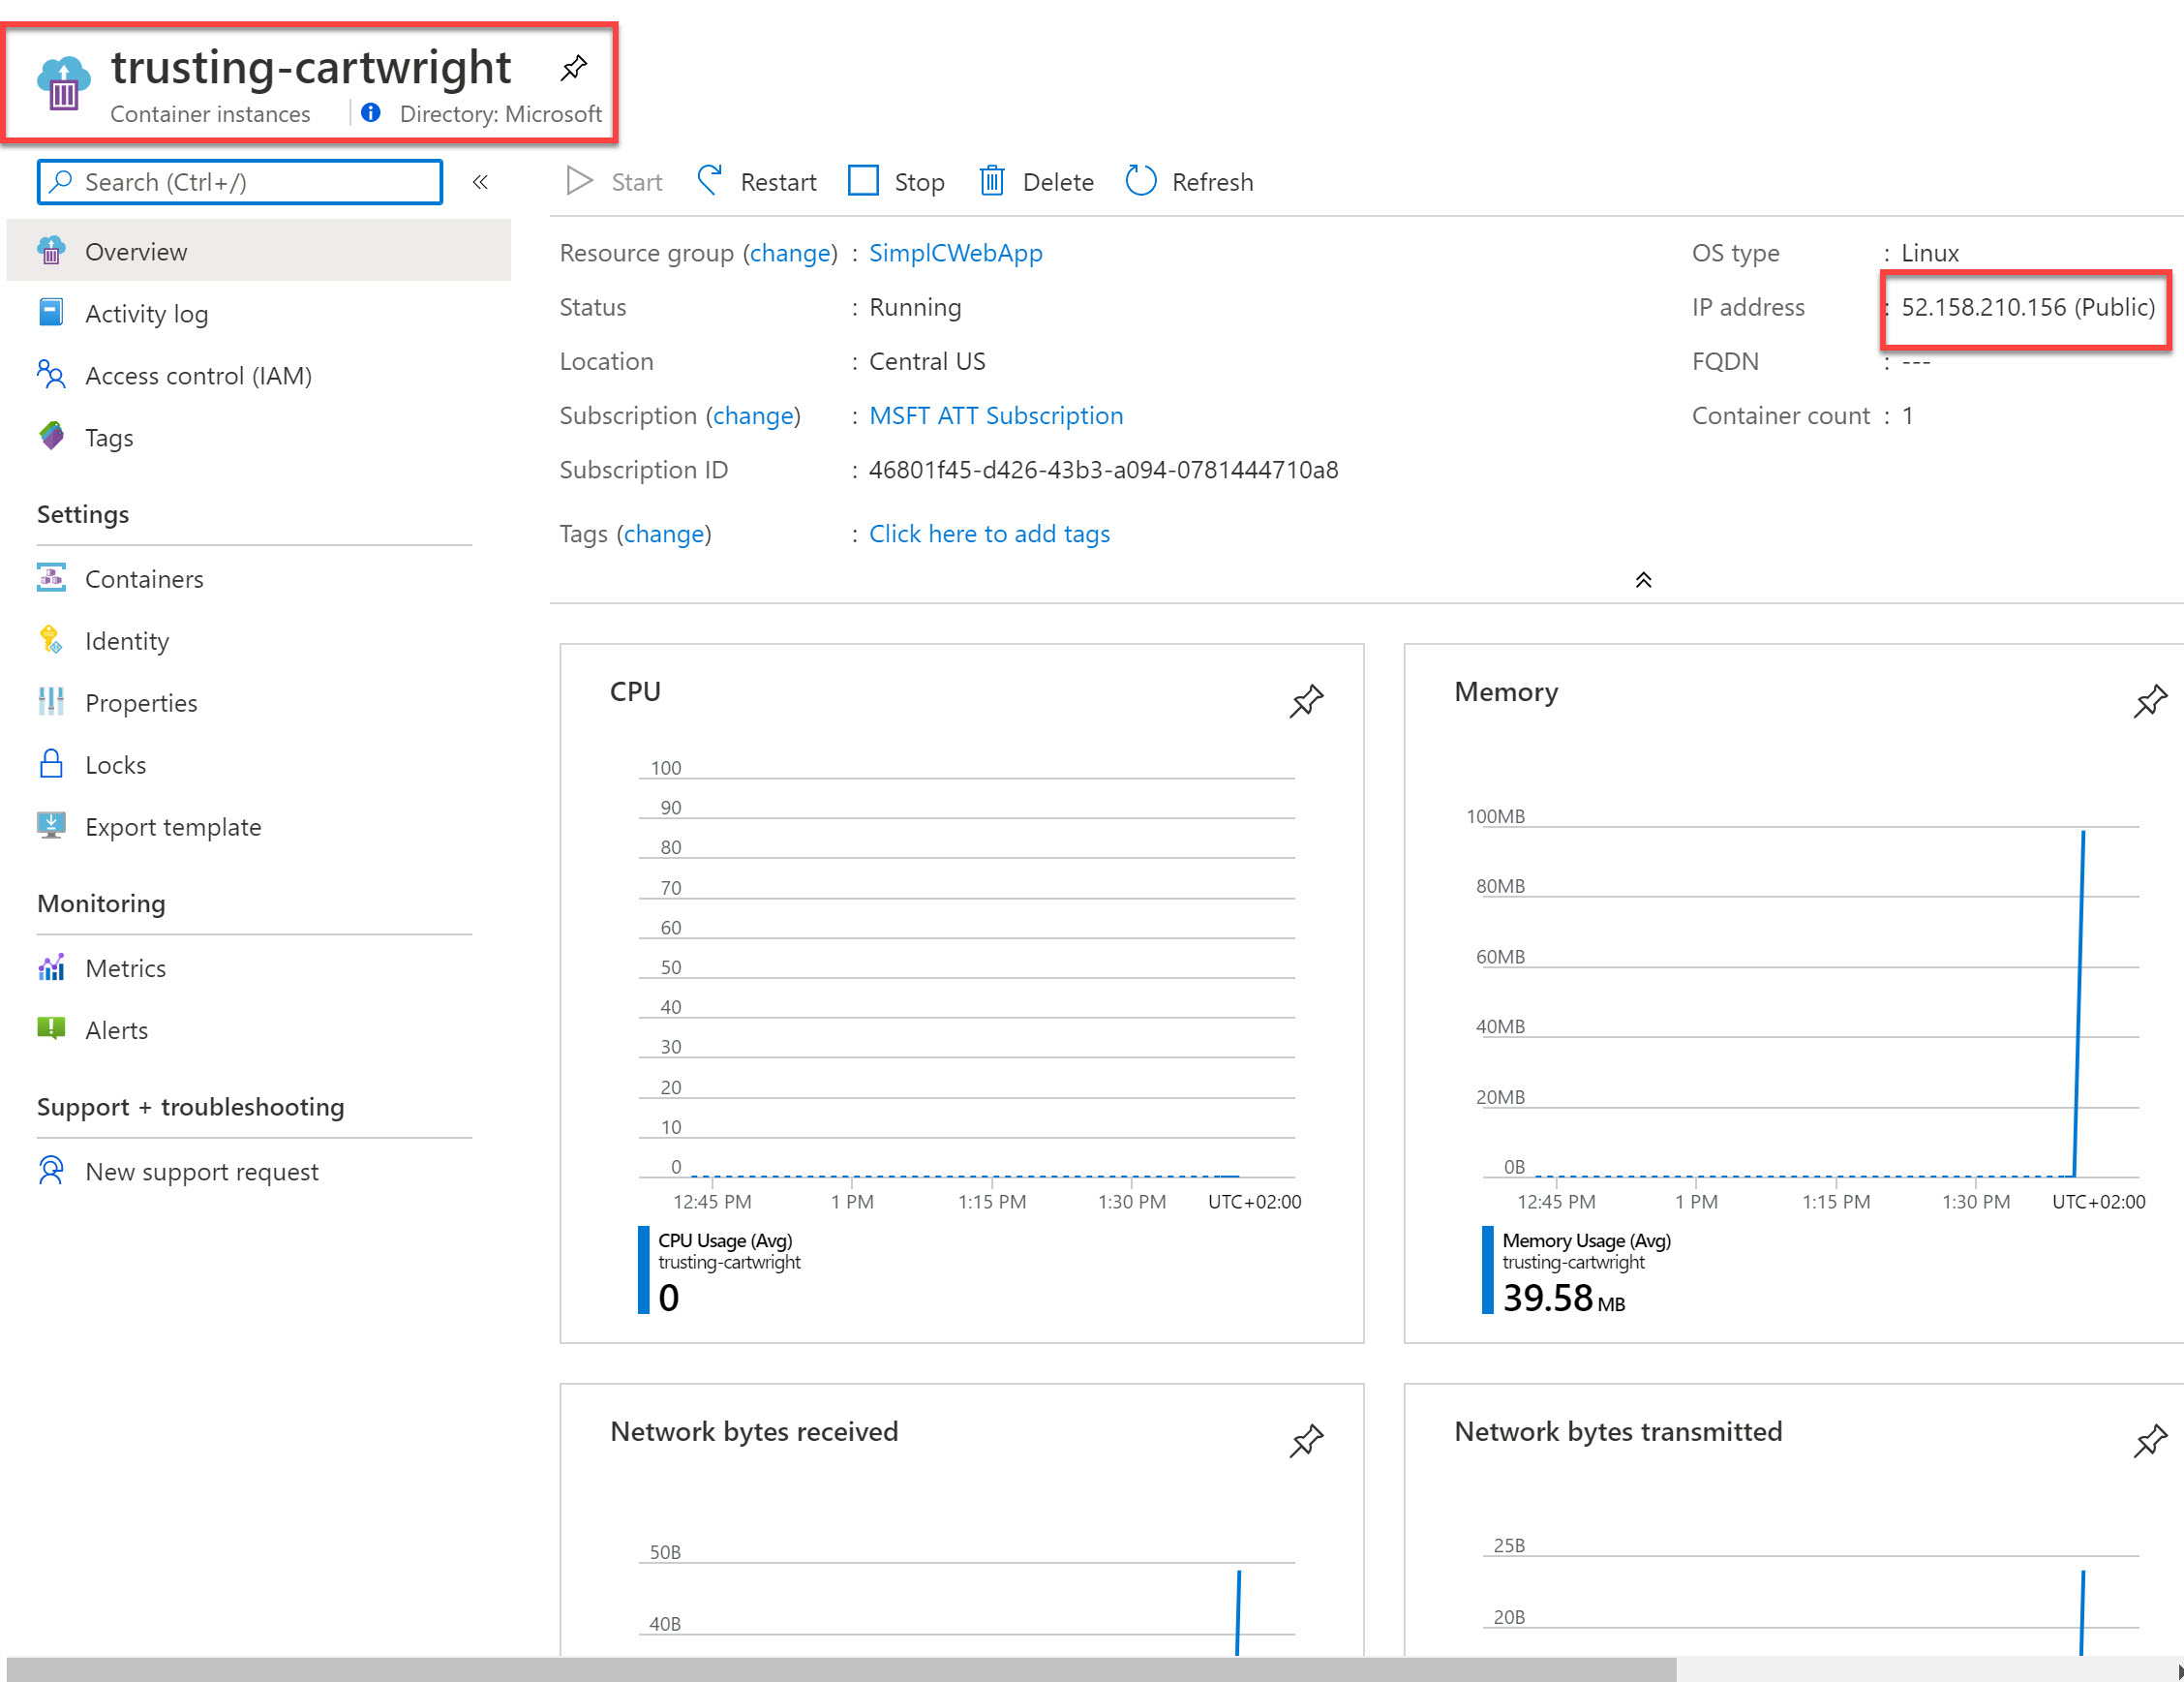
You can also validate this from the Azure Portal, by connecting to the Azure Container Instance (this could also be done from Azure CLI or Azure PowerShell to be complete…)
Wonderful! This new Docker Desktop integration with ACI is a nice improvement, and saving several steps from the “old way”.
This completes the core of what I wanted to discuss in this post, showing you the nice capabilities from Docker Desktop, to natively deploy and run an Azure Container Instance.
Running your ACI using an Azure Container Registry (ACR) image
The previous example was using a public Docker Hub container image. So I was wondering if this would also work for a (private) Docker image I already have in my Azure Container Registry. Let’s give it a try:
1) create a new Docker Context for ACI

2) Switch to this context (Docker context use…); Run the Docker Container, pointing to the Azure Container Registry image

Hmm, that’s an interesting error message… something “gcloud” related (=Google Cloud Platform :)). After some searching on the interwebs, it seems like my Docker instance is having some default authentication providers in its config.json file… interesting
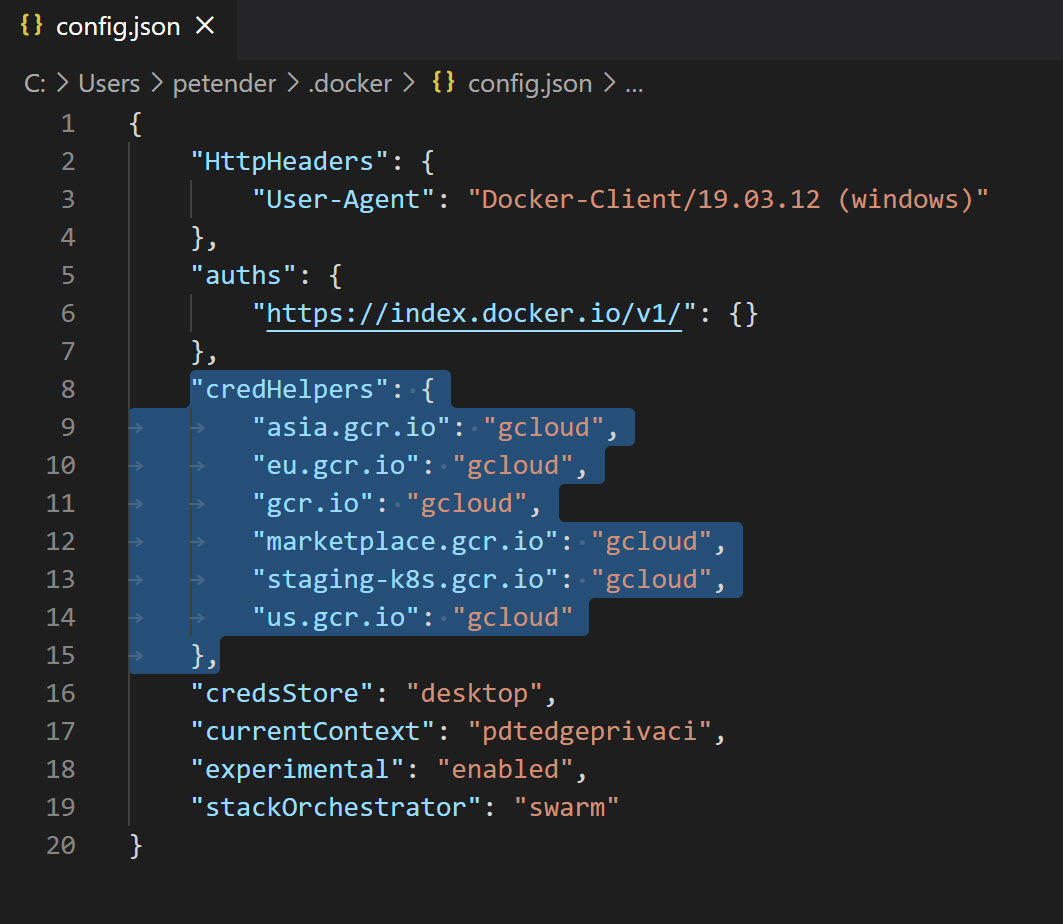
Apparently it is safe to remove the section “CredHelpers”, saving the file and running the “Docker Run” again:

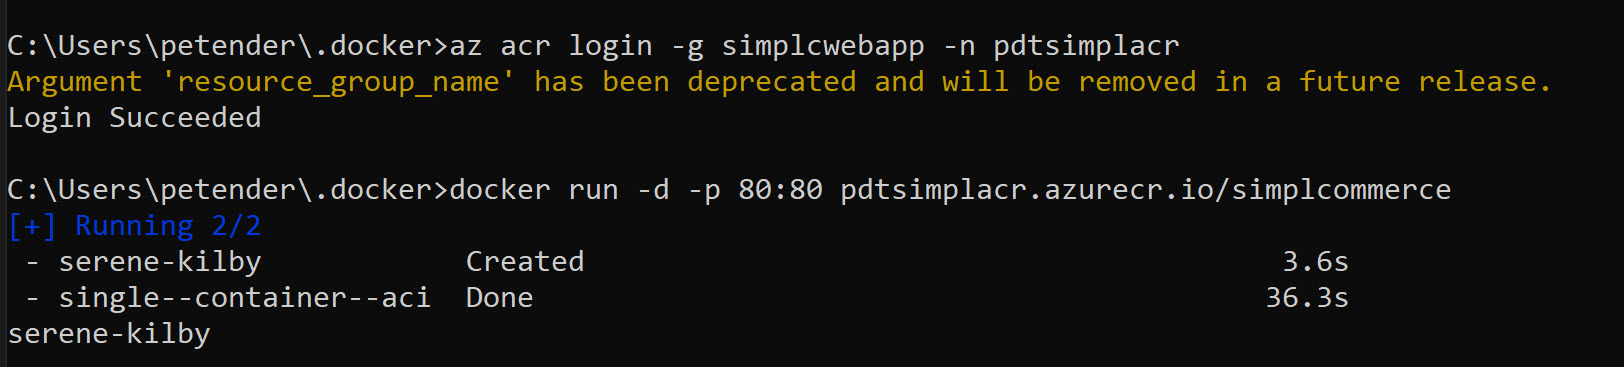
While that weird Gcloud error is gone, we are not quite there yet. But this error makes more sense to me. What it says here, is that the Docker Context cannot connect to the Azure Container Registry. Of course not, I need to authenticate to ACR first (az acr login), just like when I am running this locally on my machine:
where -g refers to the name of the Resource Group having the Azure Container Registry, and -n refers to the name of the Azure Container Registry itself
which works much better now; similar to the first example, a new Azure Container Instance is getting deployed:
Let’s validate once more by initiating “docker ps”, which shows the following:

and checking from the browser, if the workload is actually showing what it needs to show (note it is the same workload, just a different product category):

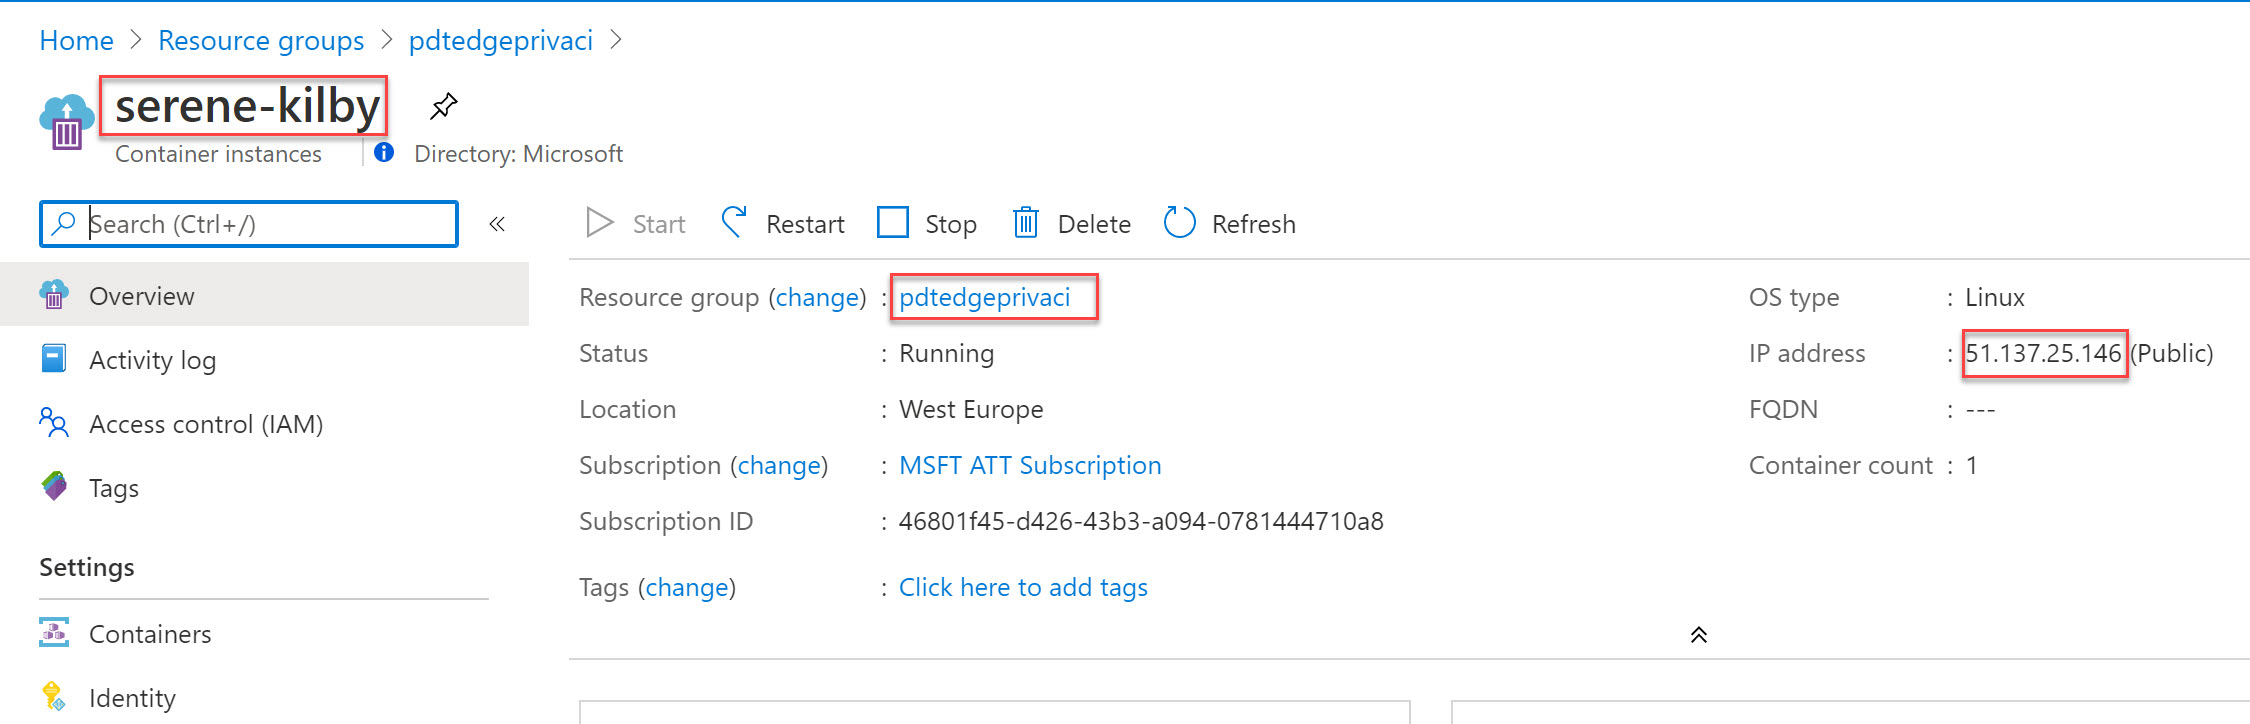
and lastly, checking back on what it looks like from the Azure Portal
I love this!!
Summary
In this post, I introduced you to a brand new capability from Docker Desktop, providing a direct (native almost) integration with Azure Container Instance. This allows you to deploy and run a container instance on Azure, without much hassle. I showed you how this works with public Docker Hub images, as well as with more private images from an Azure Container Registry.
- Create your Azure Trial subscription from this link:
- Grab my sample Docker Hub e-commerce example from this link:
As always, holler when having any questions petender@microsoft.com or @pdtit on Twitter
To use the features described in this blog article, you need to select the Settings-Experimental Features-Enable Cloud Experience option. If this setting is not enabled, you cannot log in to the Azure, instead the server name is treated as azure.
Hi, as far I can see, there is no mention of this in the Docker Experimental Features (https://github.com/docker/cli/blob/master/experimental/README.md); I just tried disabling those and it still worked. Could you please clarify if anything didn’t work on your end? And what kind of platform you were using (Windows 10, Linux,…)? Thanks, Peter
Hi Peter
thanks for a great blog. I would suggest to include steps to “Switch” the docker context else someone still is using local “default” docker-desktop context. This might be a reason why “the above user” got Server errors.
“docker context create aci” does create a context, but it doesn’t switch the context automatically. the User has to use command as below to switch the context
docker context use
https://devblogs.microsoft.com/devops/publishing-azure-container-instances-from-docker-cli/#running-your-aci-using-a-docker-hub-image
thanks
Avi
Dear Avi,
Thanks for the nice feedback. Appreciated you captured that step was missing in the outlined procedure, and informing me about it. The step-by-step instructions have been updated in meantime. Have a great day!
Kind regards, Peter