I am posting walkthroughs of the the various TFS 11 install wizards from the upcoming version of TFS previewed at the BUILD Conference in Anaheim last week. Installation of TFS 11 is very similar to installation of TFS 2010. You can use the install guide for TFS 2010 to review the current (TFS 2010) guidelines for install. And you can find the late breaking information about this version of TFS install (TFS 11) on the TFS setup forums.
This post covers the TFS 11 Extensions for SharePoint wizard.
First, get the preview and launch it. If you’ve already installed, skip down two screens to the Wizard and select Configure Team Foundation Build Service.
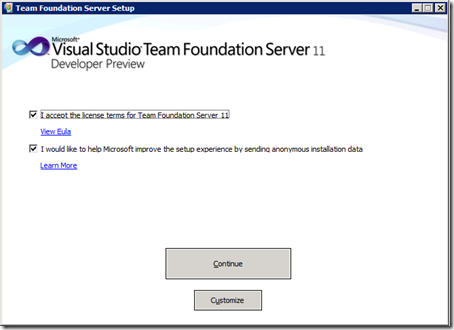
Accept the license agreement and click Continue.
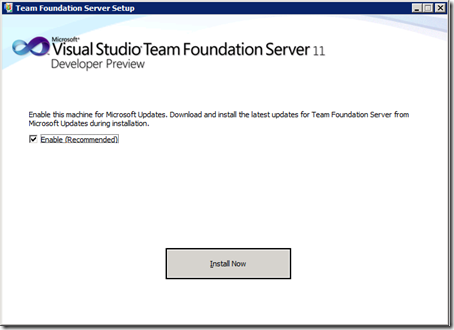
We recommend you enable updates. Click Install Now.
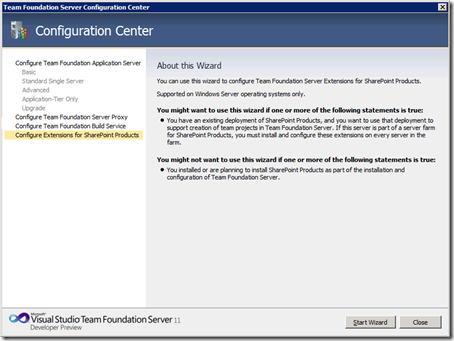
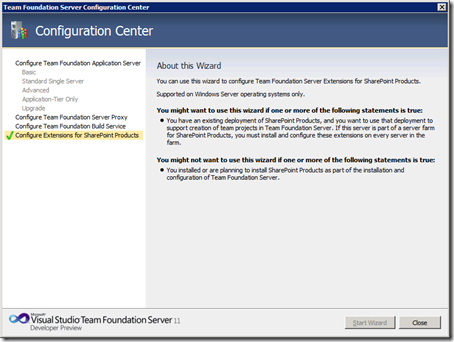
You install the TFS 11 SharePoint extensions on the SharePoint server you’re going to use for your TFS deployment. Select Configure Extensions for SharePoint Products and click Start Wizard.
Remember that if you install TFS on the same server as SharePoint (or if you use the TFS install option to install SharePoint as you install TFS), you don’t need to install the extensions. They’re installed automatically for you.
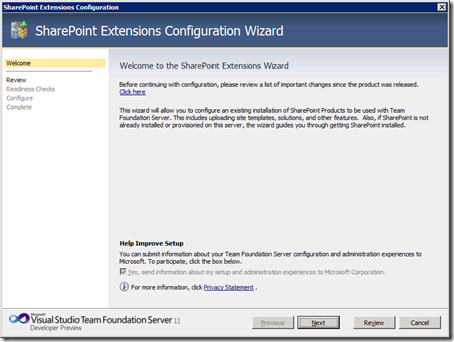
Click Next. Ignore the the “Click here”** **link on this page. If you opted into the updates earlier, you’ll automatically get the latest updates during install.
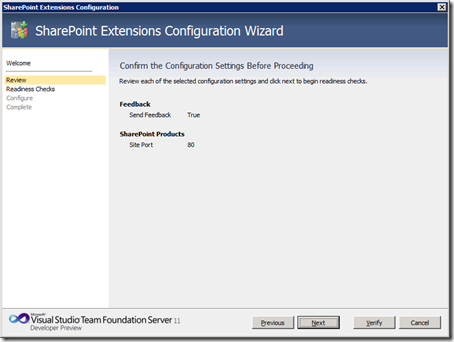
Review your selections and click Next.
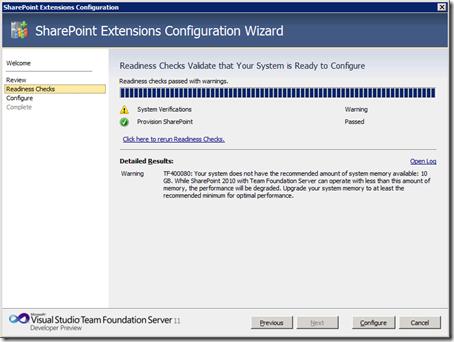
After the readiness checks run, click Configure.
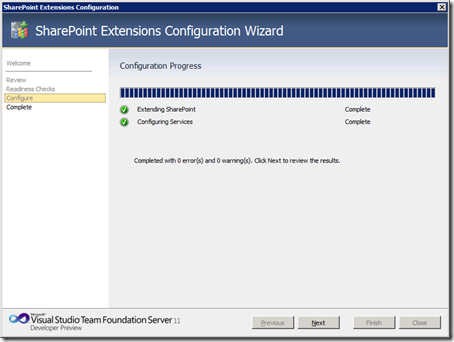
Once configuration completes, click Next.
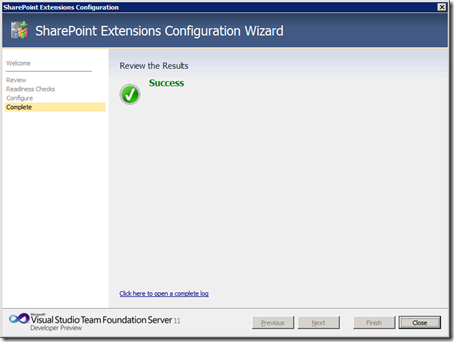
You’ve succeeded! Click Close.

0 comments