
C++ developers using Visual Studio 2019 16.0 Preview 1 or Visual Studio Code can now use Live Share. With Live Share you can share the full context of your code, enabling collaborative editing and debugging.
Collaborative Editing:
Collaborative Debugging:

In a Live Share session there is a host and a guest(s). The host of the session provides the guest with everything it needs to be productive; the guest doesn’t need any of the source files locally. Furthermore, the guest doesn’t need the right compiler, external dependencies, or even the same installed components. The guest even gets IntelliSense from the host!
While in a C++ Live Share session, you can use:
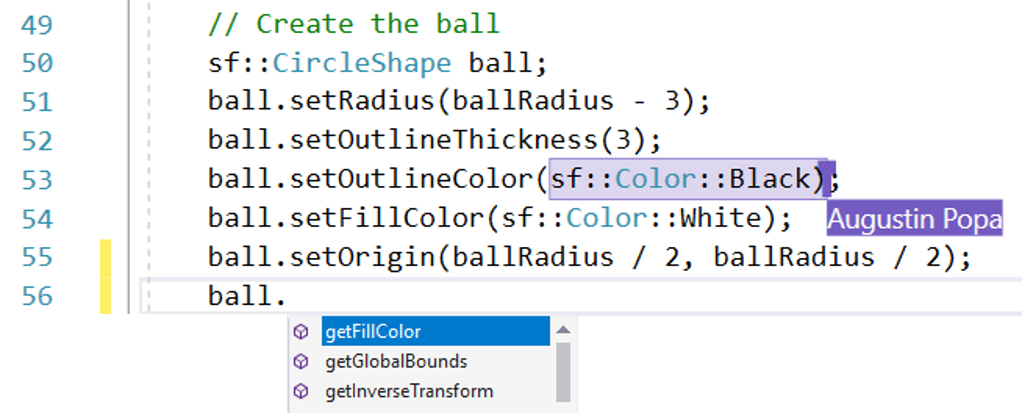
- Member List
- Parameter Help
- Quick Info
- Debugging/Breakpoints
- Find All References
- Go To Definition
- Symbol Search (Ctrl+T)
- Reference Highlighting
- Diagnostics/Errors/Squiggles
- Completion
How to Install Live Share
Visual Studio 2019 16.0 Preview 1 includes Live Share by default as part of the “Desktop development with C++” workload. If you are using Visual Studio Code, you’ll need to download the Live Share Extension.
Using Live Share – Visual Studio
With Live Share installed, Visual Studio and Visual Studio Code can act as the host or the guest of the Live Share session. This gives your team a lot of flexibility. For example, you could have a Visual Studio 2019 host on Windows that is sharing with a Visual Studio Code guest on Linux.
To start a Live Share session in Visual Studio, click the Share button in the top right (or go to File > Start Collaboration Session). This generates a link that you can share with your collaborators.
![]()
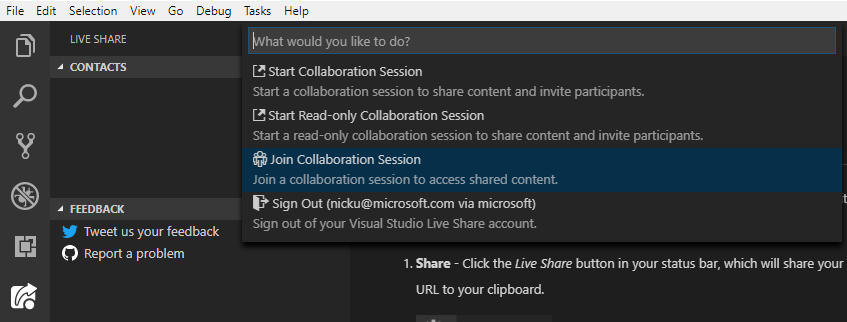
To join a session in Visual Studio, simply go to File > Join Collaboration Session… and enter a collaboration session invite link.
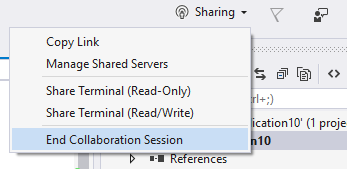
To end a session, select “End Collaboration Session” from the “Sharing” dropdown:
Please visit the Live Share home page for more information, including videos.
Using Live Share – Visual Studio Code
To start a Live Share session in Visual Studio Code, click the “Live Share” button in the bottom Command Palette.
![]()
This will automatically copy the sharing link to your clipboard. The Command palette will now display an icon next to your name to indicate you are sharing. You’ll also notice a new icon with an indication of how many participants have joined your session.
![]()
To join a session in Visual Studio Code, click your name in the bottom Command Palette. A dropdown will appear, giving you the option to join a session. After clicking that option, you’ll need to paste a Live Share session invite link.
To end a session , click your name in the bottom Command Palette. A dropdown will appear, giving you the option to stop the session. (You’ll also see the option to invite others if you need to recopy the session link.)

For more information, please refer to the Visual Studio Code Live Share documentation.
Known Issues
When sharing with a Visual Studio host to a Visual Studio guest, the Member List descriptions do not appear on the guest. This is a known issue and will be fixed in the next Preview.
Give Us Your Feedback
Live Share is new for Visual Studio C++, so we are eager to hear your feedback as we continue to improve your experience. We can be reached via the comments below or via email at visualcpp@microsoft.com. If you encounter problems with Live Share for C++ or have a suggestion for Visual Studio please let us know through the Send Feedback button in the top right of Visual Studio, or via Developer Community. You can also find us on Twitter @VisualC.
After entering the office setup and enter 25 product key via any of the two options mentioned above, click on “Continue.” Visit the notification dialog, and then you will notice “Install Now”; click on it to start installing your Office product key.