Saving Bot Activities in Azure SQL Database
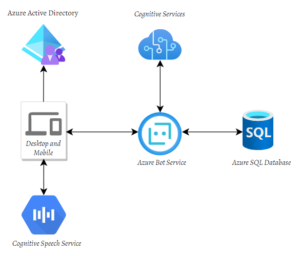
In this blog post, we’ll walkthrough of how to integrate Bot Framework v4 SDK with Azure SQL Database and save Bot activities/ conversations into the database.
We’ll leverage Bot.Builder.Community.Storage.EntityFramework package to save conversations using EntityFrameworkTranscriptStore with TranscriptLoggerMiddleware into Azure SQL Database.
Let’s start –
Create Azure Sql Database:Permalink
If you are new to Azure SQL and looking to understand more about different offerings of Azure SQL, you can start with this article.
Once you have decided the type of Azure SQL Database that suits your requirement, you can navigate to the Select SQL Deployment options page and create your Database.
For this demo, I have created a single database in the serverless compute tier.
You can follow this article which explains the steps of creating an Azure SQL Database.
Connect to the database:Permalink
Once your Azure sql database is created, you can use the Query editor (preview) in the Azure portal to connect to the database and execute queries. Alternatively, you can also connect your database using SSMS and Azure Data Studio, etc.
- In the Azure portal, search for and select SQL databases, and then select your database from the list.
- On the page for your database, select Query editor (preview) in the left menu.
- Enter your server admin login information and select OK.
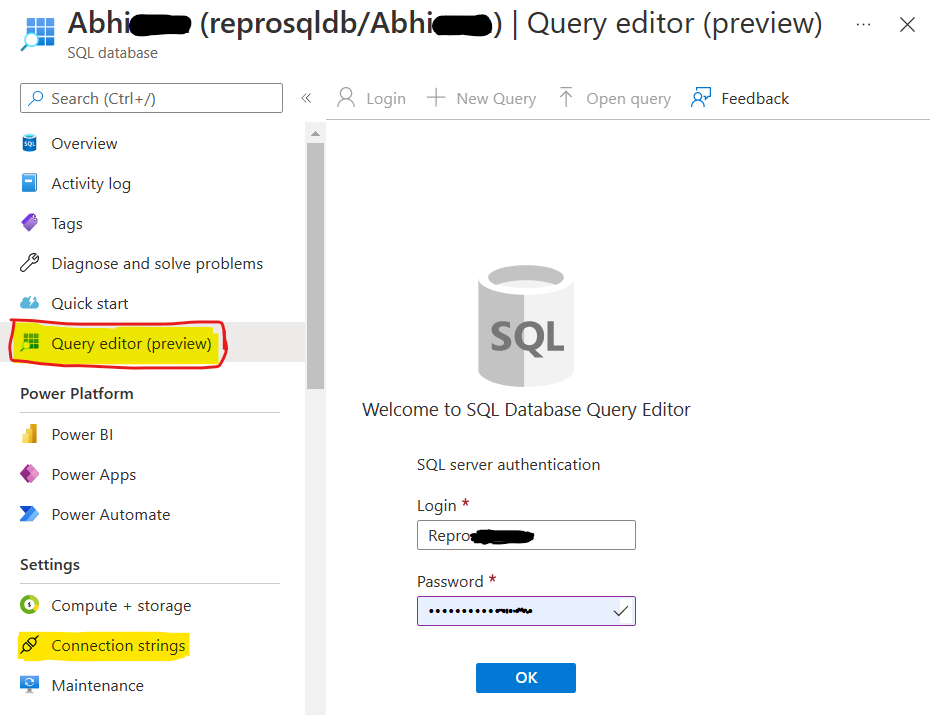
Note: Click on the
Connection stringslink in the above blade and copy the connection string somewhere which we’ll use later in this demo.
Create tables in your Azure SQL database:Permalink
Now, you need to create tables in your Azure SQL database to store the Bot Activities.
- Execute the CreateTableScript.sql script in your Azure SQL Database.
- Once you execute the
CreateTableScript.sqlscript in your Azure SQL Database, you should be able to see these two tables (BotDataEntity&TranscriptEntity) created.
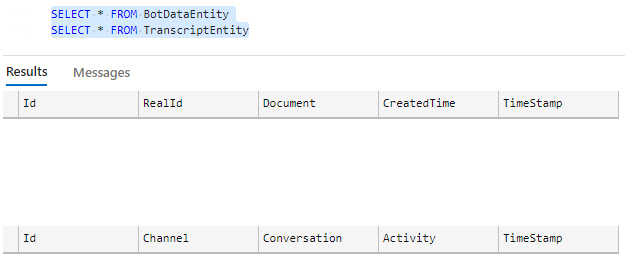
We have just created the table, it doesn’t contain any data yet.
Getting Bot project ready:Permalink
For this Demo, we will be using Bot Framework v4 Echo bot sample which accepts input from the user and echoes it back.
You may download the working code sample from GitHub or make the following changes to your existing Bot project.
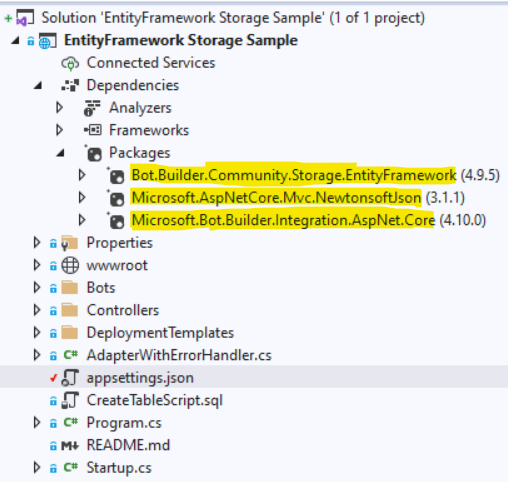
- Import these packages into your Bot project.

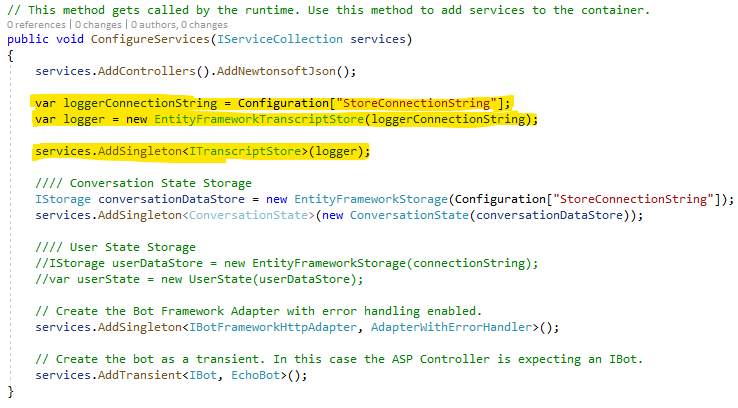
- Add the following code to your bot project’s Startup.cs.
 var loggerConnectionString = Configuration["StoreConnectionString"];
 var logger = new EntityFrameworkTranscriptStore(loggerConnectionString);
 services.AddSingleton<ITranscriptStore>(logger);
- Add ITranscriptStore as a parameters to AdapterWithErrorHandler class, and Use TranscriptLoggerMiddleware:
   public AdapterWithErrorHandler(ITranscriptStore transcriptLogger, IConfiguration configuration, ILogger<BotFrameworkHttpAdapter> logger, ConversationState conversationState = null)
          : base(configuration, logger)
      {
          Use(new TranscriptLoggerMiddleware(transcriptLogger));
- The ConnectionString you have copied from Azure sql database, put that into your Bot project against
StoreConnectionStringkey in appsettings.json file, something like shown below –{ "MicrosoftAppId": "", "MicrosoftAppPassword": "", "StoreConnectionString": "Server=tcp:YourSQLServerName.database.windows.net,1433;Initial Catalog=YourDatabaseName;Persist Security Info=False;User ID=YourSqlUserId;Password=YourSqlPassword;MultipleActiveResultSets=False;Encrypt=True;TrustServerCertificate=False;Connection Timeout=30;" }
Note:
I have left MicrosoftAppId and MicrosoftAppPassword blank as I’ll be running my Bot locally in Emulator but if your Bot is deployed on some remote server e.g., Azure app service or Bot needs to communicate to other external services e.g., Cognitive services, then you will need to put MicrosoftAppId and MicrosoftAppPassword as well to authenticate your Bot.
We are almost done. Now you should be able to run your Bot project.
Let’s see it in Action:Permalink
Run your bot code/ project (in case you have already hosted it to some web server e.g., Azure app service, you may skip this part) –
- If you are running from the terminal, navigate to your Bot project folder and run
dotnet runcommand.#run the bot dotnet run - If you are running from Visual Studio
- Launch Visual Studio
- File -> Open -> Project/Solution
- Navigate to your Bot project folder e.g., EntityFrameworkTranscriptStoreExample
- Select your Bot project file e.g., EntityFrameworkTranscriptStoreExample.csproj file
- Press F5 to run the project
Note: As a prerequisite to run this project, make sure you have .NET Core (>=3.1) version installed on your machine.
Test the Bot using Bot Framework Emulator:Permalink
Bot Framework Emulator is a desktop application that allows Bot developers to Test and debug their bots on localhost or run remotely through a tunnel. You may install the Bot Framework Emulator from here.
Connect to the bot using Bot Framework Emulator:Permalink
- Launch Bot Framework Emulator
- File -> Open Bot
- Enter a Bot URL e.g.,
http://localhost:3978/api/messages. You may also enter the URL of the remote web server hosting the Bot code but, in that case, you will also need to provideMicrosoftAppIdandMicrosoftAppPasswordfor Bot to successfully authenticate.
Once connected, send some messages to your Bot, and it should echo them back.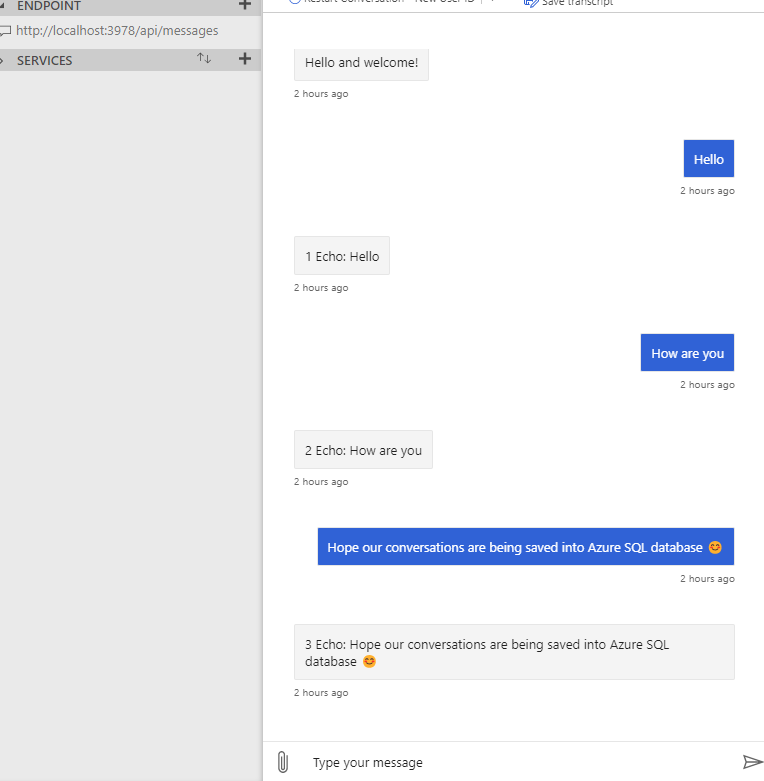
Logs:Permalink
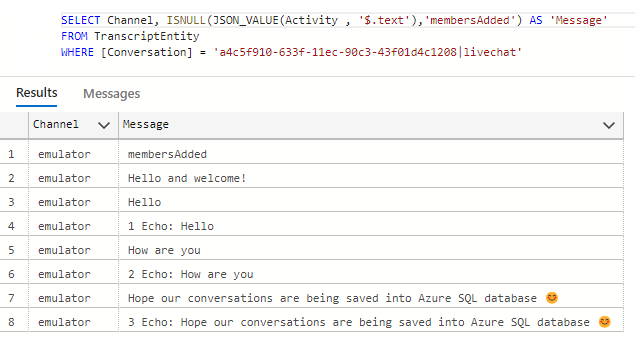
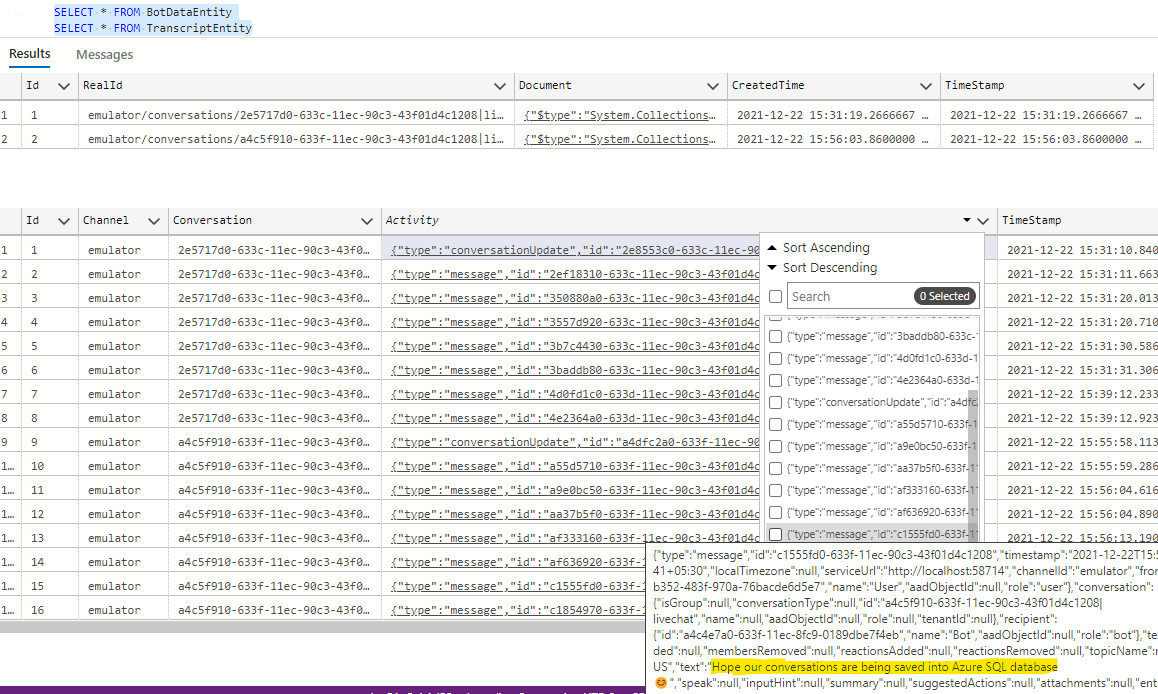
Let’s Connect the database to see if Bot Activities are being recorded. You should see the messages saved into the Azure SQL tables we have created.
BotDataEntityshould store one entry for each unique connection.TranscriptEntityshould contain all the conversations.
If you query the tables, you should be able to fetch all the messages exchanged between the user and Bot.
Caution:
Please note that depending on your Bot, you may need to specify in your Bot’s terms of use directly to notify your users whenever storing user data is involved.


 Light
Light Dark
Dark
0 comments