

 Expanding on the excellent post by Drew Skwiers-Koballa; Developing with Azure SQL bindings and Azure SQL trigger for Azure Functions, I’d like to take a chance to walk you through creating your first SQL Binding using a completely local development environment. Part 1 will cover creating a SQL Binding to get data from an Azure SQL Database. Parts 2 and 3 will then cover inserts, updates, and deletes as well as calling stored procedures.
Prerequisites and Setup
Our local development environment will be using VS Code and Docker. If you don’t have either installed, you can get VS Code here and Docker Desktop here. You can also run through this post with either Windows or macOS. VS Code and Docker are available for both platforms so install both before proceeding.
The Azure Functions Core Tools are needed so that we can run Azure functions right on your computer, no cloud needed until you are ready to deploy. You can get the installer here.
.NET is also needed for our local development environment. This post will be using version 7 which can be downloaded here or is probably already installed if you have Visual Studio already installed. You can check the version by issuing a dotnet –version at a terminal prompt on your OS.

While at the command prompt, run the following command to update SQL Projects with some new cool features:
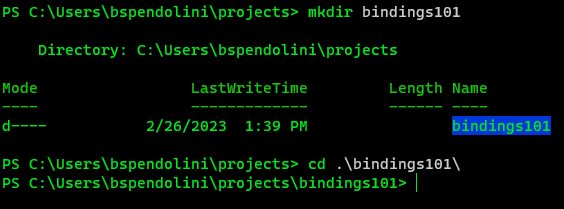
dotnet new -i Microsoft.Build.Sql.TemplatesThen create a directory called bindings101 for the project in the terminal window (mkdir bindings101). Once it’s created, enter the directory.
In the newly created directory, issue the following commands:
dotnet new sqlproj -n "bindingsProject" -tp "SqlAzureV12"code .
Using code . in a directory instantly opens VS Code and pointing at the directory we were just in. There is also a database project ready to be used there.
Install VS Code Extensions
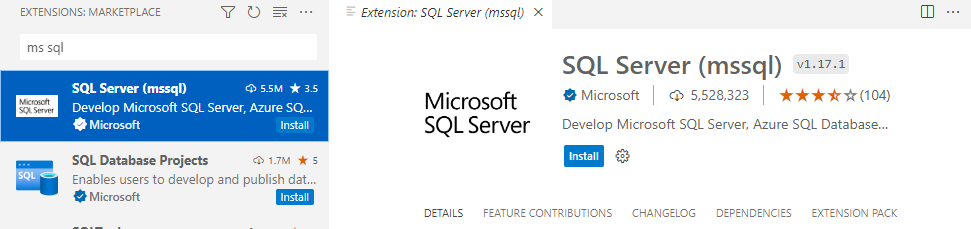
Before we start building the binding, there are some extensions that are needed. The first one is the MS SQL Extension. Using the VS Code extensions panel, search for ms sql. Click the install …
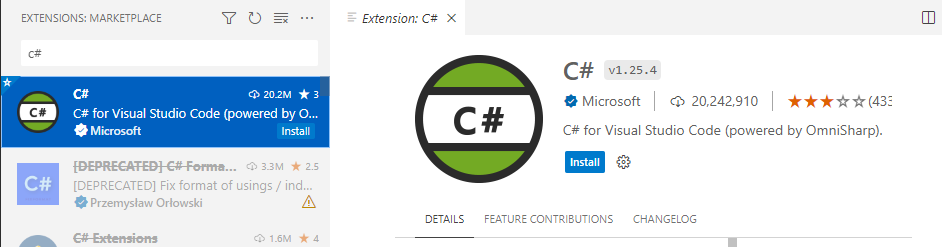
The next extension is the C# extension. Again, using the search, enter c# and install this extension.
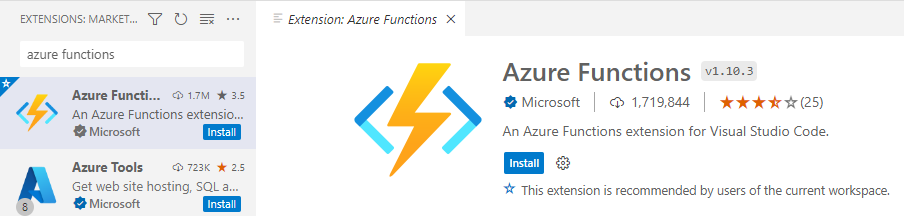
Finally, search for the Azure Functions extension and install it.
Using Azure Functions Core Tools
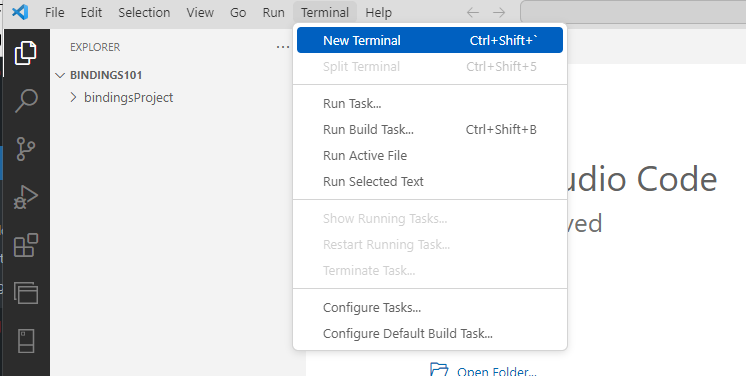
With VS Code open, open a New Terminal using the Terminal Dropdown menu.
Our first SQl Binding is going to use .NET as the language. To initialize the project for a .NET binding, enter the following command in the VS Code terminal:
func init --worker-runtime dotnet
Looking at the file navigator, the func process added the necessary files to use Azure functions locally right here within VS Code!

Using the terminal in VS Code again, we are going to add the extension needed for SQL Bindings. Run the following command:
dotnet add package Microsoft.Azure.WebJobs.Extensions.Sql --prerelease
Create a Database and Table
On the left side of VS Code, click the Database Projects icon.
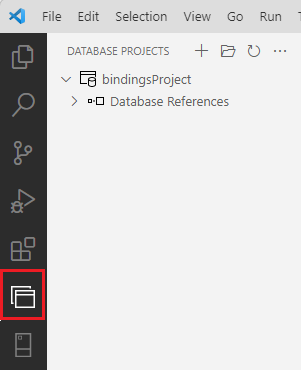
You can see the project that was created when you previously issued the command “new sqlproj”, ready to be used, here in Database Projects,
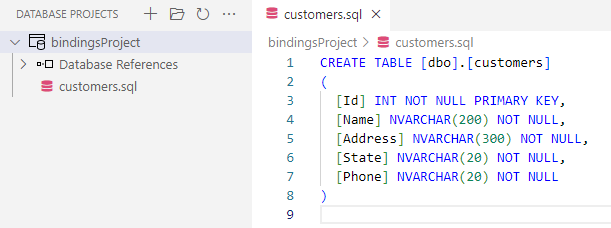
Right click on bindingsProject and select Add Table.

Name the table customers and then press enter.

Replace the code in the customers.sql file with the following:
CREATE TABLE [dbo].[customers]
(
  [Id] INT NOT NULL PRIMARY KEY,
  [Name] NVARCHAR(200) NOT NULL,
  [Address] NVARCHAR(300) NOT NULL,
  [State] NVARCHAR(20) NOT NULL,
  [Phone] NVARCHAR(20) NOT NULL
)


Create an Input Binding
Press ‘F1’ in VS Code and search for Azure Functions: Create Function and select it.

Choose HttpTrigger

Provide a function name. Use getCustomer

Enter a namespace. Use Customer.Function

Finally for Access Rights, use Anonymous.

In the file that opens in VS Code (named getCustomers.cs), replace the public static async Task<IActionResult> Run block
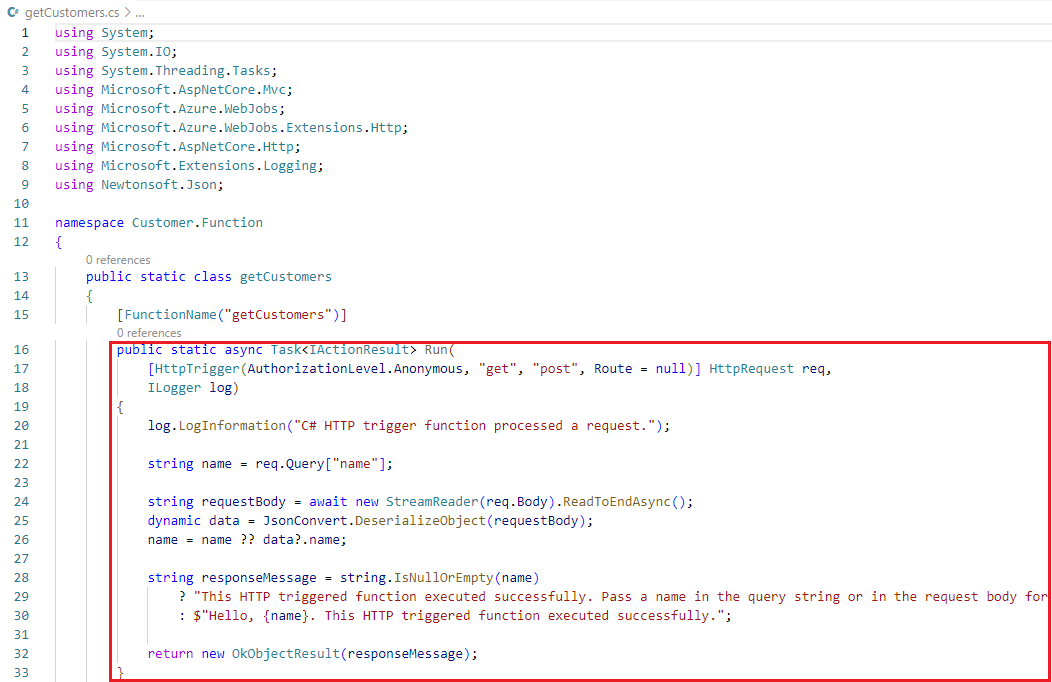
with the below code.
        public static async Task<IActionResult> Run(
            [HttpTrigger(AuthorizationLevel.Anonymous, "get", "post", Route = "customer")] HttpRequest req,
            ILogger log,
            [Sql("select * from dbo.customers",
            "SqlConnectionString")]
            IEnumerable<Customer> customer)
        {
            return new OkObjectResult(customer);
        }
Save the file.
About the SQL Binding Structure
Providing code without an explanation is never good, so this next section will break down the following code:
           [Sql("select * from dbo.customers",
            "SqlConnectionString")]
There are four parts to the Input Binding as represented in the table (from the documentation):
| Attribute property | Description |
|---|---|
| CommandText | Required. The Transact-SQL query command or name of the stored procedure executed by the binding. |
| CommandType | Required. A CommandType value, which is Text for a query and StoredProcedure for a stored procedure. |
| Parameters | Optional. Zero or more parameter values passed to the command during execution as a single string. Must follow the format @param1=param1,@param2=param2. Neither the parameter name nor the parameter value can contain a comma (,) or an equals sign (=). |
| ConnectionStringSetting | Required. The name of an app setting that contains the connection string for the database against which the query or stored procedure is being executed. This value isn’t the actual connection string and must instead resolve to an environment variable name. |
And to expand it further:
[Sql(CommandText,
    CommandType,
    Parameters,
    ConnectionStringSetting

)]
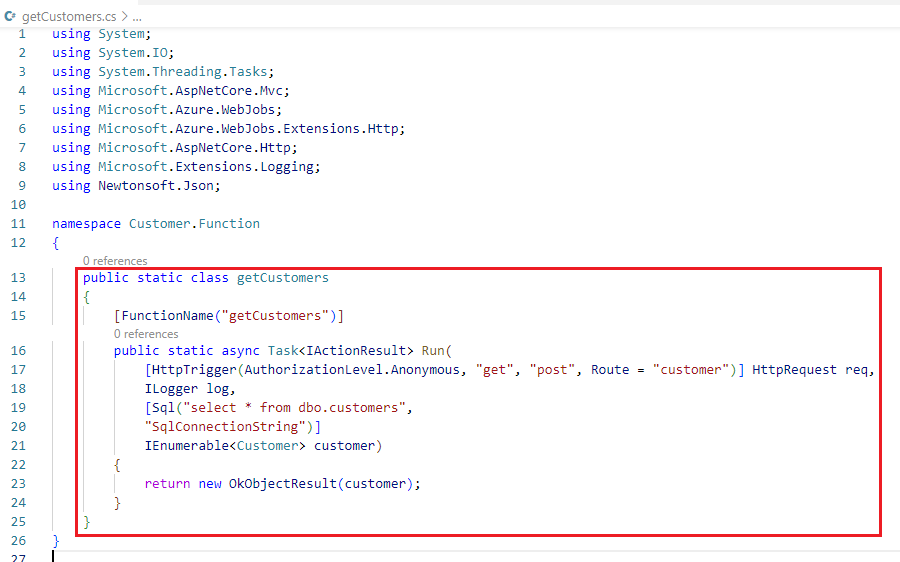
Looking at the code in the getCustomers.cs file
           [Sql("select * from dbo.customers",
            "SqlConnectionString")]
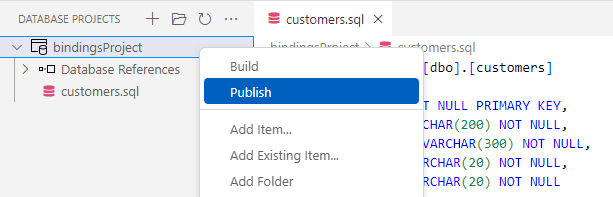
CommandText is the SQL query, CommandType defaults to CommandType.Text and not present in the call. There are no Parameters to pass in this example so it is not needed. And the last parameter, as indicated in the table is the connect string to the database. This will be entered later in this post and point to the local SQL Database we published the Database Project to. In parts 2 and 3, when Output and Trigger bindings used, more of these parameters will be passed to the binding.
Add a Class
While editing the getCustomers.cs file, add ‘using System.Collections.Generic;‘ to the namespaces list at the top of the page.
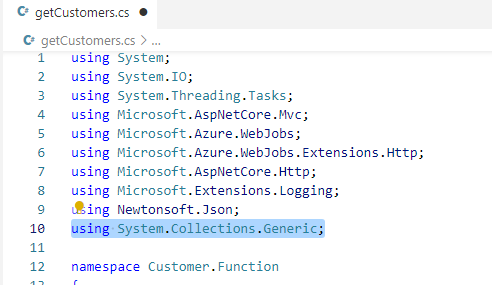
Save the file.
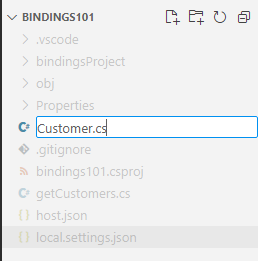
Right click in the File Navigator under the project files and select New File.
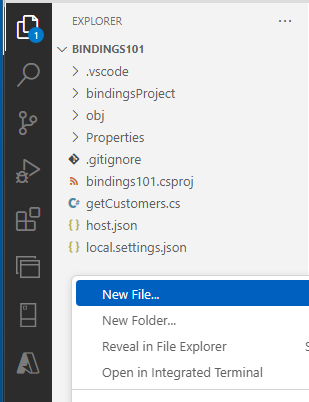
Then, name the new file Customer.cs
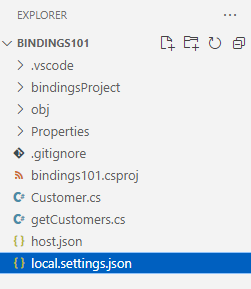
Paste the code below into the file. These are the column names of our database table.
Note that the casing of the Object field names and the table column names must match.
namespace Customer.Function
    { public class Customer {
        public int Id { get; set; }
        public string Name { get; set; }
        public string Address { get; set; }
        public string State { get; set; }
        public string Phone { get; set; }
        }
    }
Save the file.
Using the File Navigator, click on the local.settings.json file.
Add the following line in the top of the Values section and replace yourstrongpassword with the password you used when you created the database.
"SqlConnectionString": "Server=localhost,1433;Database=bindingsProject;User ID=sa;Password=yourstrongpassword;Encrypt=True;TrustServerCertificate=True;Connection Timeout=30;",

While still in the local.settings.json file, set AzureWebJobsStorage to UseDevelopmentStorage=false
"AzureWebJobsStorage": "UseDevelopmentStorage=false",
Try the Function
Navigate back to the getCustomers.cs file and press ‘F5‘ to run your code. This will start up the Functions Host with a local HTTP Trigger and SQL Input Binding. In the output section on the bottom of VS Code, a URL will be show similar to
getCustomers: [GET,POST] http://localhost:7071/api/customer


Control Click or copy and paste the URL into a browser. The result in the browser should be an empty array because there is no data in the table.

We can add data to the table by clicking the SQL Server icon on the left side of VS Code

then right clicking the server name and selecting New Query
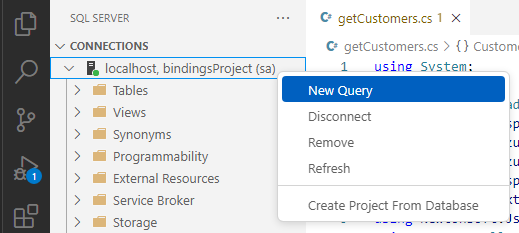
Copy and paste the following SQL into the query sheet
insert into dbo.customers values (1, N'Ben', N'123 West Street', N'Any State', N'(555)-555-0000');

and refresh the browser. The row is now seen in JSON format from the SQL Binding function in your browser.

Congratulations! You have successfully created your first SQL input binding!
Part 2 and 3
In the next parts, Output and Trigger SQL Bindings will be covered with samples and a walkthrough for each.
0 comments