
Today, we are super excited to announce the availability of Azure Notification Hubs samples, to better demonstrate the awesome capabilities of Azure Notification Hubs end to end using react native on multiple platforms such as Android and iOS.
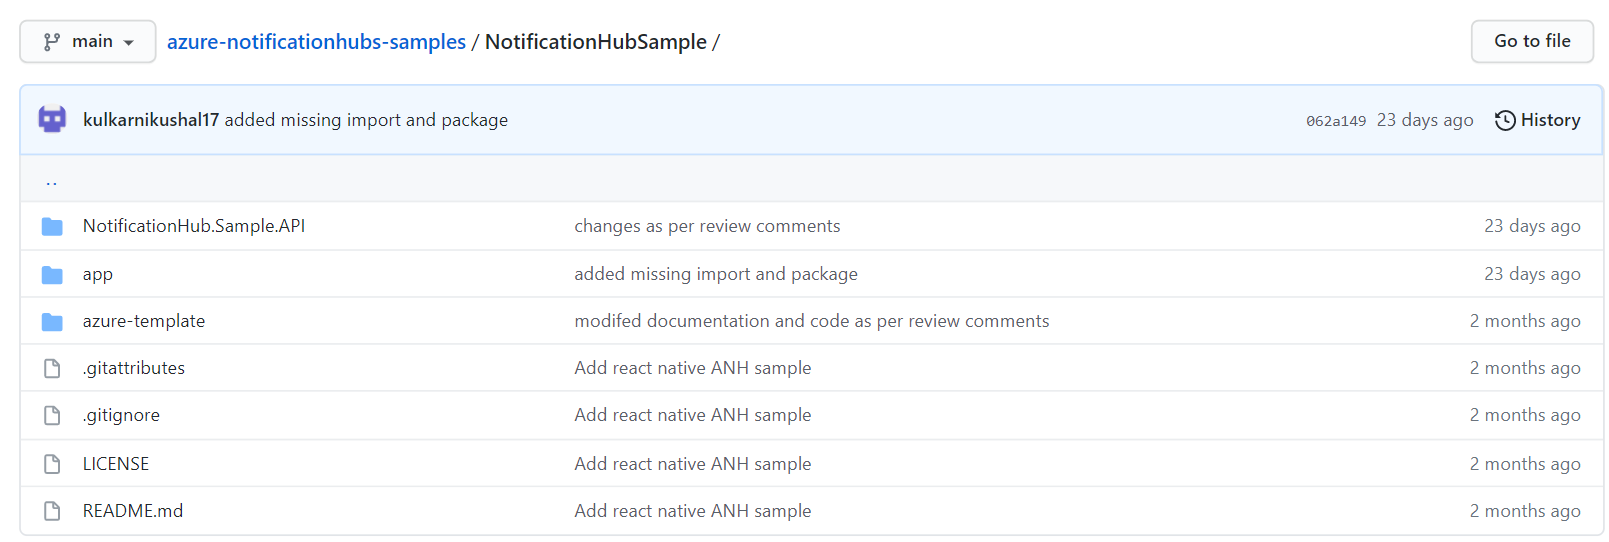
To see detailed step by step instruction and learn more, click on send notifications to Android and iOS applications. You can download to the samples here.
Use case and sample overview
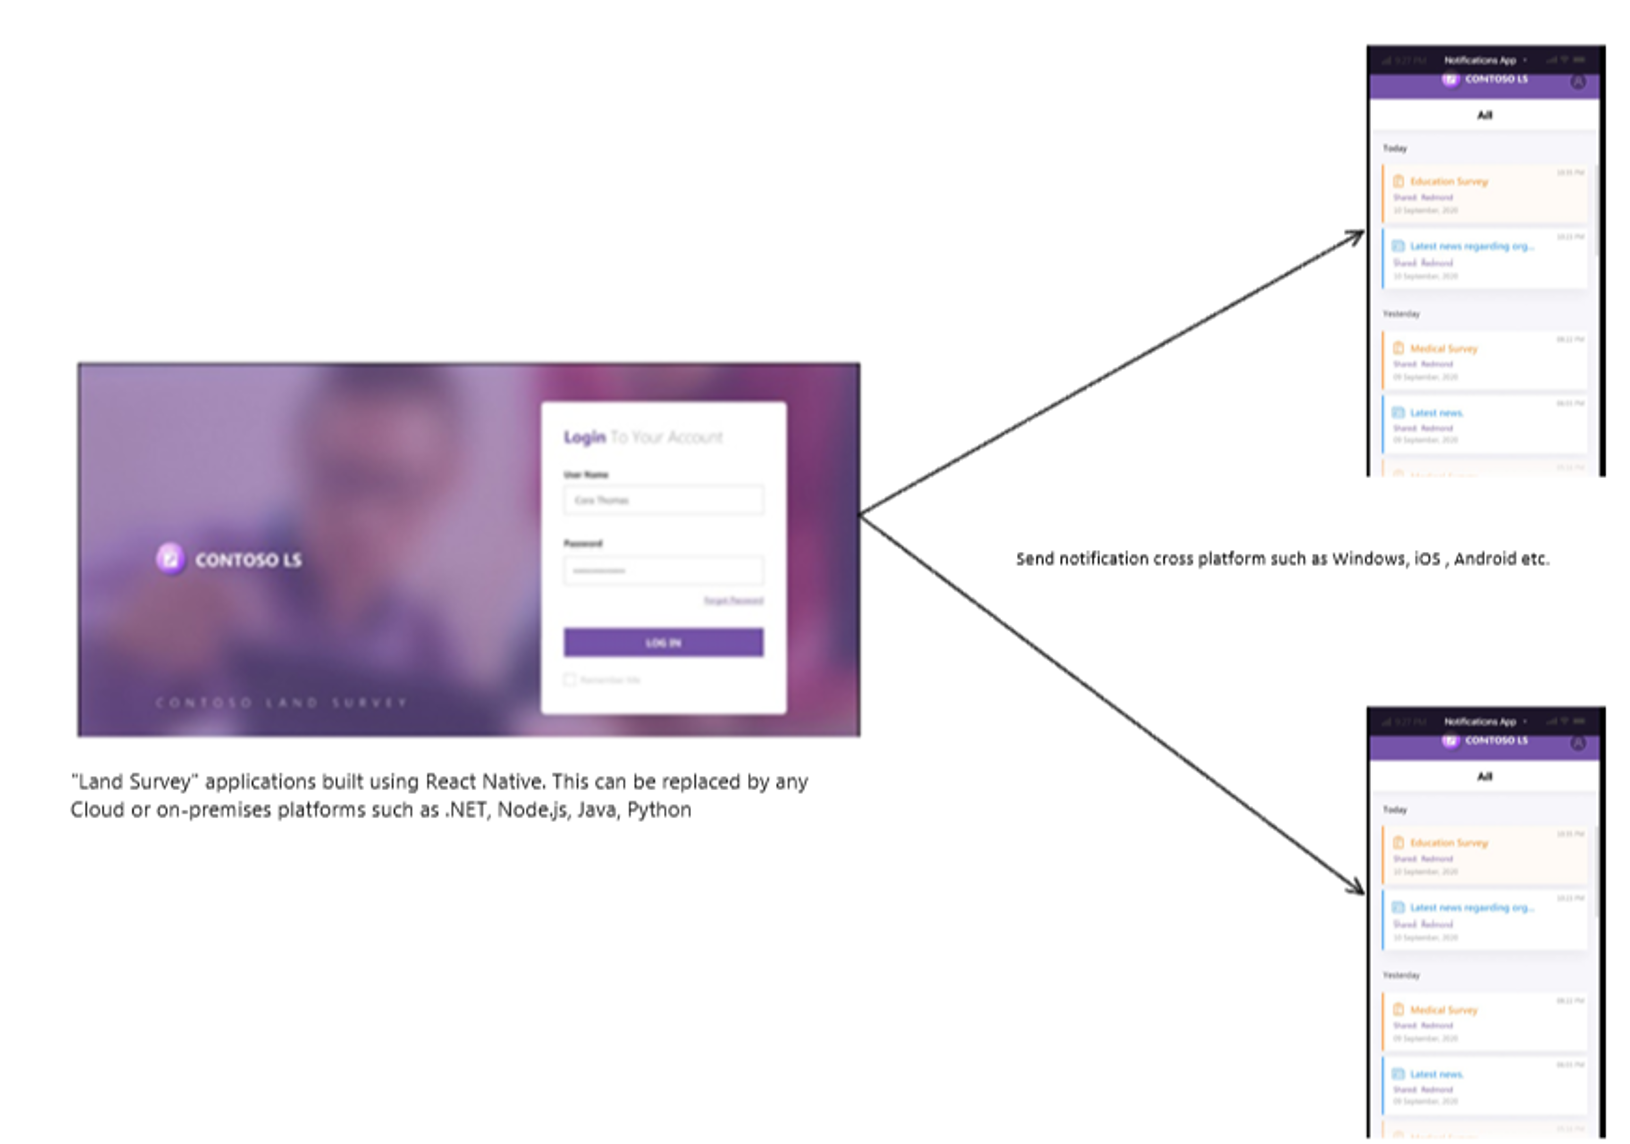
The sample use case is a land survey scenario built using react native as a desktop Contoso Land Survey application that sends notifications, which both Android and iOS Contoso applications can receive.
The sample basically consists of the following components and prerequisites:
- Azure Notification Hubs instance configured on the Azure portal (Azure subscription or trial required)
- SQL Server database configured on the Azure portal. (Azure subscription or trial required)
- ASP.NET app back-end built on .NET 5.0, which connects with the notification hub, and is hosted as an Azure App Service.
- Windows UWP application built using React Native and acting as a “manager” application that dispatches news and survey information to various users and survey groups. The application also helps to create new users and to edit groups a user is assigned to. (Visual Studio 2019 needed)
- Android and iOS client apps: “Land Survey” applications built using React Native. These apps show users the information dispatched by the UWP manager application. The Android SDK and Android Studio on your development machine if running the Android application. A Mac OSX machine with XCode and the latest iOS SDK, if running the iOS application.
Don’t wanna use react native? No Problem!!
We decided to create samples using React native based on customer asks. React native codes are reusable and single update works for both iOS as Android. For worst case scenarios, you can always trust the community for support. But if you want to use another platform instead, reach out to us and share what samples you would like to see. Remember the backend app can be easily replaced by .NET, Node.js, Java, Python, etc.
Sample walkthrough
Step 1: Create the following resources in Azure Portal:
(1) Azure SQL Server.

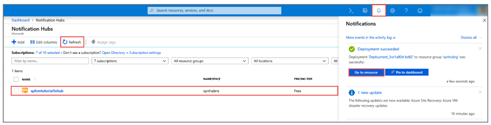
(2) Azure Notification Hub
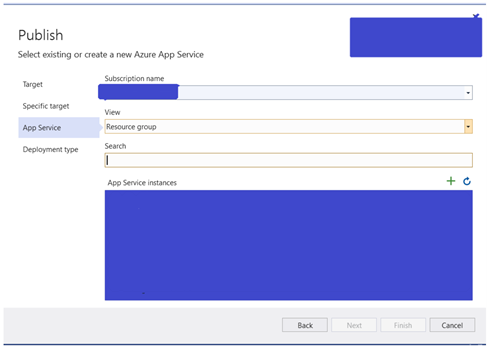
(3) Open NotificationHub.Sample.API in Visual Studio, build then Publish the ASP.NET backend to Azure.
Step 2: Run the react native frontend application. Open the app folder in your preferred terminal or shell window. Then, do the following:
Windows
- Run npm install to install all the package dependencies.
- Run npm run start to start the metro server in one console window.
- Open another terminal window and run npx react-native run-windows to run the UWP application.
- If the deployment or build fails, see the troubleshooting guide.
Android
- Configure Firebase on your React-Native project to make sure you are able to use the notification capabilities.
- After you have successfully configured the Firebase project, download the google-services.json file from the Firebase portal.
- Replace ./app/android/app/google-services.json with this new file. Make sure the application package name matches the one configured in Firebase. The package name is configured in the AndroidManifest.xml file.
- After the notifications are configured, run npm run start to start the metro server in one console window. If your Windows application is already running, you can skip this step.
- In a new console window, run npx react-native run-android to run the Android application.
iOS
- Configure APNS on your React-Native project to make sure you are able to use the notification capabilities.
- In iOS, notifications can only be received by applications signed and installed via the App Store or TestFlight. You must create an application in your Apple developer account. The application’s bundle identifier configured in your Apple developer account should be configured in your application’s Info.plist and Entitlements.plist files.
- After the notifications are configured, run npm run start to start the metro server in one console window. If your Windows application is already running, you can skip this step.
- In a new console window, run npx react-native run-ios to run the iOS application. As previously mentioned, the notifications won’t work on iOS if deployed locally. You cannot receive notifications in the iOS simulator.
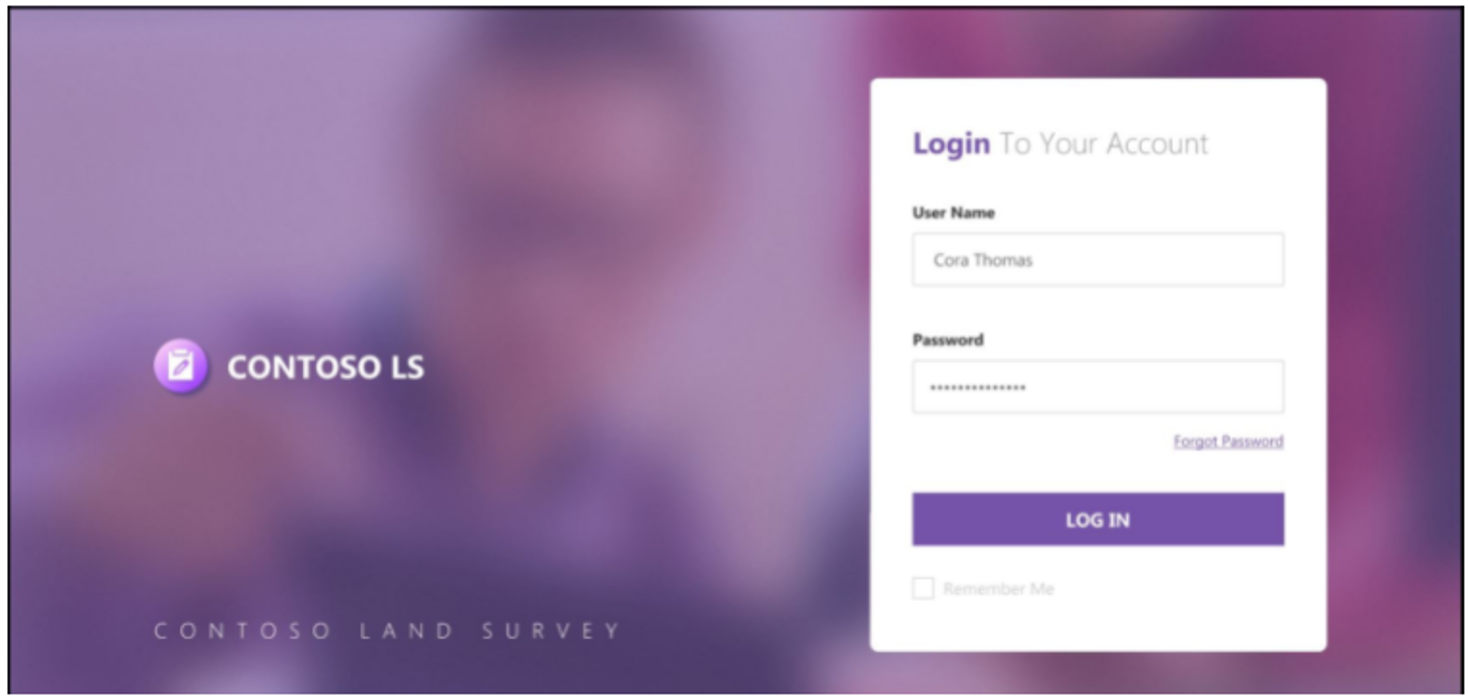
Step 3: The application requires both the mobile application (either Android or iOS) and UWP manager application running simultaneously. The application requires login. For UWP application, you need manager login and for Android and iOS application, you will need user login. For logging into the UWP application, you can create a new user using any REST client and sending a registration request to your deployed backend.
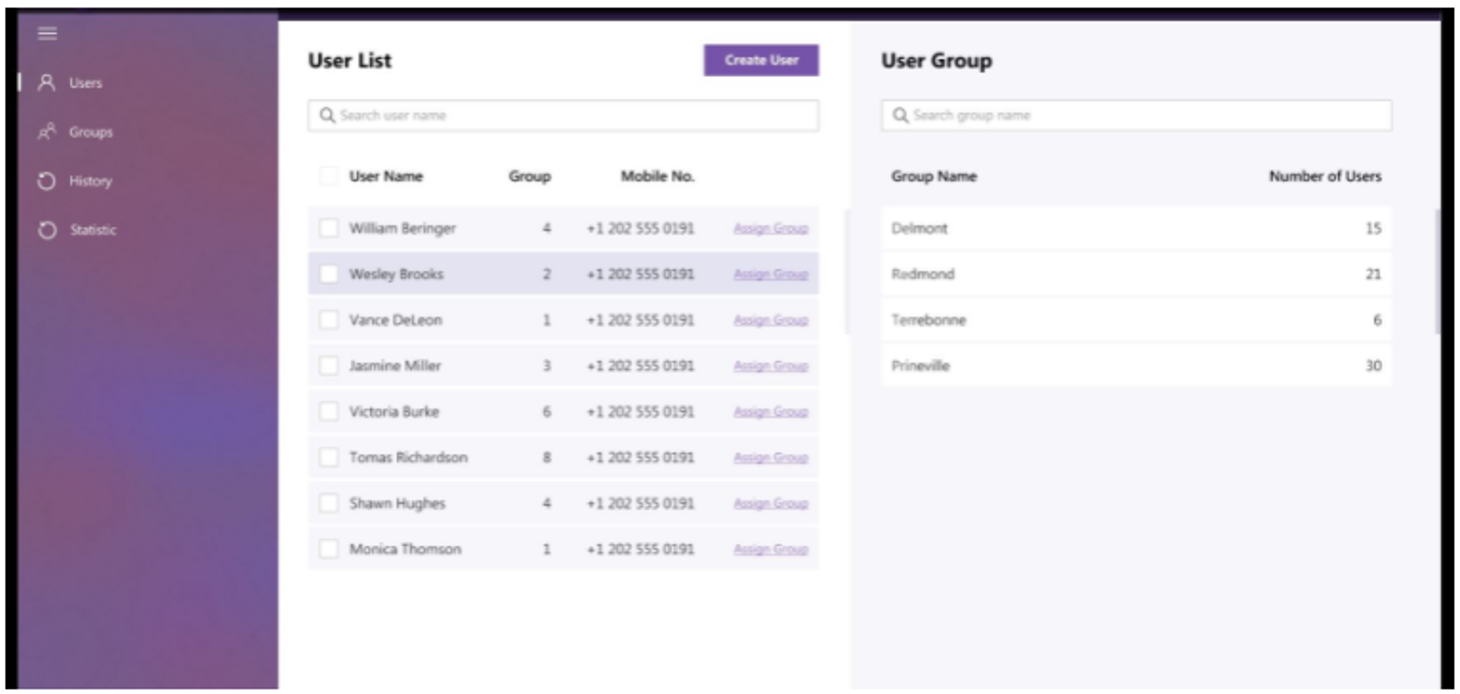
Users can be managed using UWP application.
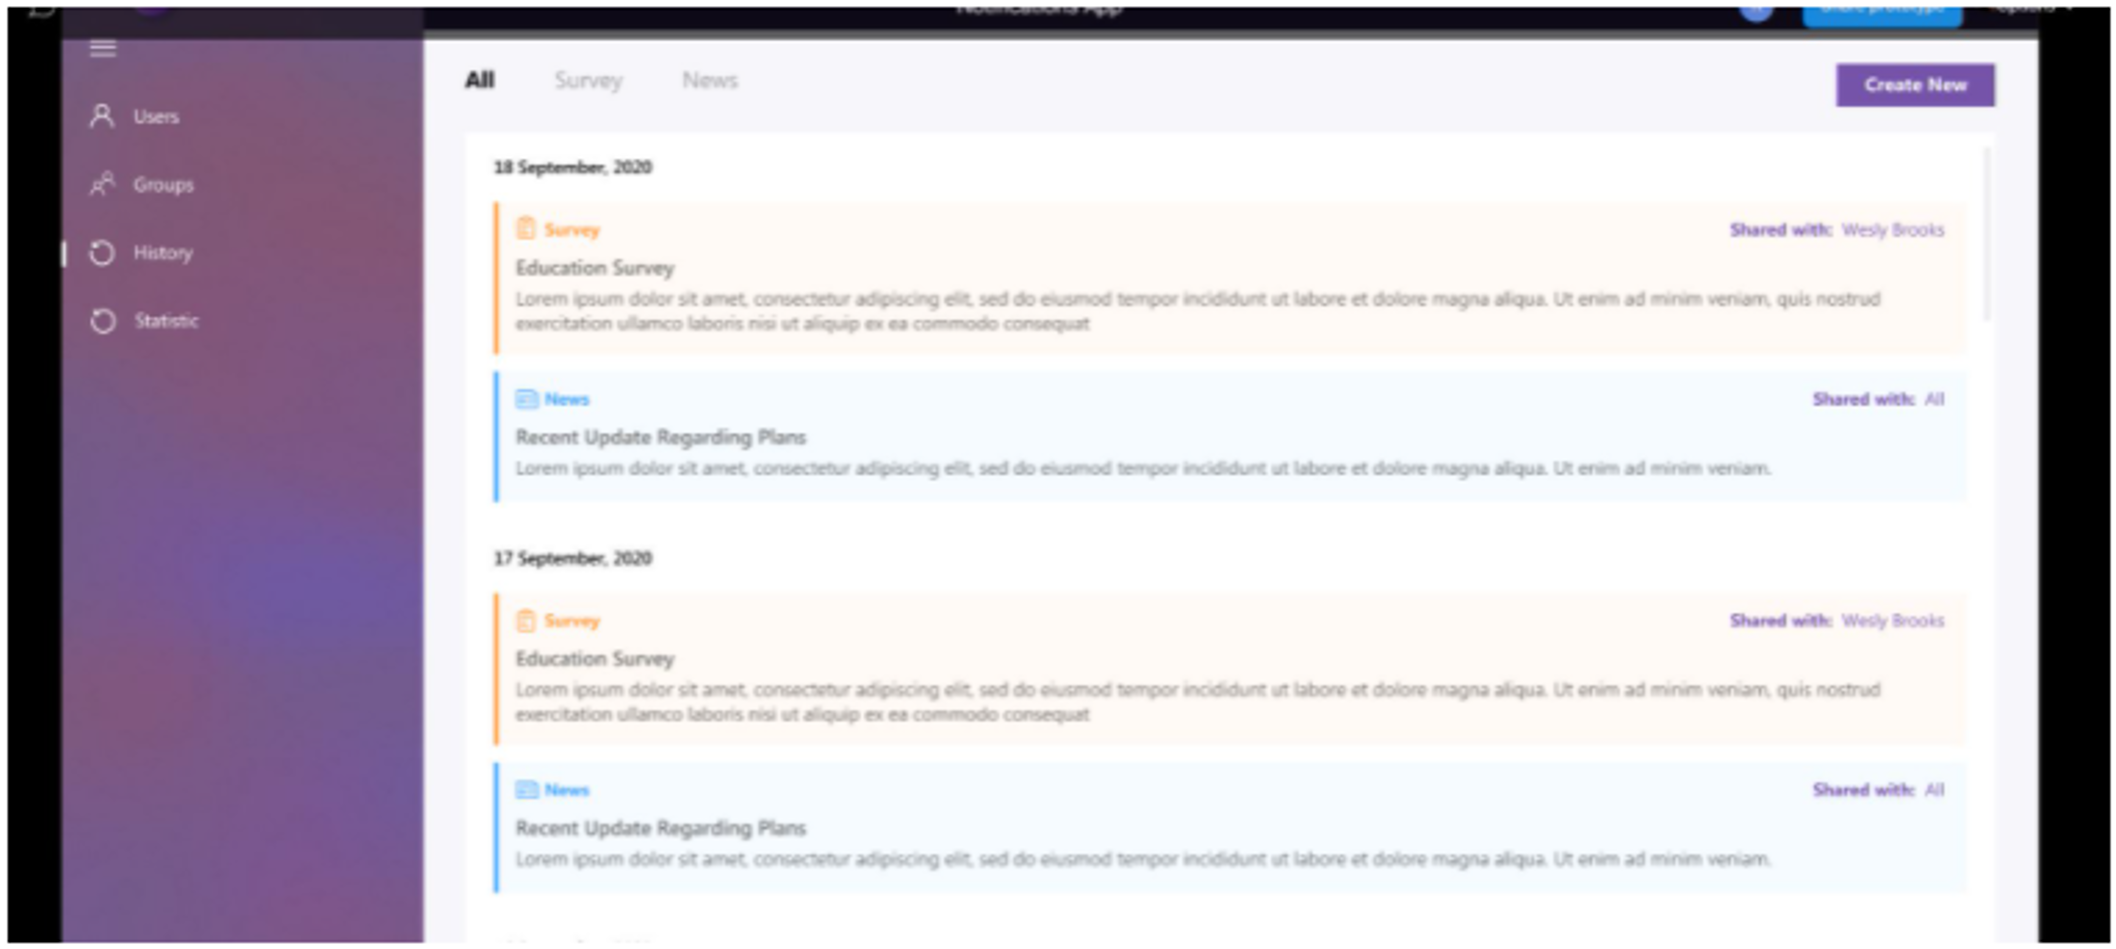
You can see the list of historic notifications.
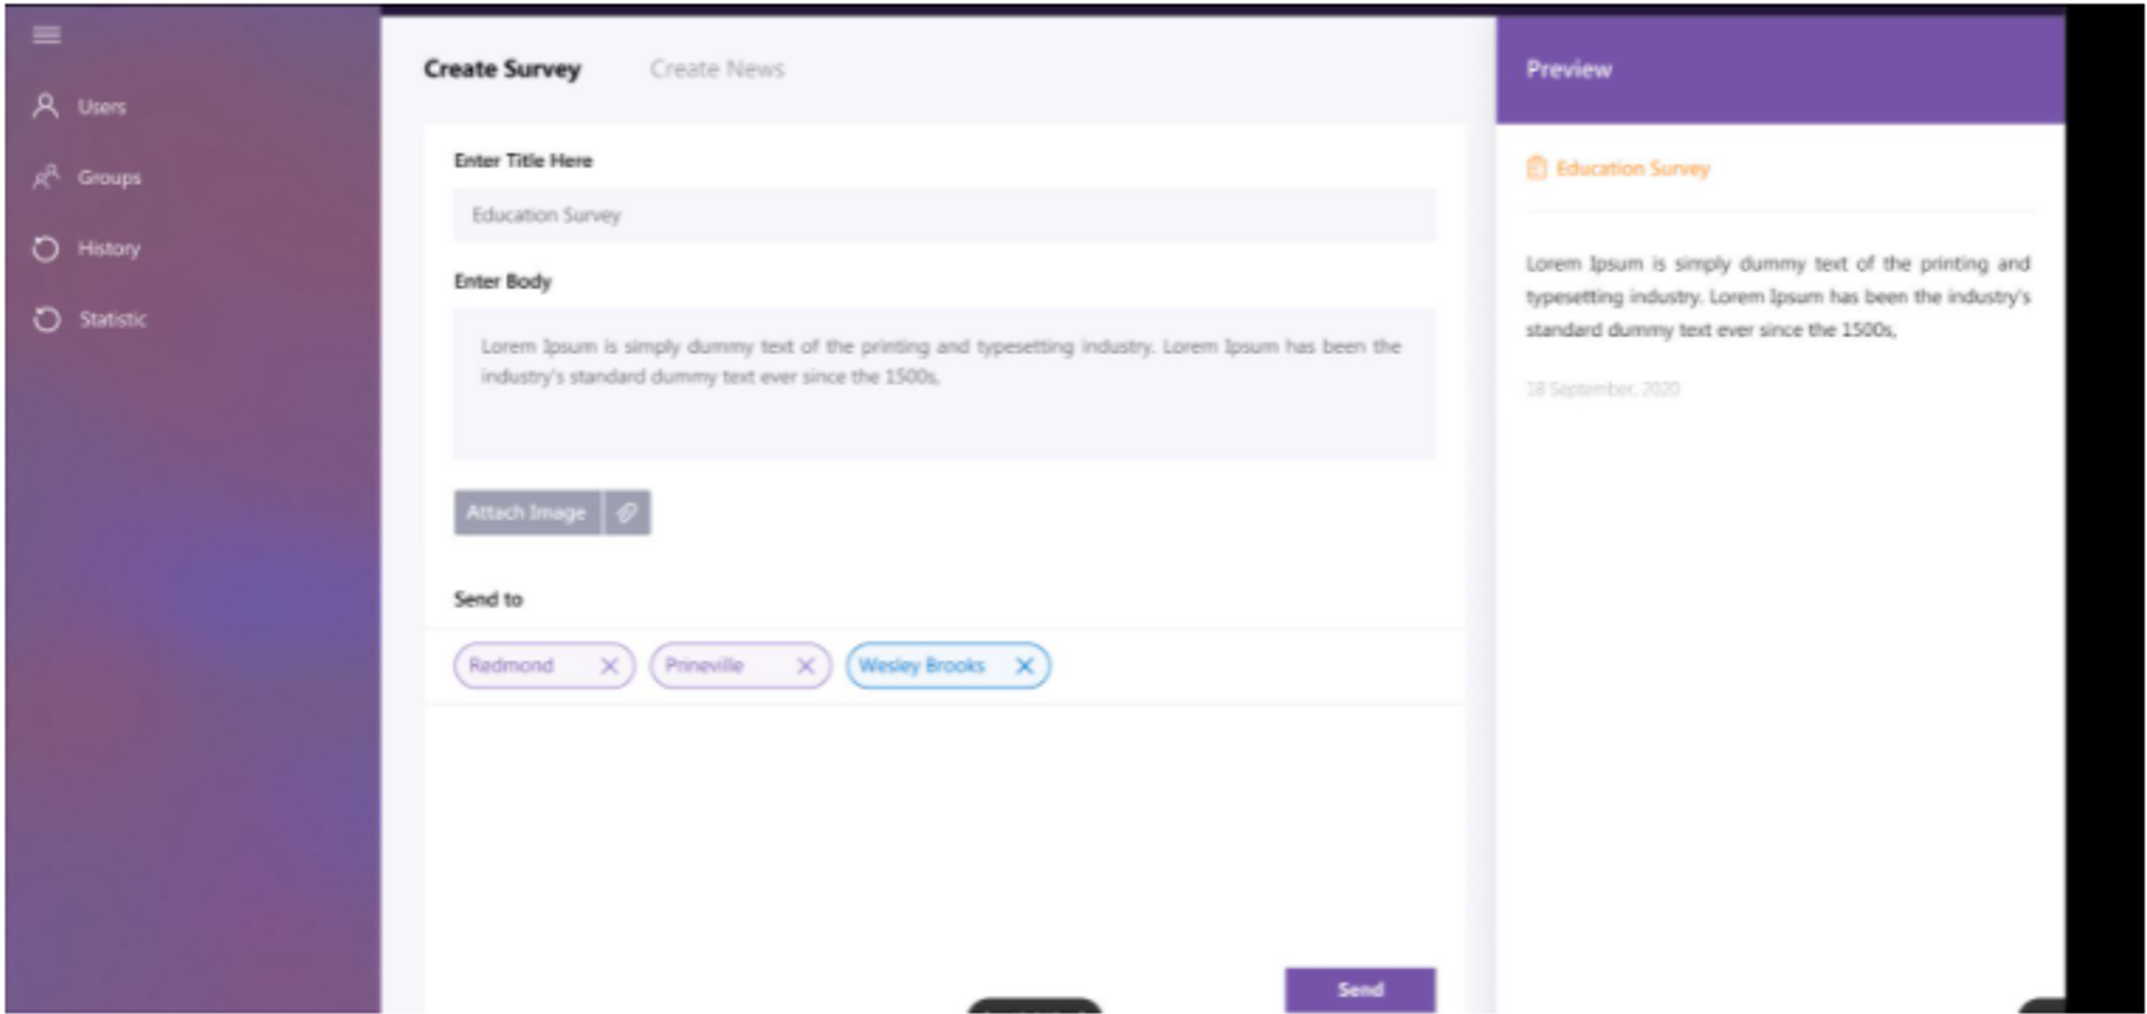
You can create survey notifications and tag specific groups or users to dispatch notification to users and groups.
Finally, you can see the list of historic notifications as well as receive notifications in the mobile application(iOS/Android)

We hope you’re as excited about these samples as we are. Be sure to leave your feedback in the comments below, and feel free to submit your feature ideas
0 comments