

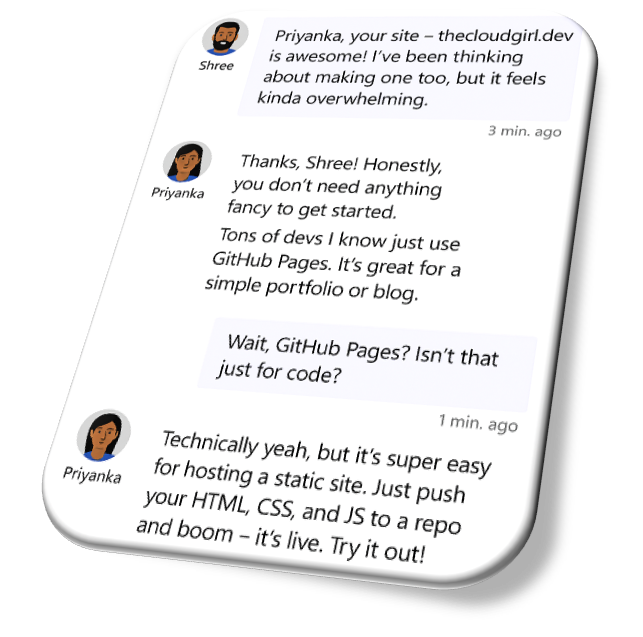
👋everyone! Shree here. I’m sure many of you have had a similar chat with someone you know. We often hesitate to celebrate our achievements because of social perceptions around self-promotion. I believe it’s time to challenge that mindset. Building a personal site is about owning your narrative and showcasing your work with pride. In this post, I’ll show you how to launch your very first personal site (or, a portfolio piece) using GitHub Pages, a simple way to host a static website directly from GitHub. You’ll learn how to create a remote repository, store your site’s code, and deploy it to the web. Plus, I’ll share tips on using GitHub Codespaces and GitHub Copilot agent mode to speed up your workflow and get things done faster. By the end, you’ll gain confidence to have a live site and the confidence to share your story with the world.
Prerequisites
From Code to Live: The Codespaces and Copilot agent mode workflow for launching a website
I created a public remote repository, shchinnasamy.github.io. I chose to add a README and appropriate license type. You must set the repository to Public to publish your site. Unless you have GitHub Pro, you can only publish a GitHub page if the repository is public. Keep this in mind if you don’t want to share your site’s source code publicly. Refer Creating a new repository to learn more about creating a new repository.
In my case, I liked the style of Jon Barron‘s public academic website. So, I cloned the source code of Jon Barron’s website and customized them. Thanks much, Jon! I cloned Jon’s website source code repository to a GitHub Codespaces and not to my local computer. This eliminated the tedious setup of a local development environment and got me to a working state faster. Refer Cloning a repository to learn how to clone a repository from GitHub.com to a Codespaces.
I used GitHub Copilot Chat in GitHub to understand the structure of the cloned repository. Refer Submitting a question to Copilot Chat to learn more.
Now that I’ve a grip on how Jon’s website is structured, I’ll walk you through how I customized it for my website. I used Copilot agent mode and handed a high-level natural language prompt. I recorded a clip of how Copilot autonomously planned the steps, selected the right files, runs command, and iterated on code edits until the task is complete. In other words, Copilot made changes to files such as index.html and CNAME, files/directories to be deleted etc. Should you need to learn more about other Copilot chat modes, refer our colleague, Ashley’s Copilot ask, edit, and agent modes: What they do and when to use them blog post.
As a final touch, I finished by updating my index.html, READMEand uploaded a headshot and logos to the /images directory.
Now that my remote repository is ready with my website’s code and files, I proceed to deploy to the web with GitHub. I configured GitHub Pages site to publish when changes are pushed to a specific branch (in my case, /mainbranch). GitHub Pages are one of the best features of GitHub. It is a service that allows you to host a static website directly from a GitHub repository. This means you can use your repository to store your website’s code and files, and GitHub will automatically publish them as a website you can access online. On that note, I now have a personal (and secure) GitHub Pages site at https://shchinnasamy.github.io
(Optional) While I ignored, you can change the root of the site’s URL from the default, like shchinnasamy.github.io, to any domain you own. Refer About custom domains and GitHub Pages to learn more.
0 comments
Be the first to start the discussion.