Xamarin.Forms makes it fast, easy, and fun to create cross-platform mobile apps for iOS, Android, and Windows. When combined with Visual Studio 2015, the most powerful development environment, developers can be massively productive. From a single IDE, developers can build apps that run on any device, from mobile to IoT devices to the cloud. Apart from being the most powerful development environment, it’s also extremely extensible. There are thousands of extensions available for you to customize Visual Studio to help make you a productive developer. In this blog post, you’ll learn about XAML Power Toys for Visual Studio 2015, which combines the power of Visual Studio and Xamarin.Forms to make building cross-platform mobile apps even easier.
Getting Started with XAML Power Toys
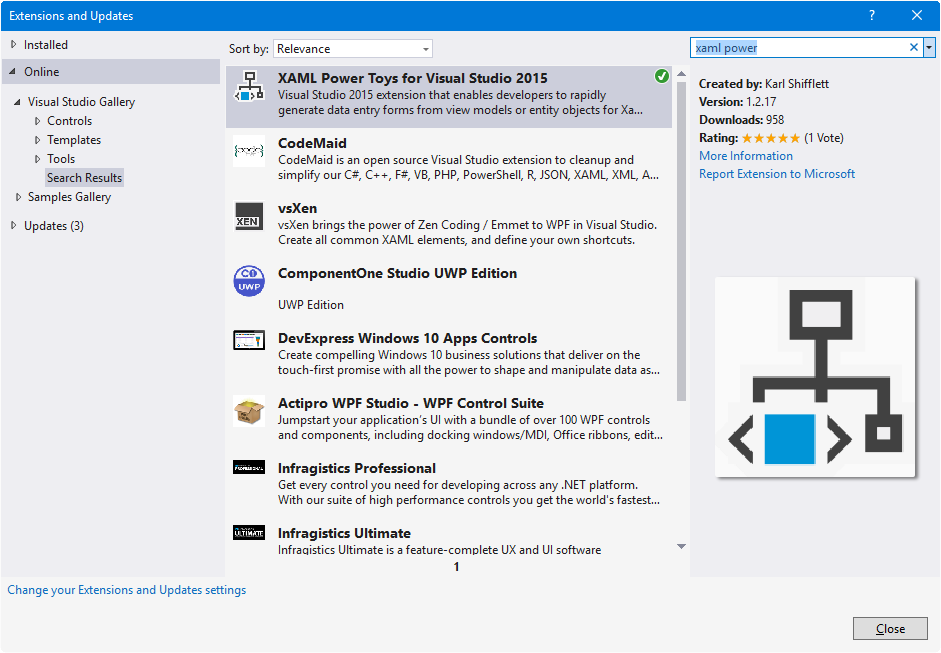
The XAML Power Toys for Visual Studio 2015 extension allows developers to rapidly create cross-platform, data-bound, data-entry forms from a view model or entity class. This extension supports all editions of Visual Studio, from Community to Enterprise. To install XAML Power Toys, go to Tools > Extensions & Updates in Visual Studio. From this window, you can search for and install the extension.
Generating a Data Entry Form
XAML Power Toys generates entry data form user interfaces from your models and view models. For simplicity, here is a FriendViewModel that represents an abstraction of the entry form I wish to create:
public class FriendViewModel : INotifyPropertyChanged
{
   private string _fullName;
   private string _twitterHandle;
   public String FullName
   {
      get { return _fullName; }
      set
      {
         _fullName = value;
         OnPropertyChanged();
      }
   }

   public String TwitterHandle
   {
      get { return _twitterHandle; }
      set
      {
         _twitterHandle = value;
         OnPropertyChanged();
      }
   }

   public FriendViewModel()
   {
      FullName = "Mayur Tendulkar";
      TwitterHandle = "@mayur_tendulkar";
   }

   public event PropertyChangedEventHandler PropertyChanged;

   [NotifyPropertyChangedInvocator]
   protected virtual void OnPropertyChanged([CallerMemberName] string propertyName = null)
   {
      PropertyChanged?.Invoke(this, new PropertyChangedEventArgs(propertyName));
   }
}
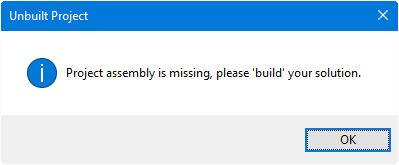
Next, before we begin creating our user interface, we need to build our solution. This extension uses reflection to fetch metadata from our view models and models and uses this metadata to give options to generate our user interface. If you don’t build your solution before attempting to use XAML Power Toys, you’ll receive an error like this:
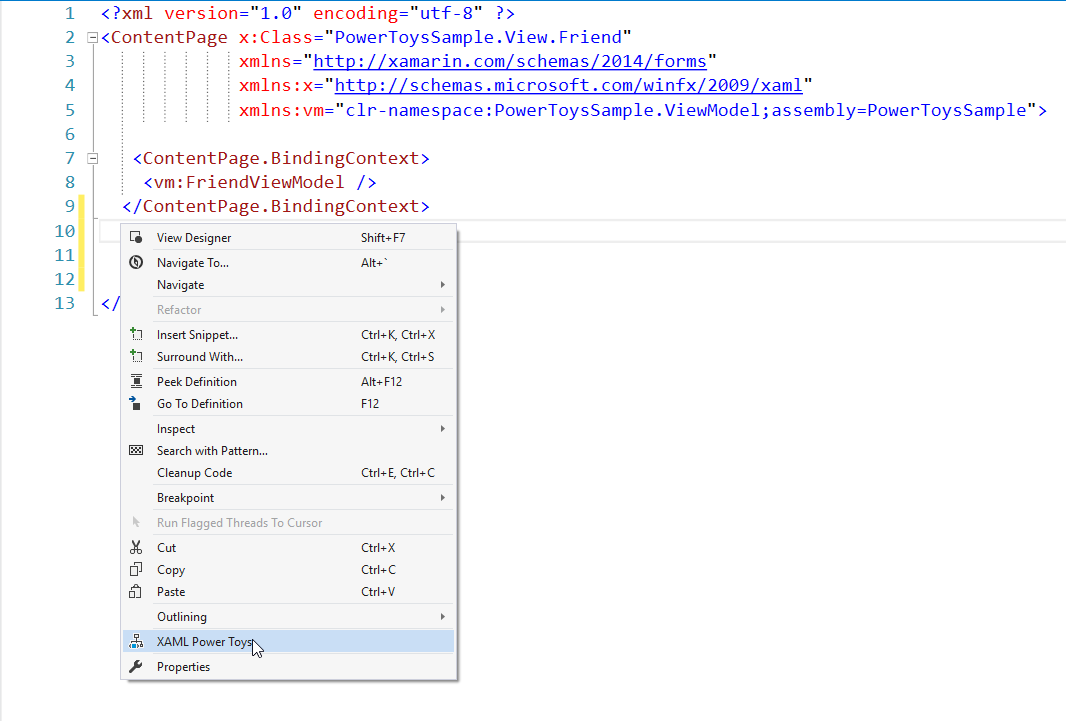
After building the solution, we can begin using XAML Power Toys by right-clicking inside an empty XAML page.
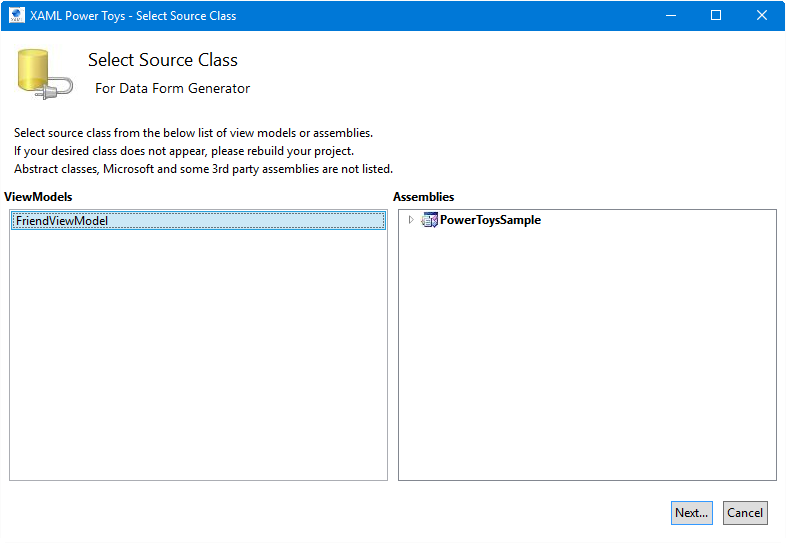
On the next screen, we can select the view model from which our data entry form user interface will be created.
This view model will then be used to help generate the user interface. As highlighted, this allows developers to select controls (e.g. Entry,Image,Switch) and their properties (e.g. Text, PlaceHolder, BindingMode, Source, etc.).
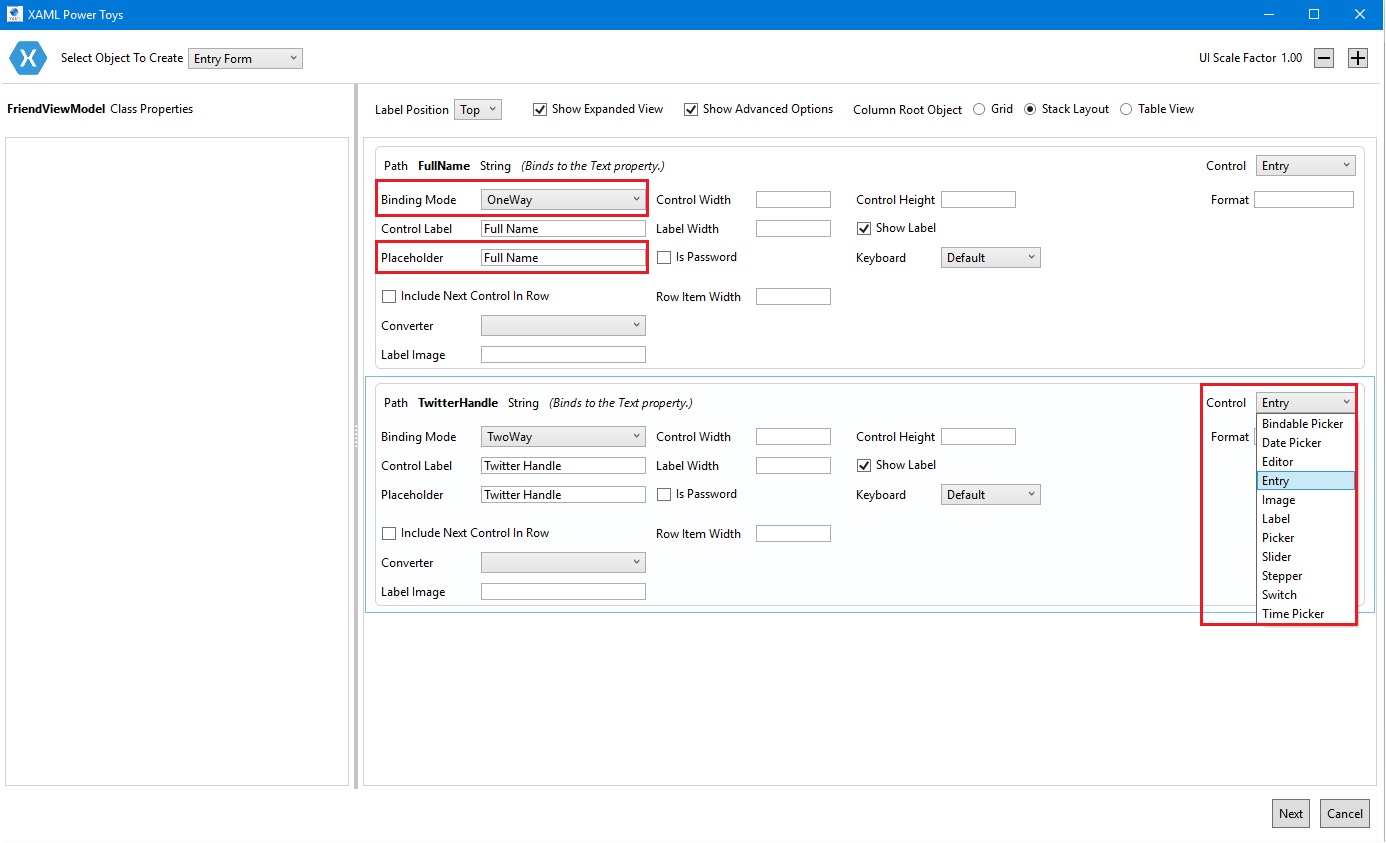
Once the basic user interface options are selected, it’s time to select the “root object” for our form. For example, if we’re creating a large form, it makes sense to have our form added to a ScrollView so a user can scroll through them.
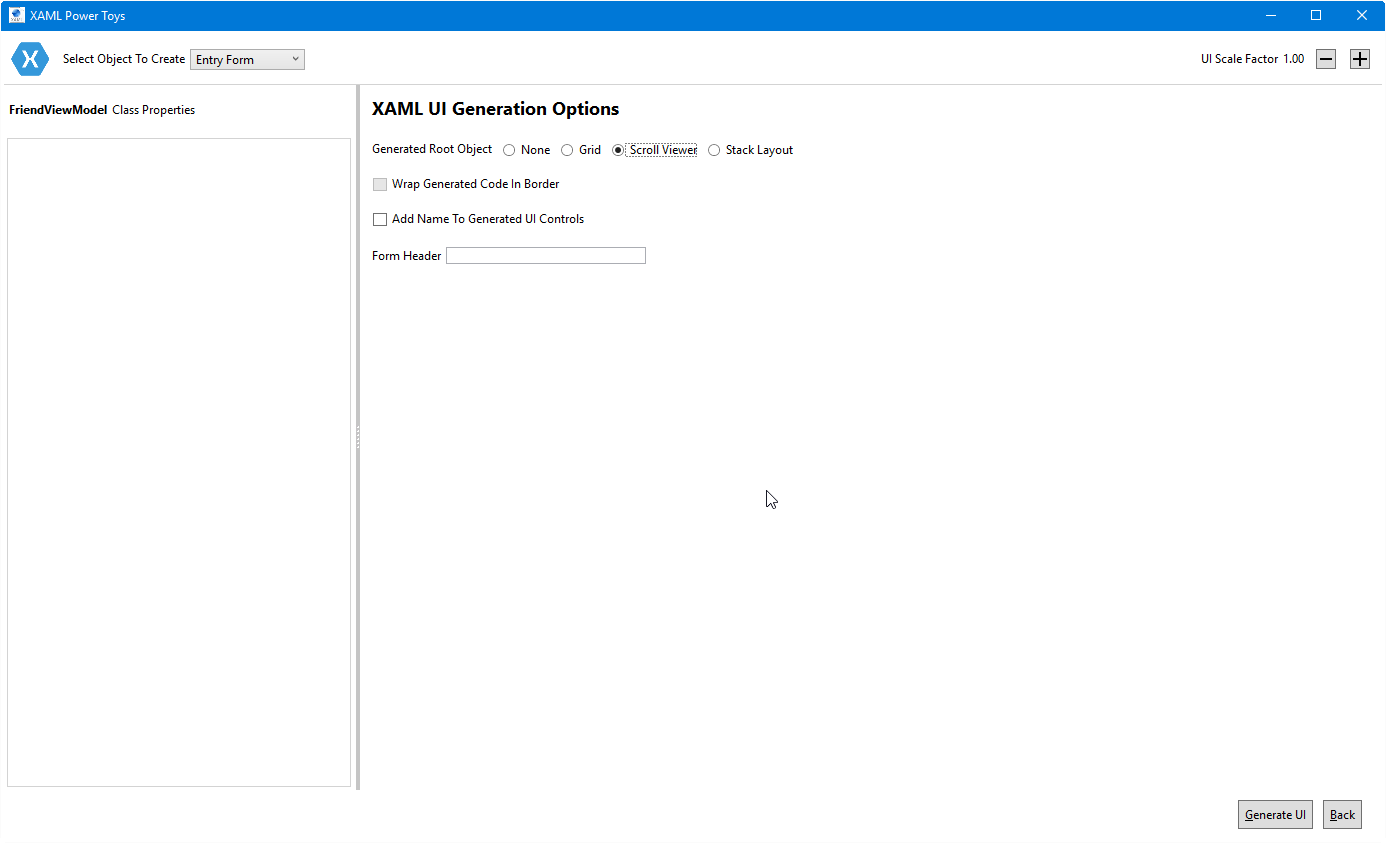
Once you click on “Generate UI” button, the required XAML will be generated and automatically added to your page.
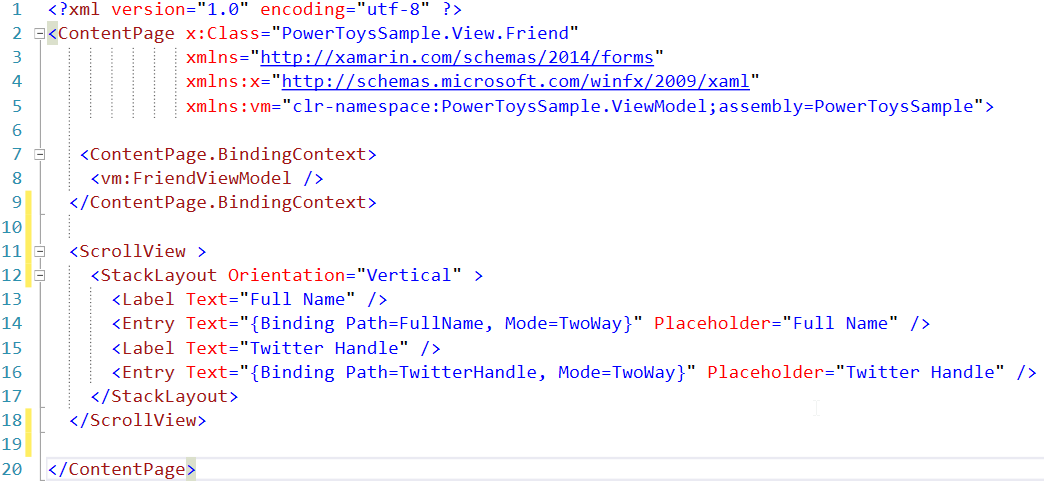
That’s it! Using XAML Power Toys, we generated a data entry form that runs on iOS, Android, and Windows 10 without having to write any user interface code—just our view model or model. This extension helps to make developers even more productive, especially when building data-driven, CRUD applications.
Wrapping Up
Using this extension, it’s easy and fast to generate a user interface using models in Xamarin.Forms applications. Karl Shifflett, the author of this extension, has made this extension open source and has published video tutorials, which can be found here.
