
In today’s development cycle, speed and clarity are everything. As you create with the latest state-of-the-art agents and models, Azure AI Foundry playgrounds are your on-demand, low-friction environment. Designed for rapid prototyping, API exploration, and technical validation, think of the Foundry playground as your technical sketchpad.
Modern development involves working across multiple systems—APIs, services, SDKs, and data models—often before you’re ready to fully commit to a framework, write tests, or spin up infrastructure. As the complexity of software ecosystems increases, the need for safe, lightweight environments to validate ideas becomes critical. Azure AI Foundry playgrounds were built to meet this experimentation need. Instead of having to configure a project, import dependencies, or worry about compatibility, the playgrounds is a live environment with preloaded tooling, native API support, and powerful features like code generation, chain of thought summary, and parameter tuning.
Port from playground to VS Code quicker
At Microsoft Build 2025, as part of the Azure AI Foundry extension for Visual Studio Code, we announced the “Open in VS Code” workflow. Available in chat and agents playground code samples in Azure AI Foundry, Open in VS Code is here to remove friction as you get to code quicker.
In one click, your agent or model API endpoint, key and code sample from Azure AI Foundry will be automatically imported into a new workspace in VS Code for Web through the Azure AI Foundry VS Code extension.
Once in VS Code, the agent or model can be run locally – and using `azd` commands, you’re able to add, provision, and deploy a web app that uses the agent or model. Finally, you can continue to on Desktop in 1 click that clones the workspace structure to GitHub for VS Code or GitHub Desktop experiences. Open in VS Code is here to accelerate developer velocity across your generative AI workflow across Azure AI Foundry, VS Code, and GitHub. No more multiple back and forth flows, one click to get started building quicker.
Let’s see how this works with a step-by-step guide.
Open in VS Code walkthrough
- From the Azure AI Foundry portal, select the best model for your use case, including o3, o4-mini, or MAI-DS-R1 from Foundry Models. In this case, we’ll use gpt-4o-mini as an example model for an agent workflow.

- Provision the model endpoint from the gpt-4o-mini model card.

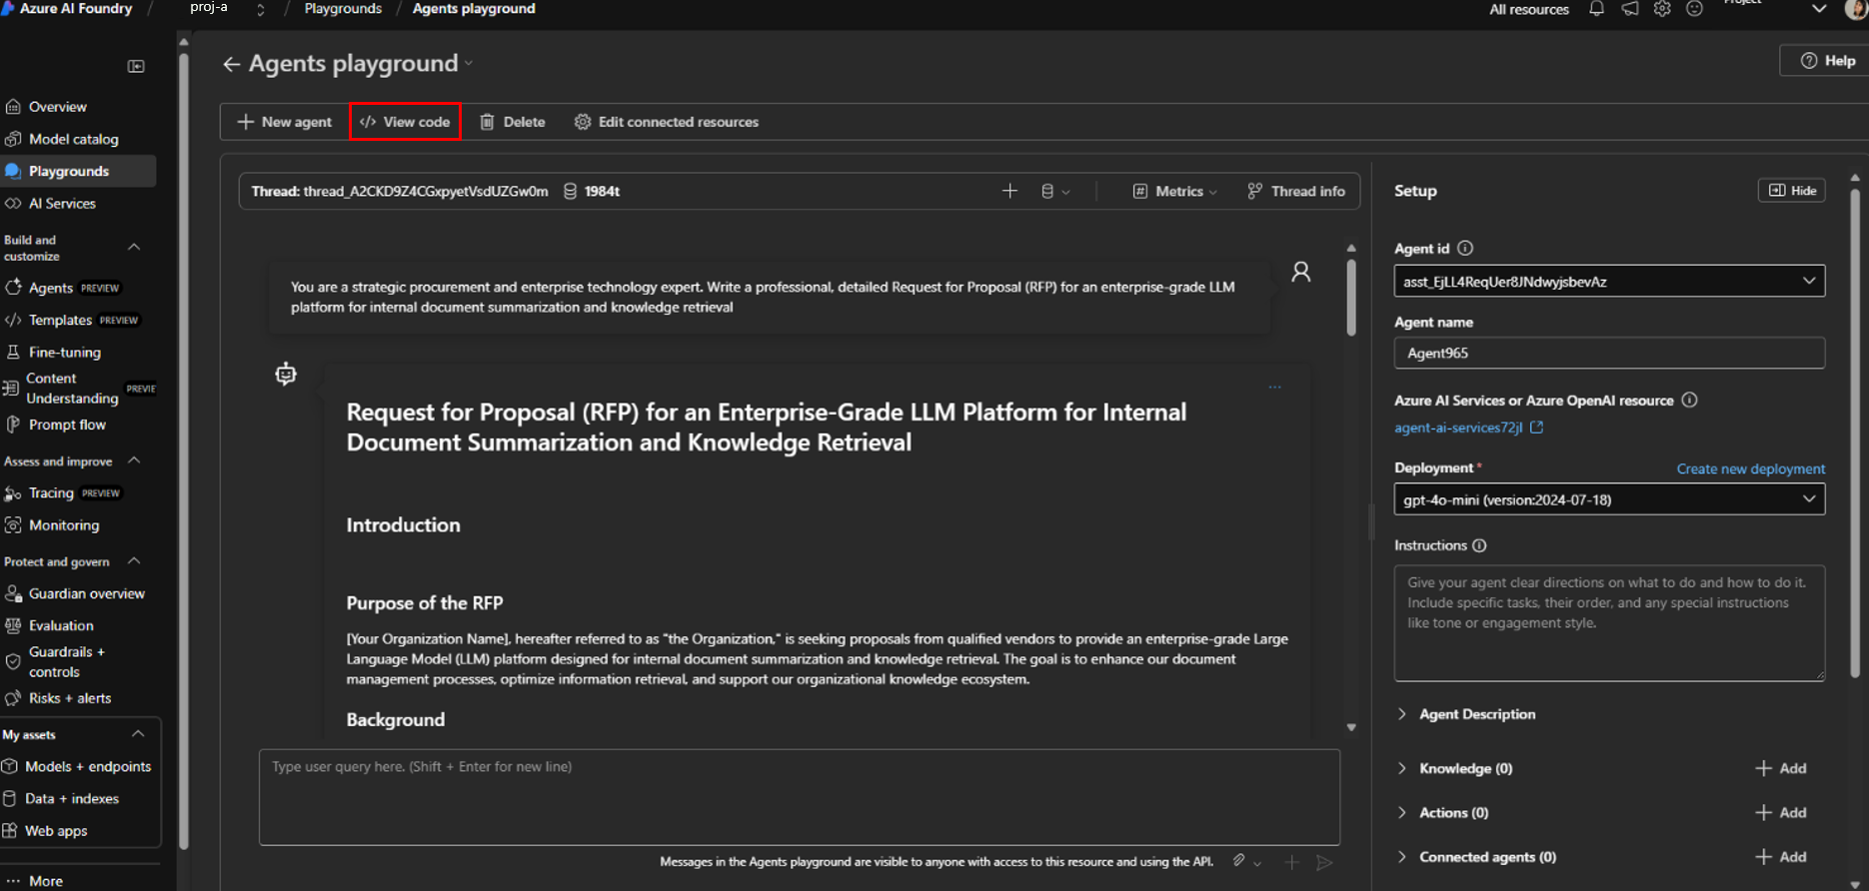
- Arrive in the agents playground, alter generation controls like max responses and past messages. Add knowledge, tools, and actions.

- Iterate on your sample prompt and continue experimentation in the agents playground.
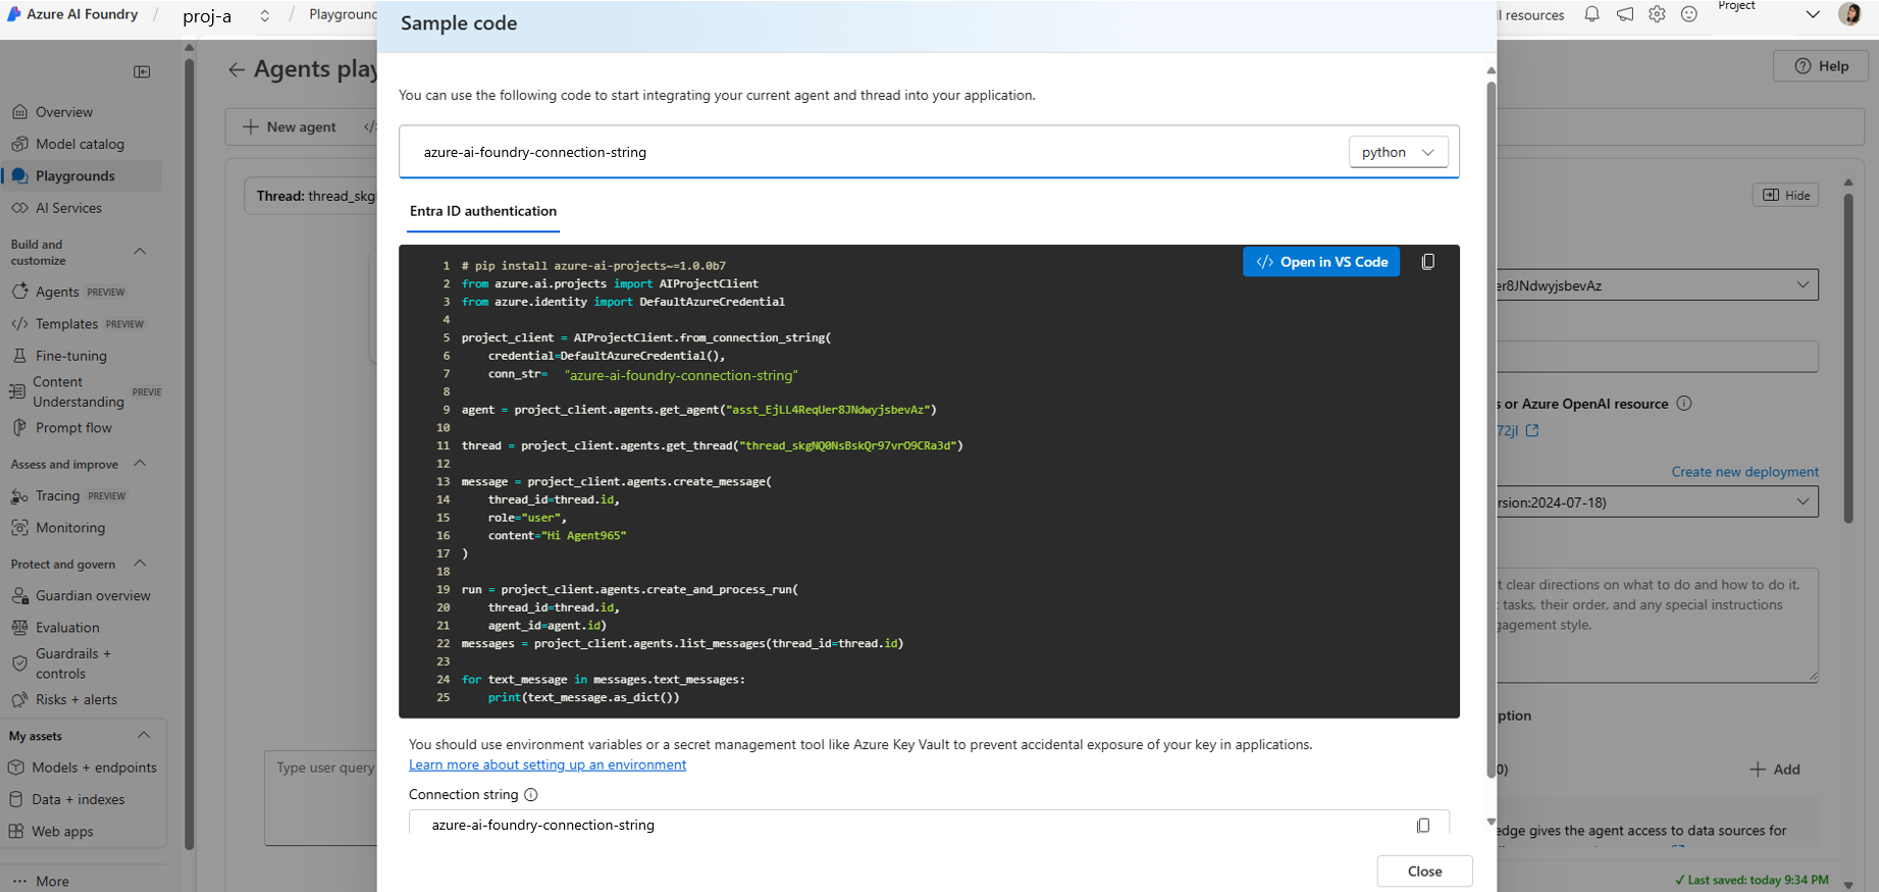
- Once happy, click the View Code button to see the contextual code sample for your interaction with the agent in the agents playground.
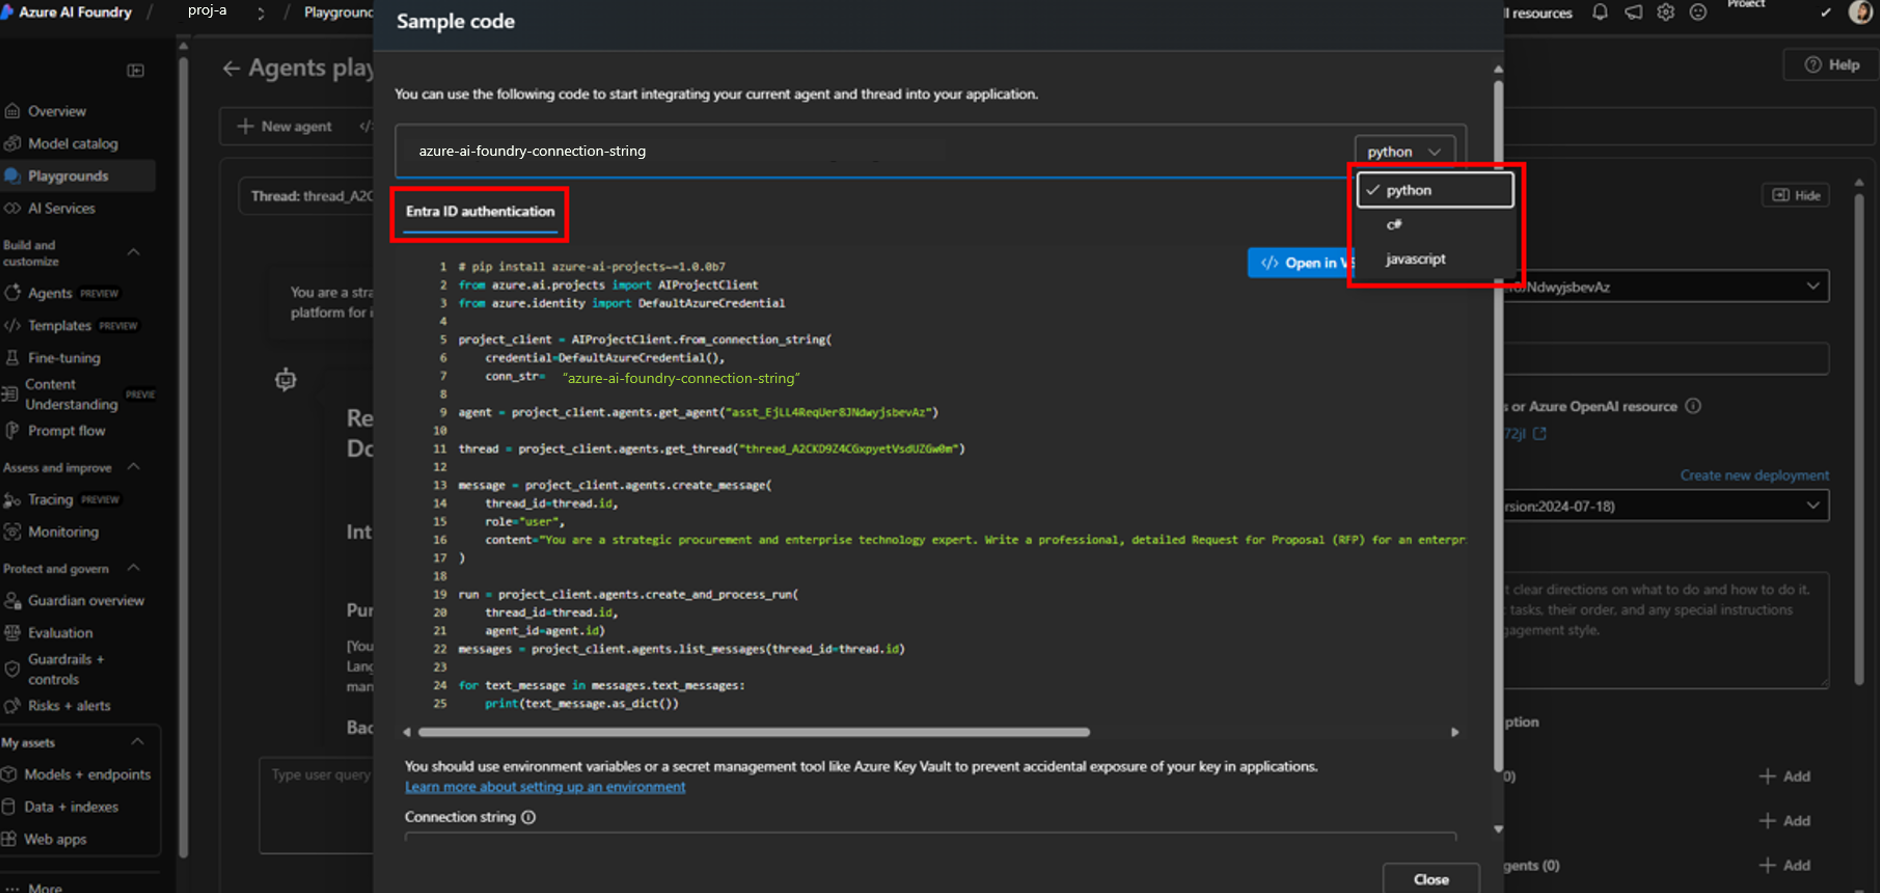
 There, you can see multi-lingual code samples in Python, C#, and JavaScript for agents and with the inclusion of JSON, cURL, JavaScript, C#, and Go for models Entra ID can be used to authenticate agents with “Key Authorization” now available for models.
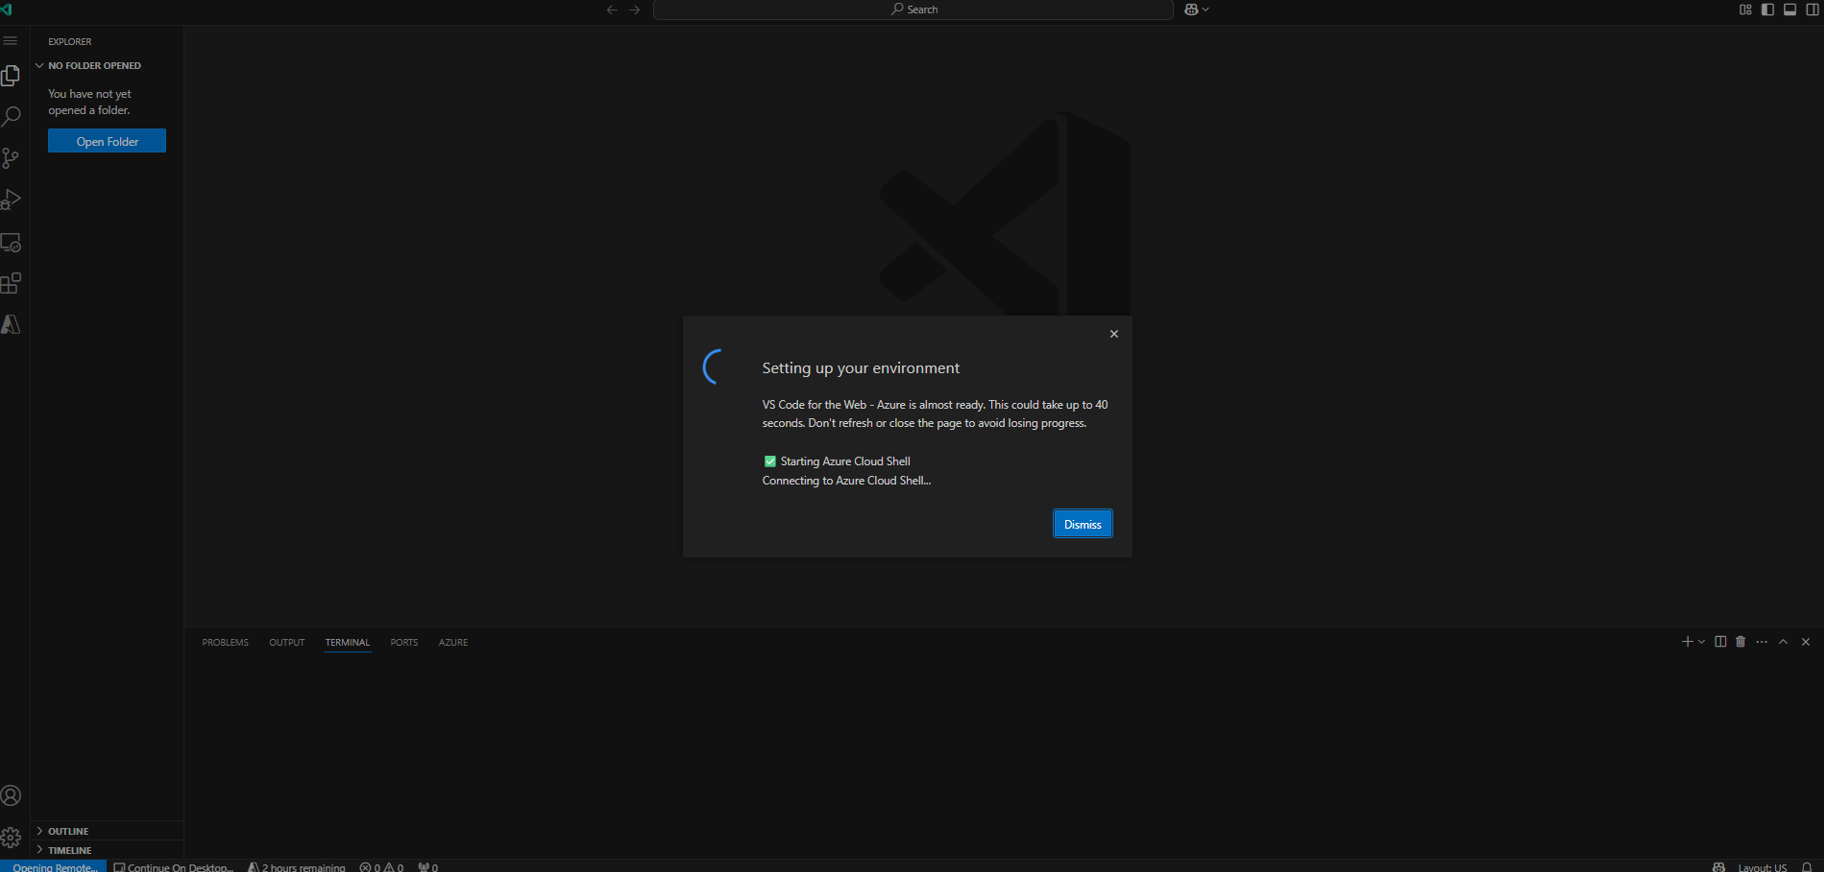
- When ready, click Open in VS Code and be redirected to the /azure environment of VS Code for Web.

- You’ll notice that as the environment is set-up, the code sample, API endpoint, and key are automatically imported into a new VS Code for Web workspace.

- In the bottom right corner, you’ll see that the API key is set in the terminal’s environment variables and that the sample code has been downloaded successfully.

- You’ll notice that as the environment is set-up, the code sample, API endpoint, and key are automatically imported into a new VS Code for Web workspace.
- In the Instructions README, you can browse the files automatically created with the one click of Open in VS Code.

These files include:
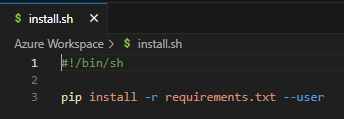
- Environment variables such as subscription ID, connection string, and endpoint. Bash script to install dependencies.

- Requirements txt file.

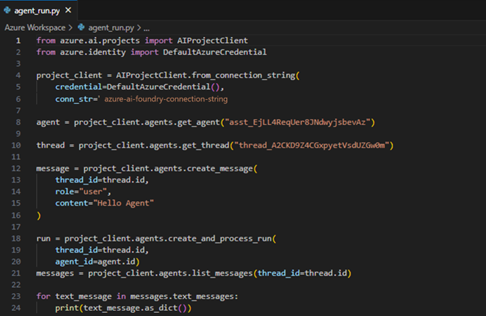
- `agent_run.py` file which contains the code sample for your agent.

- Environment variables such as subscription ID, connection string, and endpoint. Bash script to install dependencies.
- Run the model locally via the terminal through `python agent_run.py`. Within seconds, you’ll see a successful model response.
- Use `azd` commands to provision and deploy a web app that uses the agent.
- The `azd init` command initializes the git repo which creates a default Azure workspace where the agent can be used in an application.
- The `azd up` command provisions the relevant Azure resources for the web app and deploys the app code.

- Once deployed to Azure, `azd show` will enable you to see your Azure services and the web application running on due to this Azure samples repo.
- The `azd init` command initializes the git repo which creates a default Azure workspace where the agent can be used in an application.
- Continue in VS Code Desktop or GitHub Desktop by clicking on “Continue on Desktop” in the bottom left corner. This will publish the workspace structure to a GitHub repository so that you can continue in VS Code Desktop or in a fully setup dev container.


How to get started with Open in VS Code
- Sign-in or sign-up to Azure AI Foundry.
- Create a Foundry Hub and/or Project.
- Create a model deployment for o4-mini, o3, gpt-4.1 from Foundry Models, or directly from the chat and agents playgrounds.
- Click “Open in VS Code” in the code samples and follow the walkthrough above.
Create with Azure AI Foundry
- Get started with Azure AI Foundry, and jump directly into Visual Studio Code
- Download the Azure AI Foundry SDK
- Take the Azure AI Foundry learn courses
- Review the Azure AI Foundry documentation
- Keep the conversation going in GitHub and Discord
0 comments