The Windows Azure Web Sites team has been hard at work looking at various applications and working with vendors and community contributors to add some great applications to the web sites gallery. If you’re a blogger and you’d like to get started for free with a simple, yet extensible blogging tool, you might want to check this out. Starting this week you can install BlogEngine.NET into a free instance of a Windows Azure Web Site. I’ll walk you through the process in this post.
The Gallery
Windows Azure Web Sites makes it easy to get started with a new web site, and you can’t beat the price and the ability to upgrade your horsepower whenever you need (or to downgrade whenever you don’t need it). The web application gallery in the Windows Azure portal adds the sugary sweet ability to get up and running with a completely-built and pre-configured application in seconds. In most cases you won’t even need to write a line of code. Think of all those hours of your life you’ve spent configuring a CMS or blogging tool to get it working on your server – the gallery provides point-and-click creation and deployment of many of these types of tools.
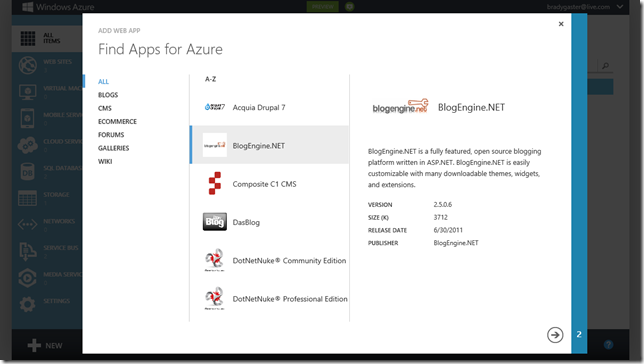
Below, for instance, you can see how easy it is for me to start building a brand new blog using BlogEngine.NET in Windows Azure.
Installing BlogEngine.NET
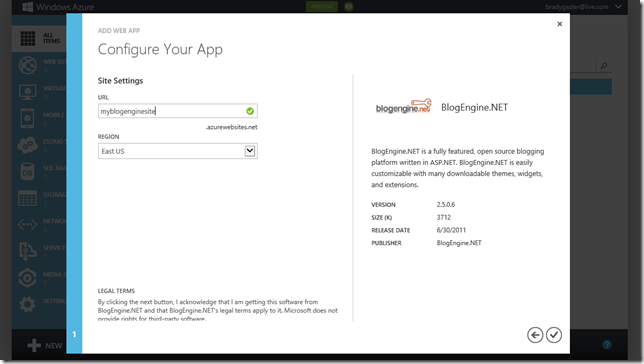
Once you select BlogEngine.NET and click the next arrow button, the gallery installer will need to get some pretty basic information from you and provision the site. The next step in the installation process gets your site’s name, which will serve as the prefix in the [prefix].azurewebsites.net manner.
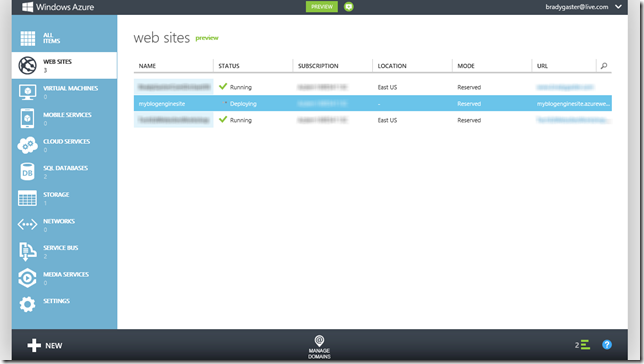
Since BlogEngine.NET’s default storage mechanism doesn’t require a database (but you can, of course, customize your installation later to use SQL if you’d like), but that’s basically the last step in the process. Two steps, and a brand new BlogEngine.NET blog will be created and deployed into Windows Azure Web Sites. Below you’ll see how the portal reflects the status of the deployment.
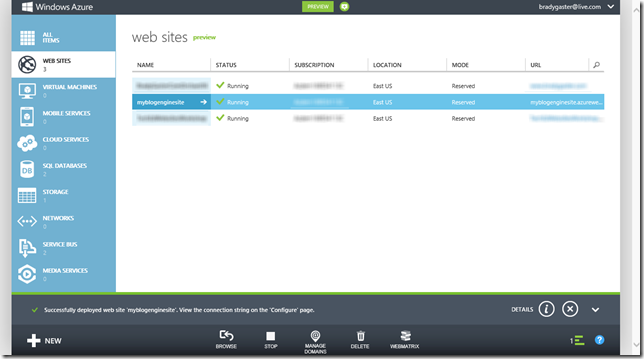
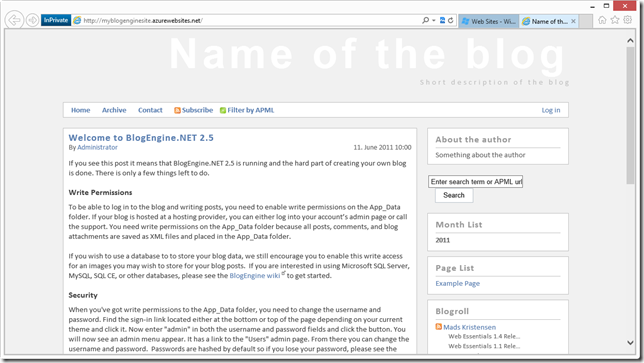
In a few moments, the site will be completely deployed, and by clicking on the browse button at the bottom of the portal when you’ve got your freshly-deployed blog selected…
You’ll be impressed at how easy the process is when you’re running BlogEngine.NET on Windows Azure Web Sites. In seconds, your new blog will be ready, deployed, and willing to record your every contemplation.
Using BlogEngine.NET
BlogEngine.NET is great, the administrative interface a breeze, and the whole experience painless when you install it this way. I’ve not used the product in a number of years. Though I don’t recall the installation and configuration process as a difficult one, it sure as heck wasn’t this easy the last time I installed it on a server.
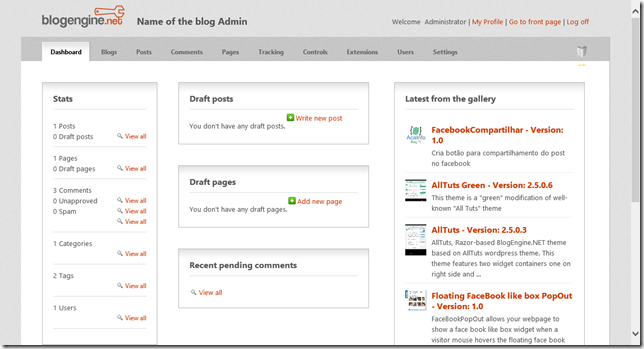
The first thing you’ll want to do is to log in as admin (password by default is also admin), according to the BlogEngine.NET installation documentation, and change your password. The administration dashboard is quite simple, and blogging using the product is a breeze.
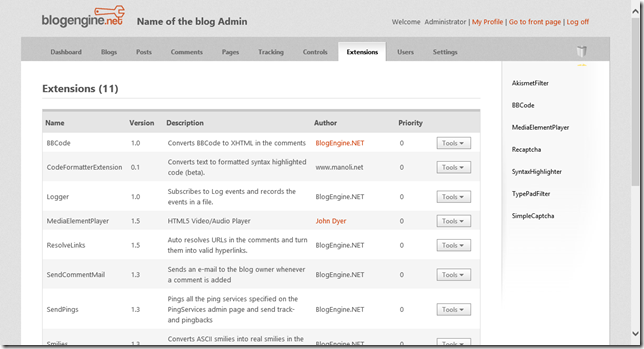
As simple as BlogEngine.NET is on the surface, it has a great community and huge list of extensions and resources available. The extensions page in the BlogEngine.NET administration console should give you an idea of what’s available for your use if you’re into the idea of customizing the functionality.
So in seconds – it literally took me less than 1 minute on the first try – you can have a brand new blog running in Windows Azure Web Sites, for free or for however much you need whenever you need it, that’s simple to use and extensible with a great plug-in model.
Start Simple. Go Big When You Need To
If you haven’t tried Windows Azure yet, you can get started right now, for free, and stay free for a year if all you really need is a BlogEngine.NET site. In 5 minutes you’ll have your own site up and running, without writing a single line of code or performing any complex configuration tasks. When you pair the ease of setup and deployment Windows Azure Web Sites and the application gallery provide with the blogging simplicity and elegance BlogEngine.NET provide, you can’t go wrong.

0 comments