Installing TFS 11 Build Server from the BUILD Conference in Anaheim
I am posting walkthroughs of the the various TFS 11 install wizards from the upcoming version of TFS previewed at the BUILD Conference in Anaheim last week. Installation of TFS 11 is very similar to installation of TFS 2010. You can use the install guide for TFS 2010 to review the current (TFS 2010) guidelines for install. And you can find the late breaking information about this version of TFS install (TFS 11) on the TFS setup forums.
This post covers the build wizard.
First, get the preview and launch it. If you’ve already installed, skip down two screens to the Wizard and select Configure Team Foundation Build Service.
Accept the license agreement and click Continue.
We recommend you enable updates. Click Install Now.
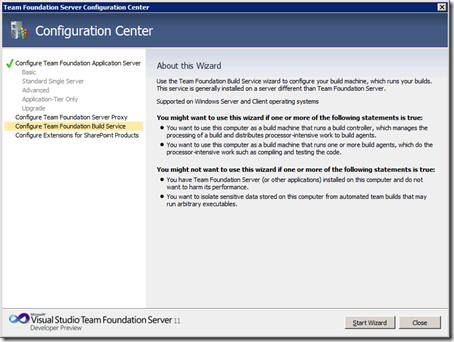
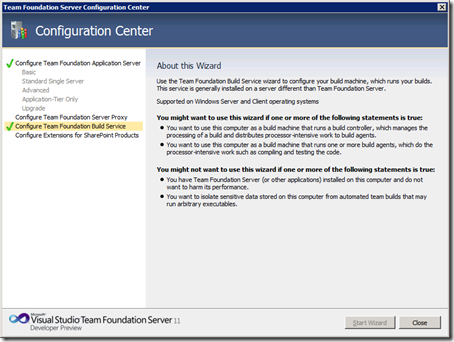
Select Configure Team Foundation Build Service, and then click Start Wizard.
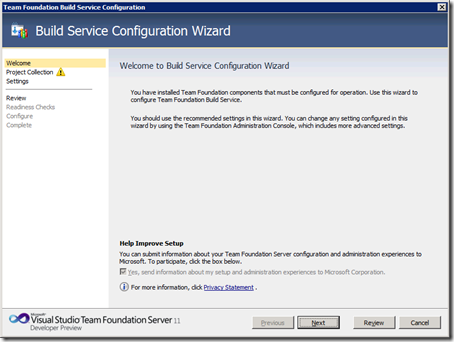
Click Next. Ignore the the “Click here” link on this page. If you opted into the updates earlier, you’ll automatically get the latest updates during install.
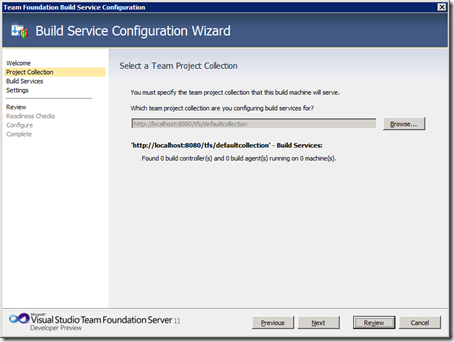
If, like me, you install Build on the same server as TFS 11, the wizard automatically points itself to the default collection on the local machine. Click Next. (If you have TFS 11 on a different server, point to that server by click the Browse button).
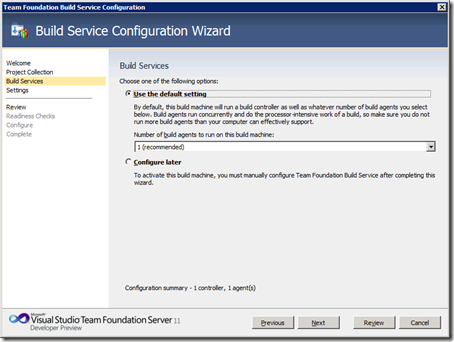
You can adjust the number of build agents or cancel. I’m going to use the default settings. Click Next.
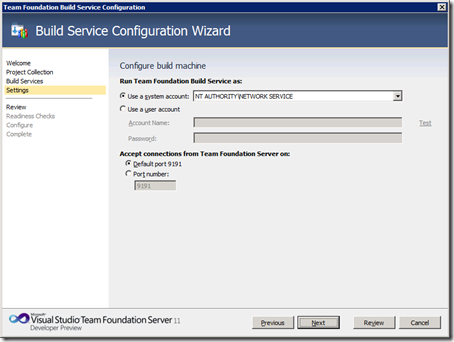
You have to select the identity and the network port to run build services. I’m going to use the default settings: Network Service and port 9191. Click Next.
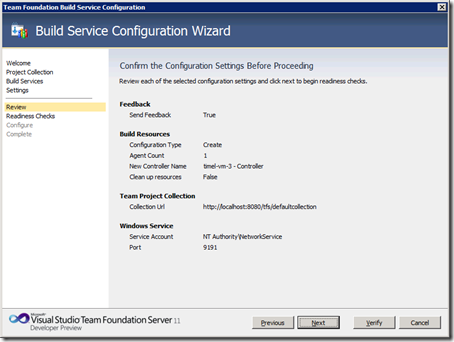
Review your selections and click Next.
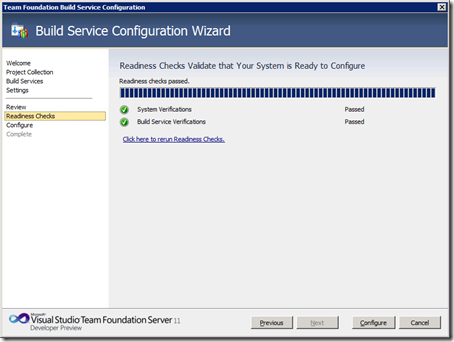
After the readiness checks run, click Configure.
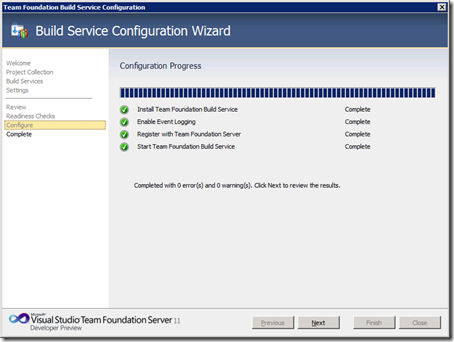
Once configuration completes, click Next.
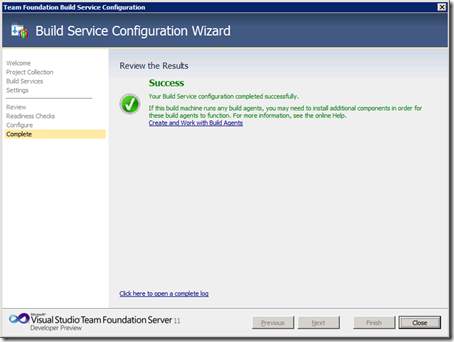
You’ve succeeded! Click Close.
Click Close again to get back to the TFS 11 administration console.
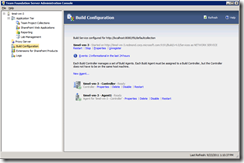
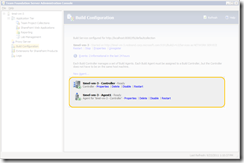
This is what Build Service looks like in the console (pictured left). If you look at the callout on the right, I’m picturing the same screen, but you can more easily see the UI that shows the number of controllers and agents configured for this machine.


 Light
Light Dark
Dark
0 comments