
If you have a project you’ve been working on, but haven’t yet had a chance to put it in source control, then spend a few minutes of your leap day this year and host it for free in Visual Studio Team Services (VSTS). VSTS is a great place to host all of your projects for free, and creating a repo to host your code is easier than ever. Let’s take a look!
Create your account
Get started by creating your free VSTS account. You’ll need to have a Microsoft Account to do so, but don’t worry, you can create one along the way if you don’t already have one.
Creating your account is as easy as picking a name and clicking Start.
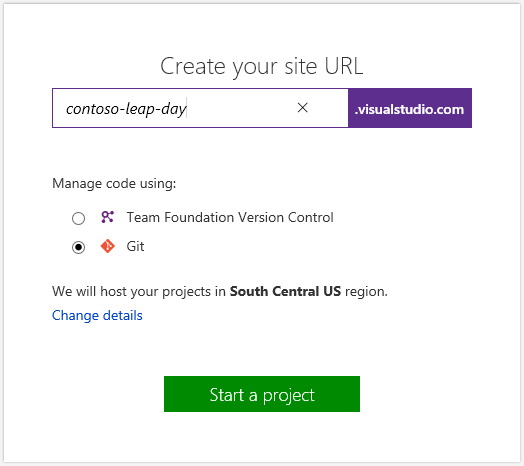
That’s it – you now have an account and a repo to store your code!
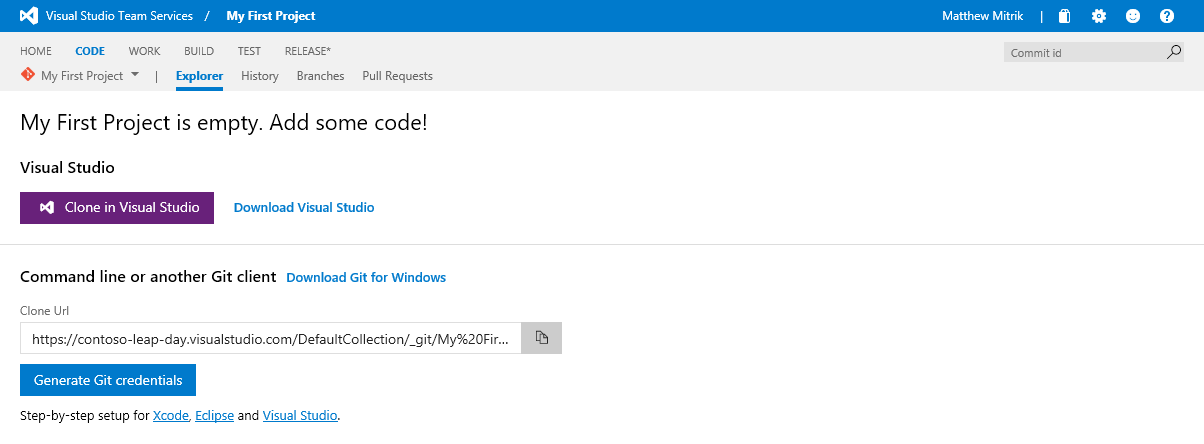
Your repo is empty, so let’s look at some options for getting your code into that new repo:
- Create a Git repo for your existing Visual Studio project
- Create a Git repo for your existing code
- Clone an empty repo and put some code into it
Create a Git repo for your existing Visual Studio project
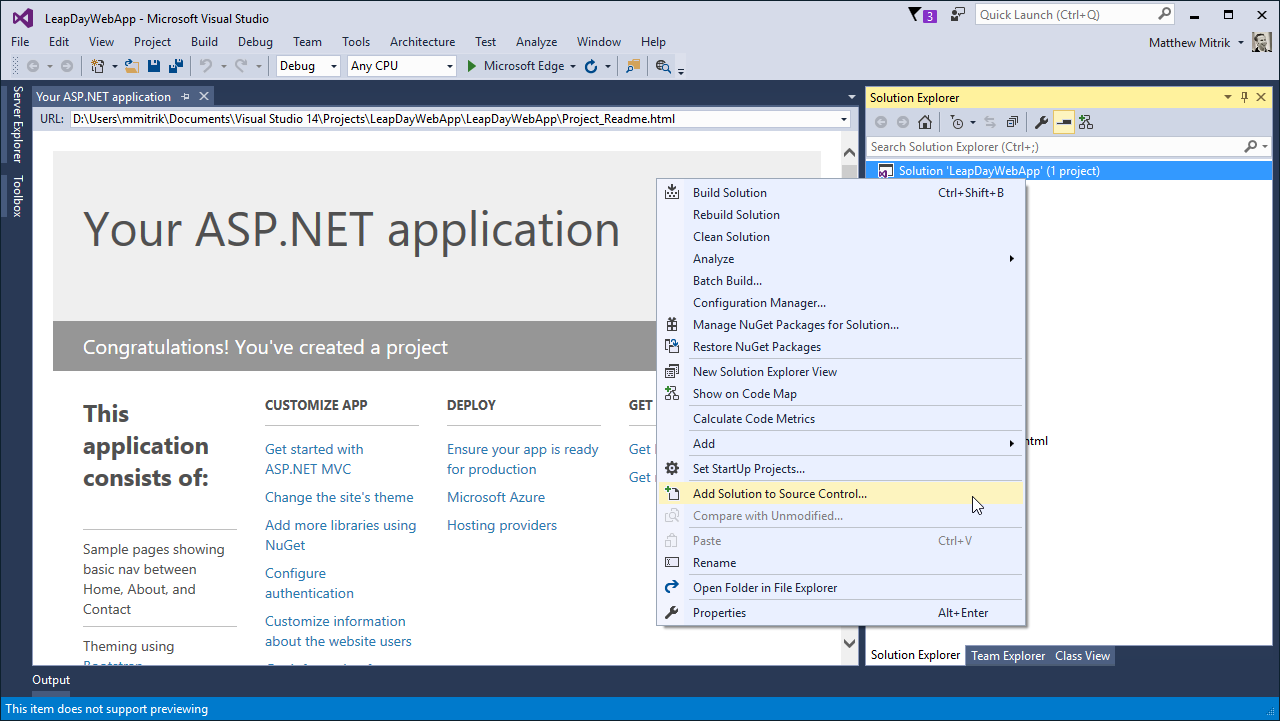
If you have an existing project in Visual Studio, getting that project into your new repo is easy. Start by opening the project in Visual Studio and open the Solution Explorer. Right click on the solution and choose Add Solution to Source Control.
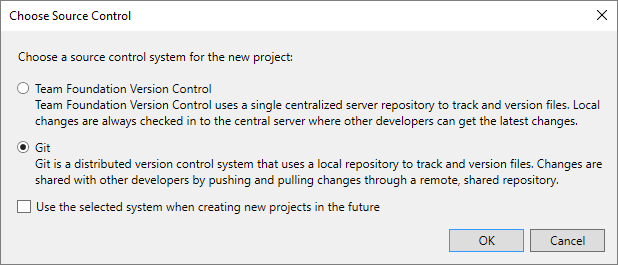
We created a Git project initially, so choose Git from the Choose Source Control dialog.
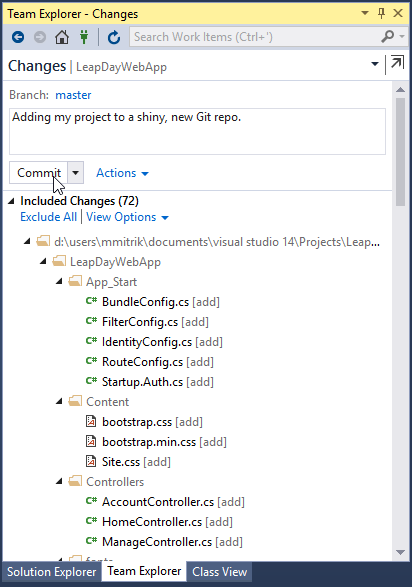
In the Changes page, add a comment to describe your changes and click Commit.
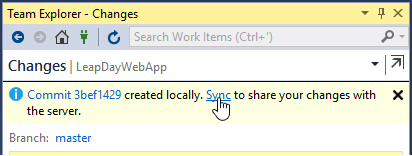
Now your changes have been committed to a new local Git repo. To send the repo to VSTS, click the Sync link in the info bar (you can also go to the Sync page by clicking on the navigation bar in Team Explorer).
Click Get Started in the Publish to Visual Studio Team Services section. Once you’ve signed in, you’ll see your new VSTS account listed, and you can either publish to a new project or the existing one that was created on sign up. VSTS gives you unlimited free repos, so let’s create a new repo in the default project. Click Publish to push your local Git repo up to the cloud.

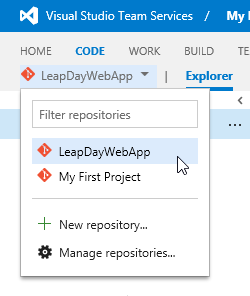
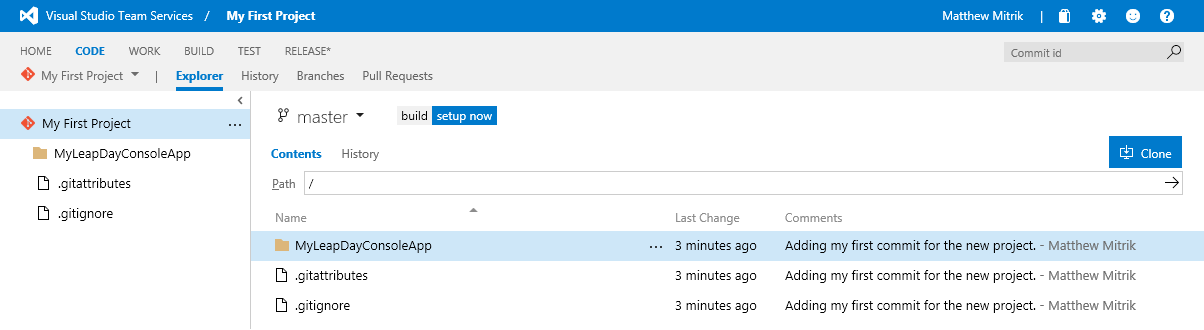
Go back to your browser and select the new repo from the repo picker.
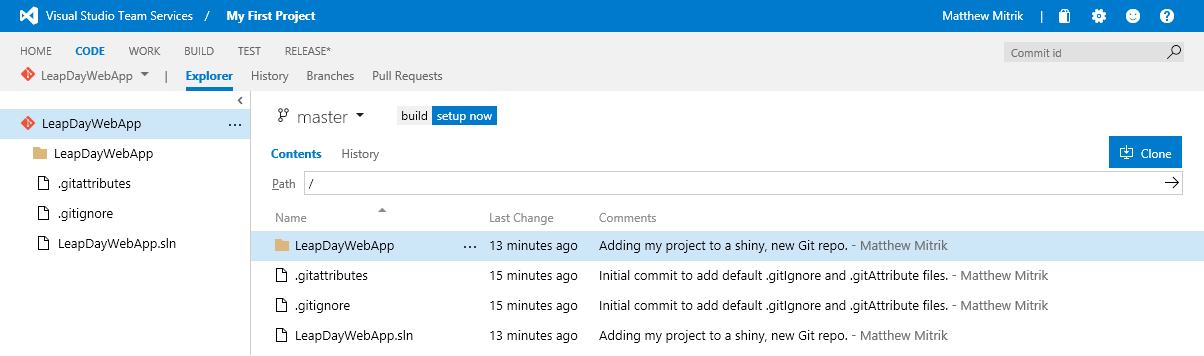
Voila! The Code Explorer now shows your project, and you’re all set to start tracking your changes.
Create a Git repo for your existing code
If you have some code that’s not in Visual Studio, it’s still easy to get that code hosted in VSTS Git repo. First, you’ll need to have Git tools installed. Click the link to Download Git for Windows from the empty repo page.

After installing the tools, you’ll need to configure your credentials. Click the Generate Git credentials button to generate alternate credentials that can be used from the command line. You can also create a personal access token, or better yet, use a credential manager to handle credentials for you.
Next, open a command prompt and navigate to folder where you have the existing code project. Type the following commands to create a new Git repo, add, and commit your changes to the repo.
git init
git add .
git commit -a -m "My first commit"
Next, you’ll need to configure your local repo to push to the remote repo hosted in VSTS. In the empty repo page, look under the command line instructions for the exact commands you’ll need to configure your repo to push to your account. Click on the copy button to copy the command to your clipboard.
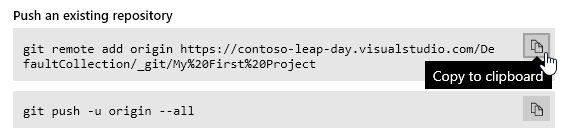
Paste that command into your command prompt and press enter. Do the same for the push command, and push enter to start the push. After entering your account credentials, you’ll see output in the command window that shows your changes being pushed to the hosted repo.
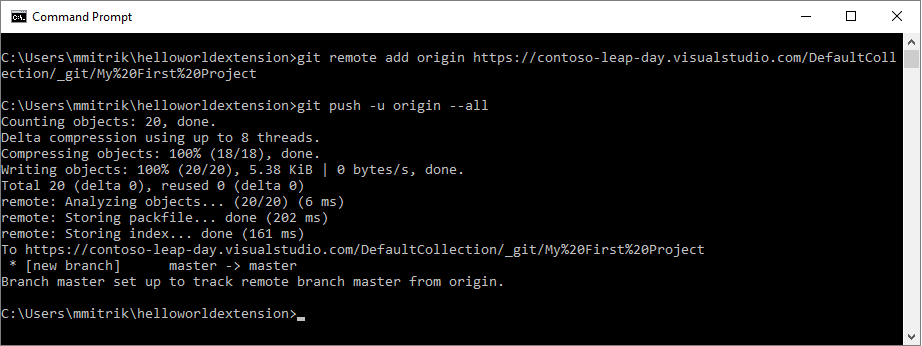
Go back to your browser and refresh the empty repo page, and you’ll see your newly added code.

Clone an empty repo and put some code into it
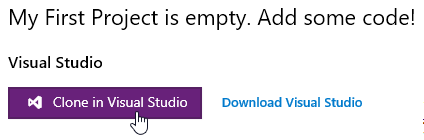
If you want to try out VSTS with a sample project, start by cloning down the empty repo. To do this in VS, just click the Clone in Visual Studio button.
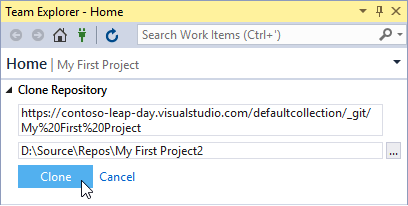
Visual Studio will open and connect to your VSTS account (you may get prompted for credentials if you haven’t signed in to VS). In Team Explorer, you’ll see that you’re connected to the new project, and there is a prompt to clone the repository. Click Clone this repository to start the process.

The Clone URL and a default location on disk for your repo are prepopulated. Enter in a new folder location if you want to store the repo somewhere else. Click Clone to start downloading the repo to your computer.
Once the repo finished cloning, click the New… link in the Solutions section to create a new project in this empty repo. Choose a project type, give it a name and click OK to create the project.
Next, you’ll want to commit your project to your repo. Click on the Changes tile in the Team Explorer to open the Changes page.
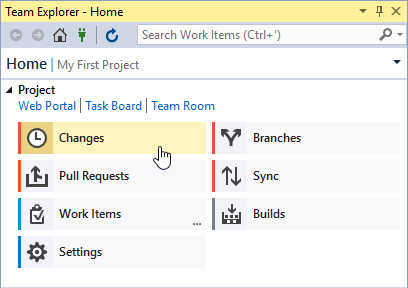
The Changes page will show your newly added files. Enter a commit message and click Commit to commit the changes to your local repo.

Click on the Sync link to go to the Sync page where you can push your changes to the server.
![]()
On the Sync page, you’ll see the change you just committed listed in the Outgoing Changes. Click Push to send the changes to the server.

Go back to your browser and refresh the empty repo page, and you’ll see your newly added code.
Next Steps
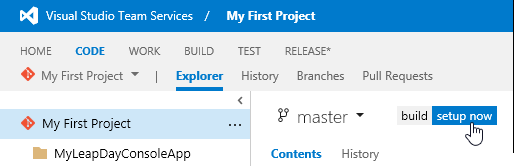
Set up a CI Build
Now that you have code in your repo, get a CI build set up to start building your code. Click on the setup now badge to get started. Learn more about VSTS Build
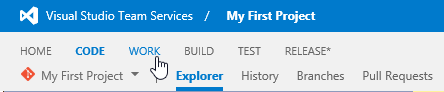
Plan the work for your project
In addition to source code hosting and build, VSTS has all of the Agile tools you need to run your agile team. Click on the Work hub to get started creating your backlog. Learn more about Agile tools
Why host your code on VSTS?
There are plenty of places to host your code in the cloud, so what makes VSTS different? Here are a few of the top reasons:
- Unlimited free private repos. Really. You can create as many private Git repos as you want, and it’s completely free. We also don’t charge for storage or bandwidth, so you don’t have to worry as your codebase grows. Even better is that teams up to 5 individuals can work for free on the same account, and anyone that already has an MSDN license can also join any account for no additional charge. More details about pricing for larger teams

- Pull requests with integrated build and work items. Take your code reviews to the next level by configuring automated builds that can verify the pre-merged changes before the code is merged into the mainline. Projects that are using the Agile tools can link their bugs, tasks, and stories to their code to get traceability and understand the motivations behind every code change. Learn more about pull requests

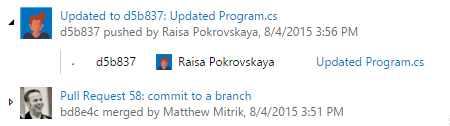
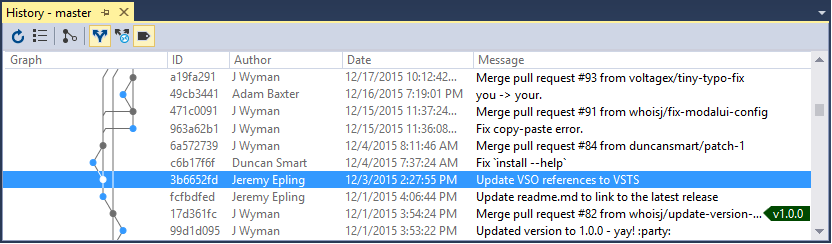
- Powerful history views. VSTS lets users go beyond the simple list of commits and see exactly who is pushing changes and when. The Branch Updates view shows every change that is pushed into a branch or merged with a PR, so you can know exactly who introduced every change.

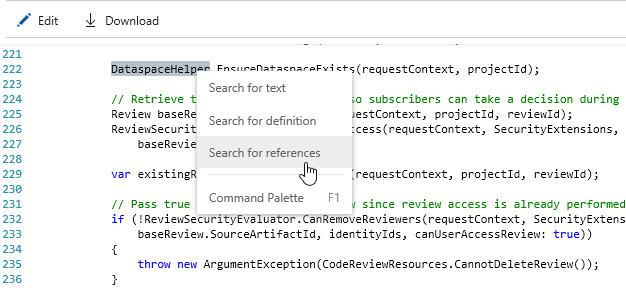
- Awesome web editor. The rich web editor makes it easy to make a quick code change. Features like syntax highlighting for dozens of file types, Intellisense, and a rich command palette bring modern editor features into the web. Integration with pull request means that you can take the risk out of a quick edit by building and code reviewing changes before they’re merged.

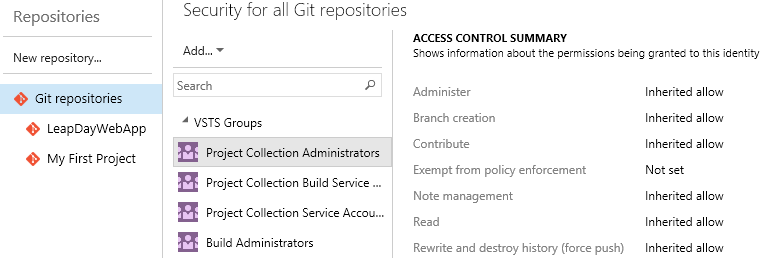
- Enterprise level security. Beyond the enterprise level data protection provided by Azure, VSTS Git repos have the ability to control access to individual repos and even branches. Integration with Azure Active Directory makes managing access to code using your existing groups easy.

- First-class Visual Studio integration. We saw how easy it was to create, clone, commit, and push changes, but that was just the beginning. Branch management, rich history graph views, and conflict resolution tools make it easy to complete all of your essential Git tasks from the comfort of your IDE.


0 comments