
One of the capabilities in the Web Apps Service is placing your Azure resources in a non-internet routable network that you can control access to. These networks can be connected to your on-premise networks using VPN technologies. For example, with VNET integration you can enable access from your web app to resources running on a virtual machine in your Azure virtual network. It is important to note that this will not isolate your WebApp from the internet, but rather enable it and other resources to operate within the integrated VNET.
We will be enabling the UI aspect of this feature in the upcoming months. In the meantime, here is information on how to enable VNET integration via PowerShell:
To begin, we’ll be referencing a slightly modified version of the script found in this article describing how to enable VNET integration in ARM and ASM through PowerShell. We’re going to focus on ARM for this implementation.
First, you’ll need a copy of the script – very slightly modified to enable compatibility with Azure Government. Below is a copy of this script which you can save locally to get started. Once complete, open and run the script and you will be presented with a series of prompts. These prompts will guide you through the actual integration of your VNET with minimal effort as shown below.
azuregovvnetintegration (script)
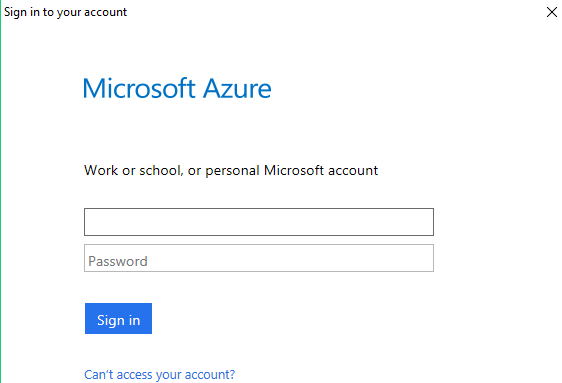
Step 1 – Log In
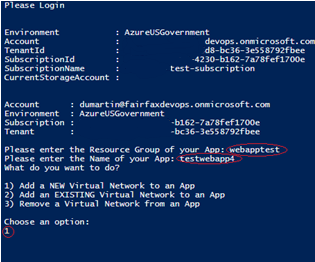
Step 2 – Enter in the configuration data for your web app, and select a VNET Configuration option
Step 3 – If you select to a create a new VNET, you will be prompted to review the proposed configuration. Select NO to accept the defaults.

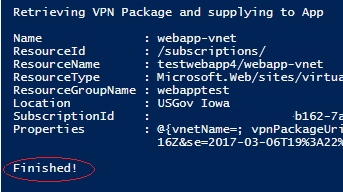
Step 4 – After selecting the VNET configuration options, the script will begin integrating the VNET and creating the appropriate VNET Gateway, shown above
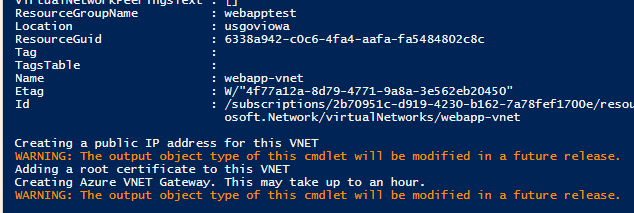
Note: At this point, take a coffee break. The gateway can and will take up to an hour to finalize and complete. Once this is done you should be rewarded with no errors and a clean “Finished!” message as shown below.
With the script execution complete, you’ll want to test to ensure your integration was successful. This is as simple as creating a new VM on the same VNET to ensure connectivity is established using a built-in tool (TCPPing.exe).
Step 5 – Finished with the integration, continue for verification and testing
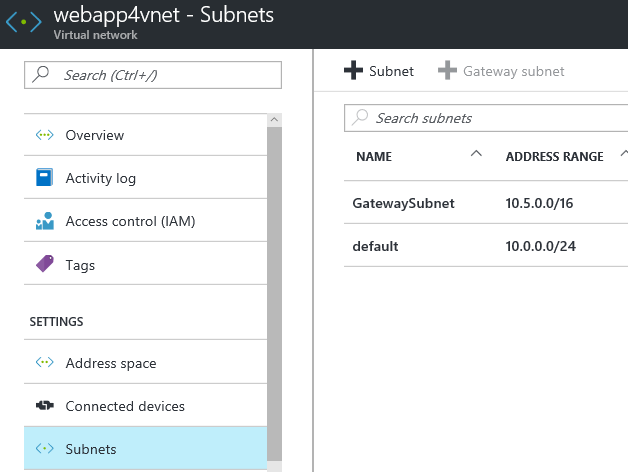
Step 6 – Ensure your VNET has a subnet you can put add a VM to by creating a new subnet if needed.
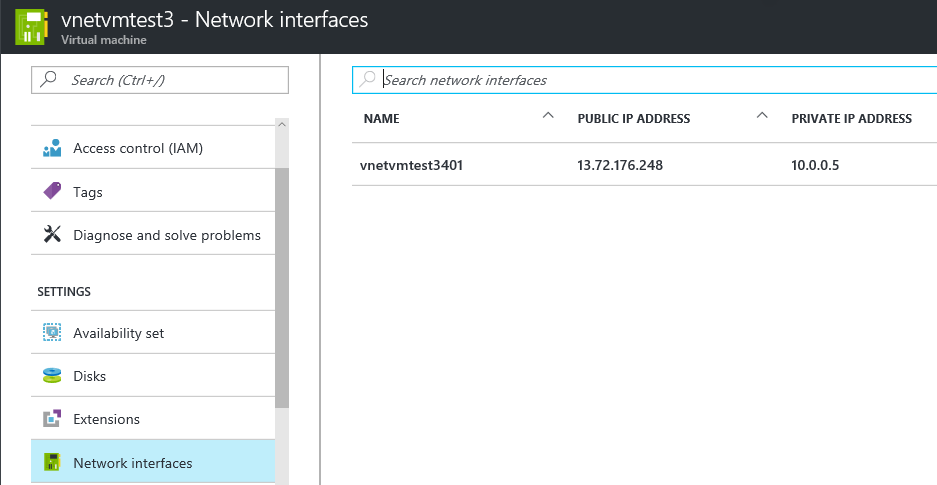
Step 7 – Deploy a new VM and confirm the Private IP is accurately assigned to the subnet you just made, as shown above.
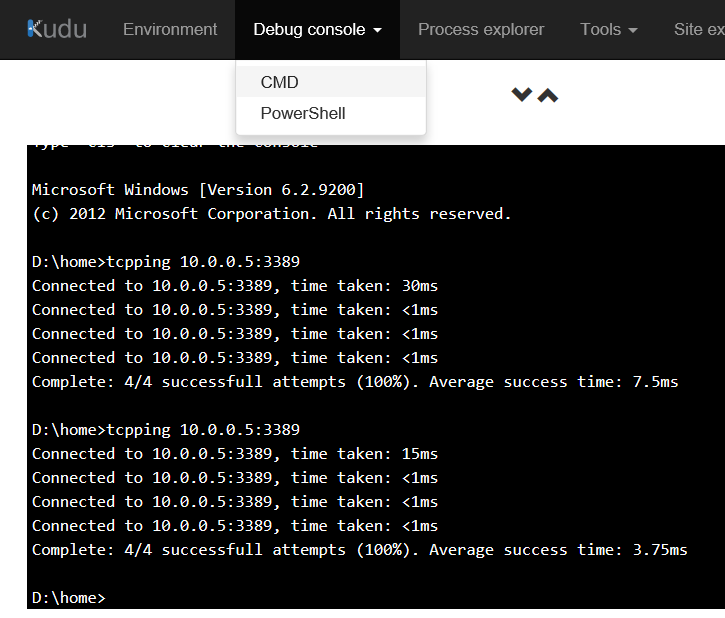
Once your VM has been deployed you can then log into the KUDU console for debugging your Webapp. This can be found by adding .scm to your webapps URL, for example: <yourwebappname>.scm.azurewebsites.us . Navigate to the CMD Debug Console and utilize the TCPPING.exe tool to execute your test.
IMPORTANT: Please ensure you specify a listening port for the TCPPing test. By default TCPPing will leverage port :80 which is not set to respond on a freshly provisioned VM. I’ve demonstrated using :3389, which is the default RDP port for Windows, and will generally be responsive for Windows VMs.
Step 8 – Finally, log in to your WebApps KUDU Debug console and attempt to ping your VM
Please refer to this article for more information on VNET integration.
We welcome your comments and suggestions to help us continually improve your Azure Government experience. To stay up to date on all things Azure Government, be sure to subscribe to our RSS feed and to receive emails, click “Subscribe by Email!” on the Azure Government Blog. To experience the power of Azure Government for your organization, sign up for an Azure Government Trial.
0 comments