
Publish an ASP.NET Core Project to Azure from Visual Studio for Mac
As a cloud first, mobile first IDE, Visual Studio for Mac is designed to work side by side with Azure. In this post, you’ll create an ASP.NET Core project, edit the site to be unique, and then deploy the project to Azure. To complete this task, make sure your setup meets the following requirements:
- Visual Studio for Mac 7.2.x or greater
- .NET Core 2 (If you do not have .NET Core 2, you can download the latest version from the .NET Core site)
- An Azure account (Don’t have an Azure account? Sign up for free today!)
Getting Starting with ASP.NET Core
With those prerequisites in place, you can get started on an ASP.NET Core app. Remember, you can do this all from Visual Studio for Mac, so close Terminal and forget about FTP. To get started, open Visual Studio for Mac and click “New Project”. On the New Project screen, select .NET Core > App > ASP.NET Core Web App and follow the prompts to name your project.

Edit Your HTML
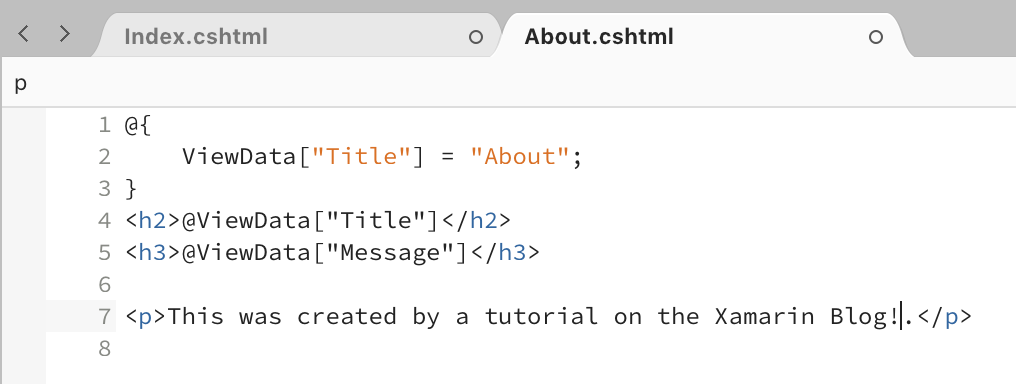
After the project is created, you’ll edit the HTML to truly make it your own unique project. Within Visual Studio for Mac, expand Views > Home and open About.cshtml. Feel free to edit this page in any small way you see fit. For this example, changing the “About” text to, “This was created by a tutorial on the Xamarin Blog!”
Deploy to Azure
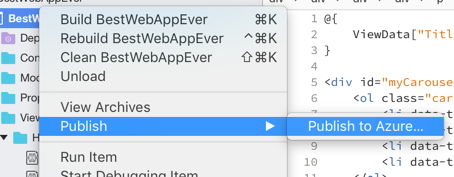
At this point, save the project and deploy it to Azure. Now is a great time to create a free Azure account. Only then you will be able to right-click or ctrl-click on your project and select Publish > Publish to Azure.
Log Into Visual Studio for Mac
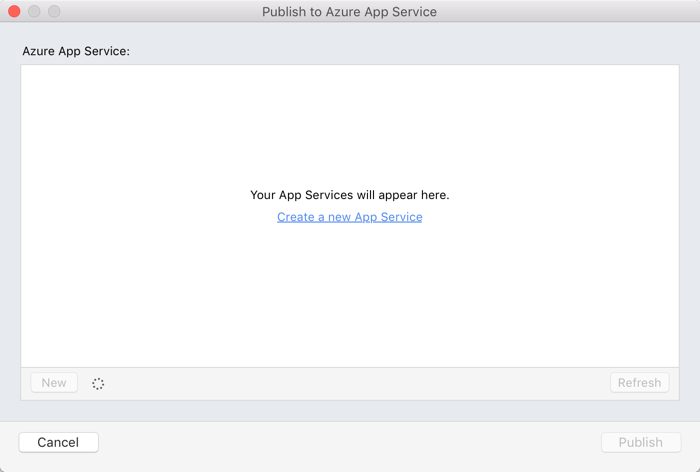
Log into Visual Studio for Mac via the publishing tool to be greeted by the following window:
Create New App Service
Already active Azure users will see a list of existing app services. Make a new app service for this exercise by clicking “New” on the bottom left side. This will take you to the “New App Service” screen where you fill in the pertinent information for your project. Once you are ready, the “Create” button will be activated:
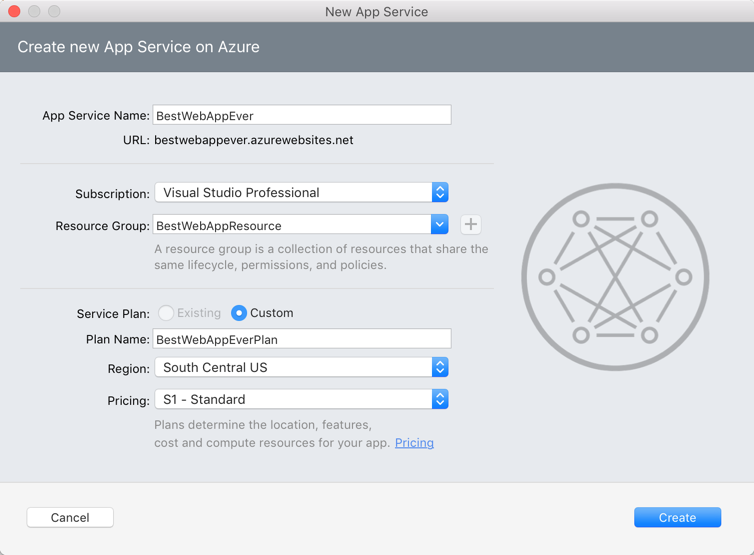
The “Create” button may not be active so be sure to check that all fields are populated and that the name you select is available. If the name you selected is not available, you may see an exclamation point near the name field. Now you should be able to click the “Create” button; go ahead and see what happens!
A warning should appear letting you know that this may take some time, which you can dismiss. Then, you’ll see the following info bar messages:
![]()
![]()
As soon as it is published, your newly deployed ASP.NET Core Web App will open in your default browser!
Wrapping Up
In this post, you learned how to produce and publish an ASP.NET Core Web App to Azure using nothing but Visual Studio for Mac. We’re excited to be adding Azure integration directly into the IDE, and we hope you enjoy using it.
Discuss this blog post on our forum!
 Light
Light Dark
Dark
1 comment
Hi Cody,Is it normal that when publishing a .NET Core app the App Service is created as a .NET Framework App service and not a .NET Core one?When checking the “General settings” of the Azure App service I can only choose .NET and a .NET Framework version, not .NET Core.