
Native iOS Facebook Authentication with Azure App Service
Authentication is a fundamental pillar to almost all modern mobile apps, but it’s challenging to get right. In the past, I found myself in using methods that I knew were bad practice, but which allowed me to quickly ship apps to app stores. The most common approach I’ve seen when authenticating mobile apps with Azure is to use the magic line:
user = await client.LoginAsync(MobileServiceAuthenticationProvider.Facebook);Though this approach is the simplest way to authenticate your users, you’ll soon find it has limitations that make it unusable for production apps. The reason we love this approach is that it’s cross-platform and requires no hoop-jumping to configure; you can auth your app in a matter of minutes with just one line of code. The biggest limitation of this approach, though, is the inability to authenticate your app against different versions of your backend. This means you won’t be able to test your app on a staging version of the backend, only in a production environment. I hope I don’t need to waste any time on explaining why that’s a terrible idea! To get around this, you should opt to authenticate your app using the authentication provider’s native SDK, and then pass the access token to your backend to verify there.
Why use Native SDKs?
Native SDKs unlock a world of features for your app. In this case, we’ll be looking at the Facebook iOS component, which allows us to quickly authenticate the user by switching to the native app on iOS 9 or below. iOS 10 currently loads a SafariViewController, which can use the device’s cookies to find a user’s existing token. We can also request more information about the user to create our own user object to use in the app, such as a friends list and interests.
Sign Up for Facebook Auth
Before we can set up our mobile app to enable Social Auth, we’ll need to sign up with an authentication provider. As we’re using Facebook, we’ll head over to the Facebook Developer site and create a new Facebook app. Once you’ve created a new app within the developer site, you’ll have a unique App ID. As part of the set up, we’ll want to ensure that we have a valid redirect URL. Assuming you’re also using an Azure App Service instance, your redirect URL would be the following:
https://[AppServiceApplicationURL]/.auth/login/facebook/callback
Getting Started
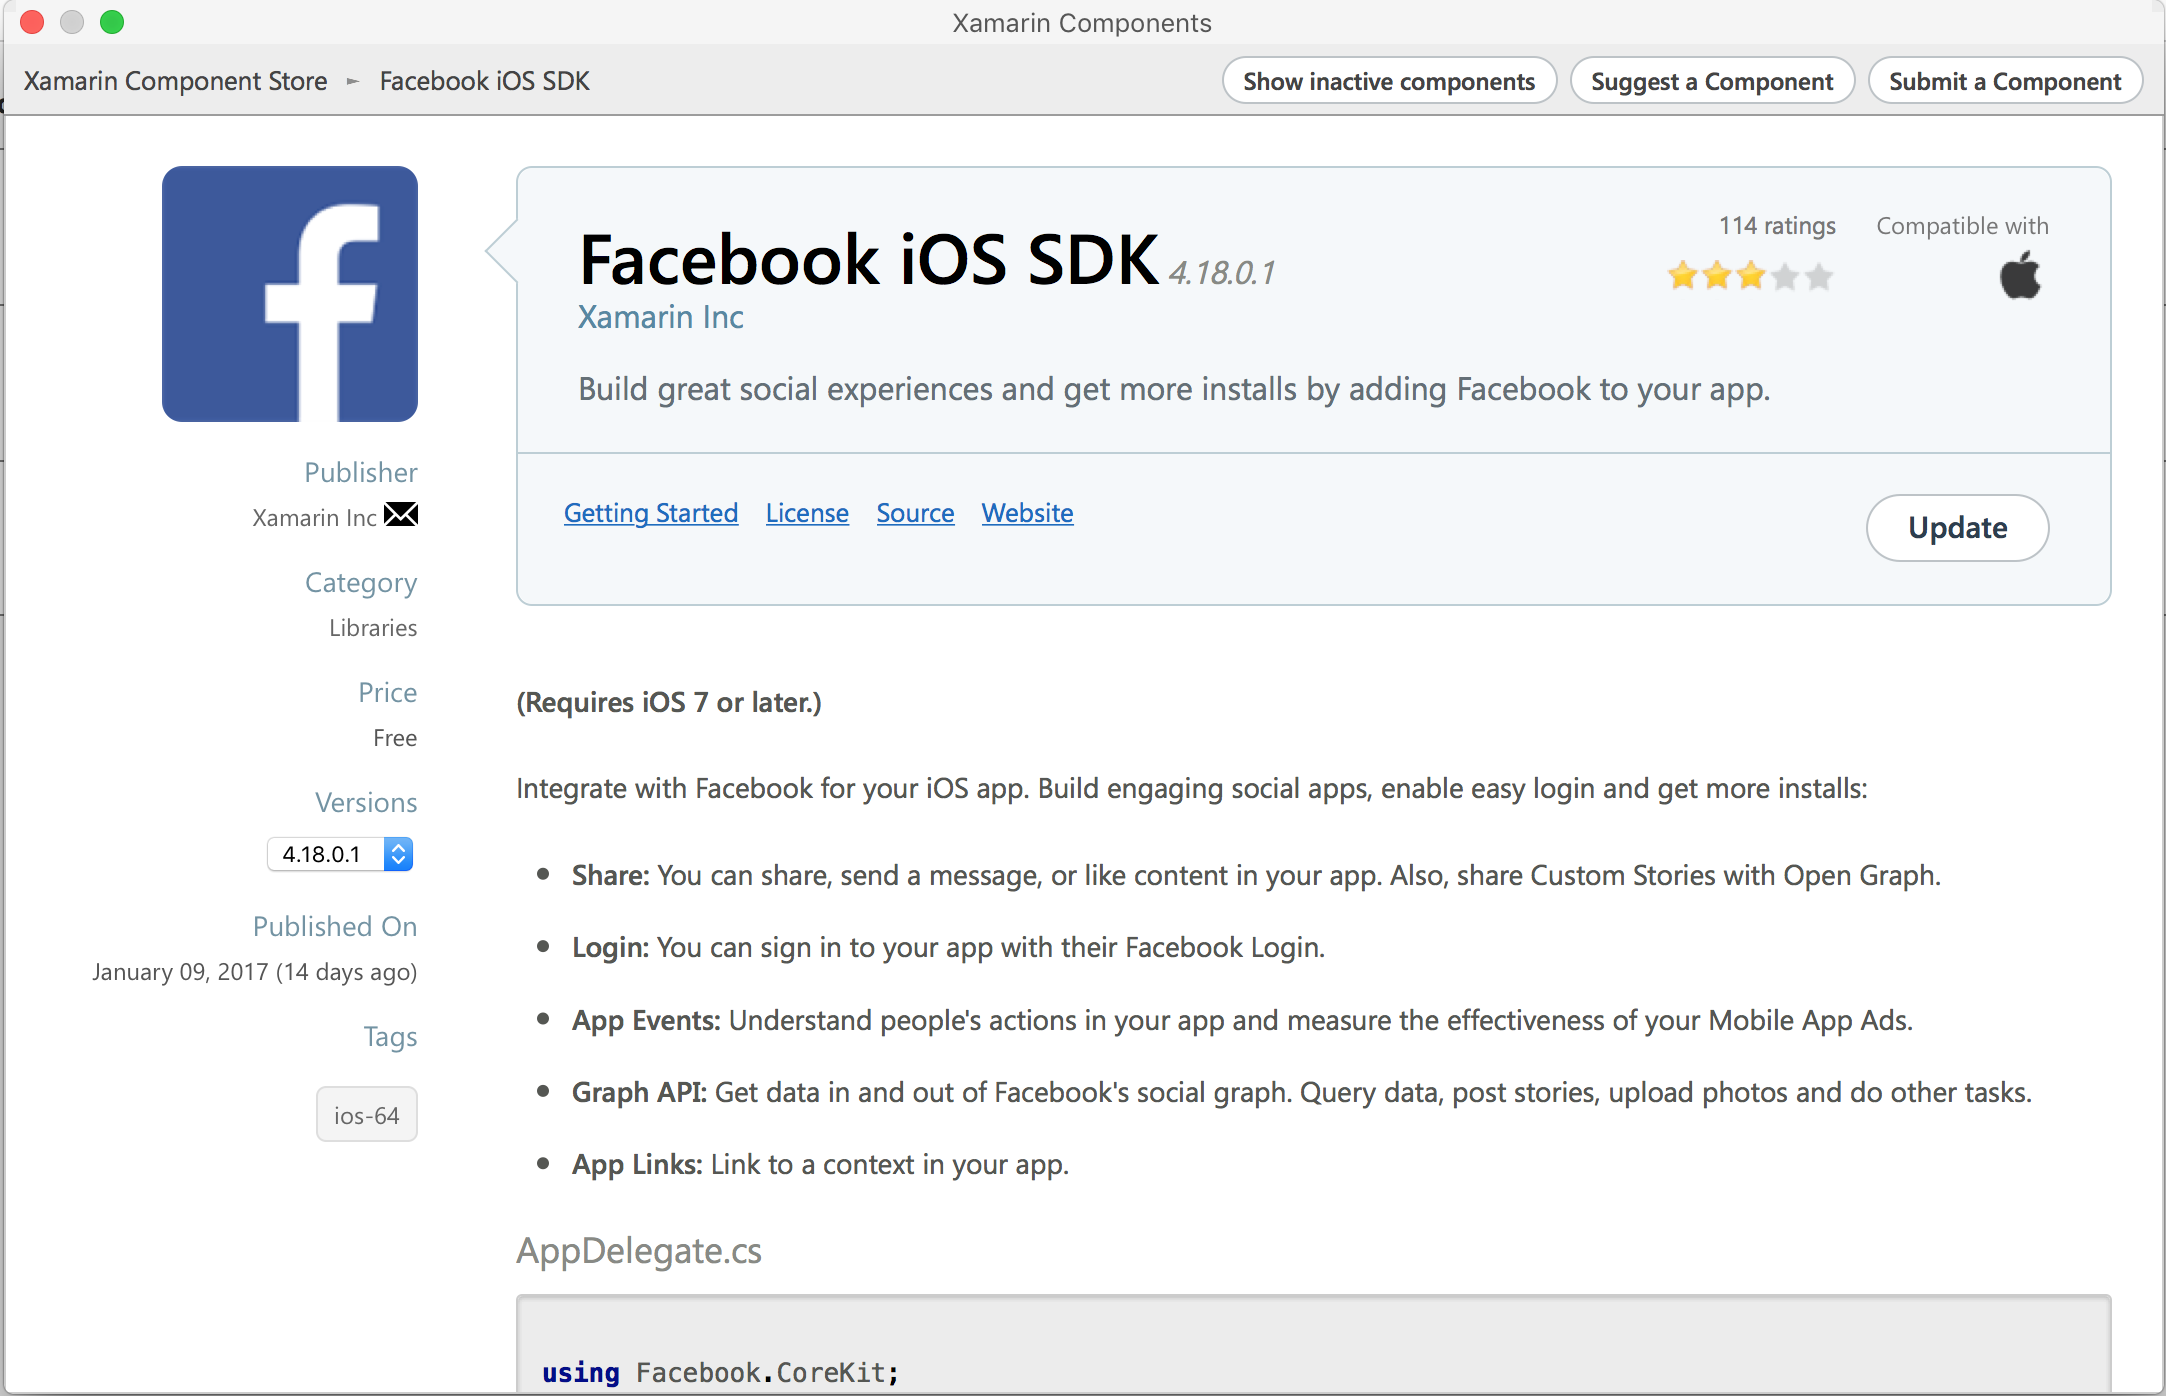
We’ll be using the Facebook iOS SDK available from NuGet. This is a Xamarin.iOS binding to the official SDK provided by Facebook, which allows us to use all the features available to Objective-C and Swift developers.
Configure Your App
To get started with the Facebook iOS SDK component, we’ll need to update the AppDelegate class to include some configuration options for Facebook. We’ll need to provide our unique AppId and App Name and ensure that we’ve provided the following Namespaces:
using Facebook.CoreKit;
using Facebook.LoginKit;
With the namespaces included, we’re now ready to set up the SDK with our credentials.
Profile.EnableUpdatesOnAccessTokenChange(true);
Settings.AppID = Helpers.Keys.FacebookAppId;
Settings.DisplayName = "Bait News";
We’ll also want to update the Keys class with our FacebookAppId.
public const string FacebookAppId = "[YourUniqueAppID]"
Info.plist
If you’re planning on supporting iOS 9 or above, you’ll want to ensure that you’ve whitelisted Facebook servers for network requests. This is because iOS 9 introduced App Transport Security (ATS), which aims to improve user security and privacy by requiring all apps use HTTPS to ensure a secure connection. In order to whitelist the Facebook servers, you’ll need to edit your app’s Info.plist file to include the following:
<key>NSAppTransportSecurity</key>
<dict>
    <key>NSExceptionDomains</key>
    <dict>
        <key>facebook.com</key>
        <dict>
            <key>NSIncludesSubdomains</key>
            <true/>
            <key>NSThirdPartyExceptionRequiresForwardSecrecy</key>
            <false/>
        </dict>
        <key>fbcdn.net</key>
        <dict>
            <key>NSIncludesSubdomains</key>
            <true/>
            <key>NSThirdPartyExceptionRequiresForwardSecrecy</key>
            <false/>
        </dict>
        <key>akamaihd.net</key>
        <dict>
            <key>NSIncludesSubdomains</key>
            <true/>
            <key>NSThirdPartyExceptionRequiresForwardSecrecy</key>
            <false/>
        </dict>
    </dict>
</dict>
App Switching authentication will also require you to edit your app’s Info.plist to include Facebook strings in order for the CanOpenUrl.
<key>LSApplicationQueriesSchemes</key>
<array>
    <string>fbapi</string>
    <string>fbapi20130214</string>
    <string>fbapi20130410</string>
    <string>fbapi20130702</string>
    <string>fbapi20131010</string>
    <string>fbapi20131219</string>
    <string>fbapi20140410</string>
    <string>fbapi20140116</string>
    <string>fbapi20150313</string>
    <string>fbapi20150629</string>
    <string>fbauth</string>
    <string>fbauth2</string>
    <string>fb-messenger-api20140430</string>
</array>
Authenticate with Facebook
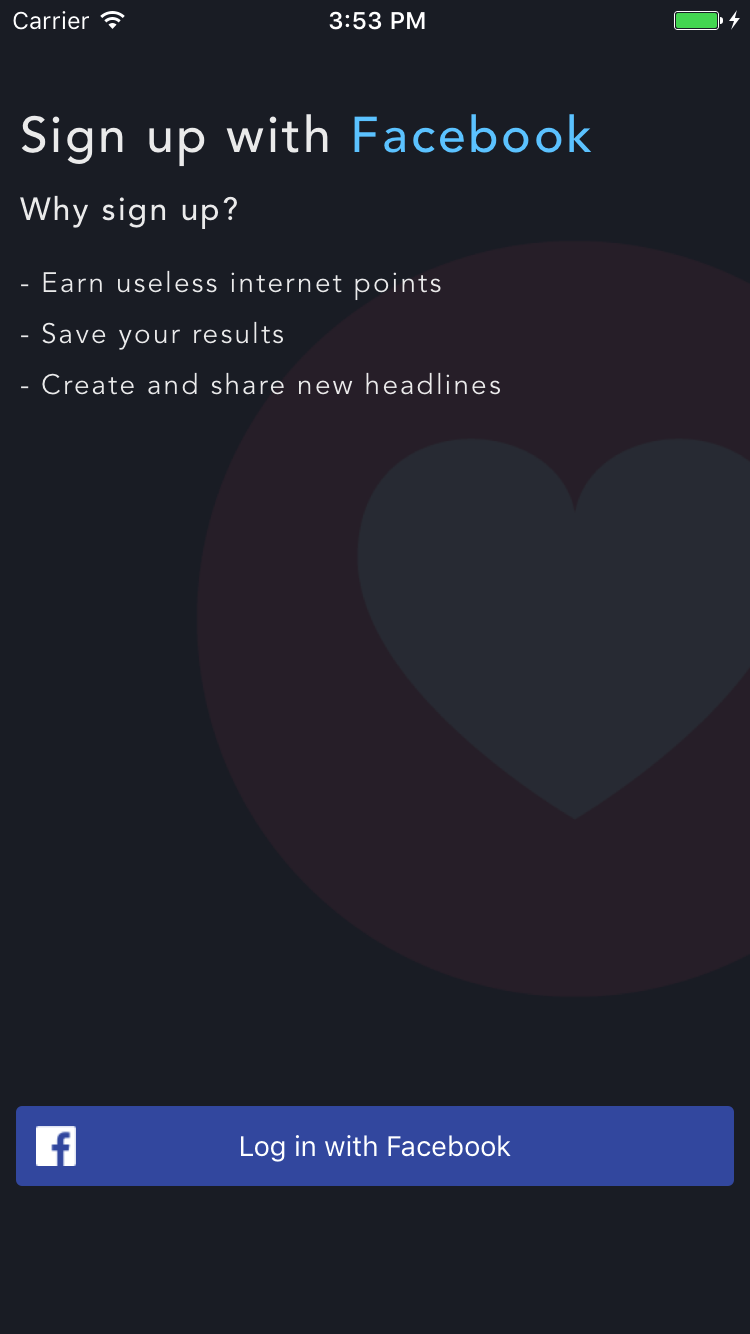
Now that we’ve configured our project to use Facebook Social Auth, we can go ahead and call into the SDK to authenticate our users. In Bait News, I opted to use the Facebook Login button control, which implements the log in process for me.
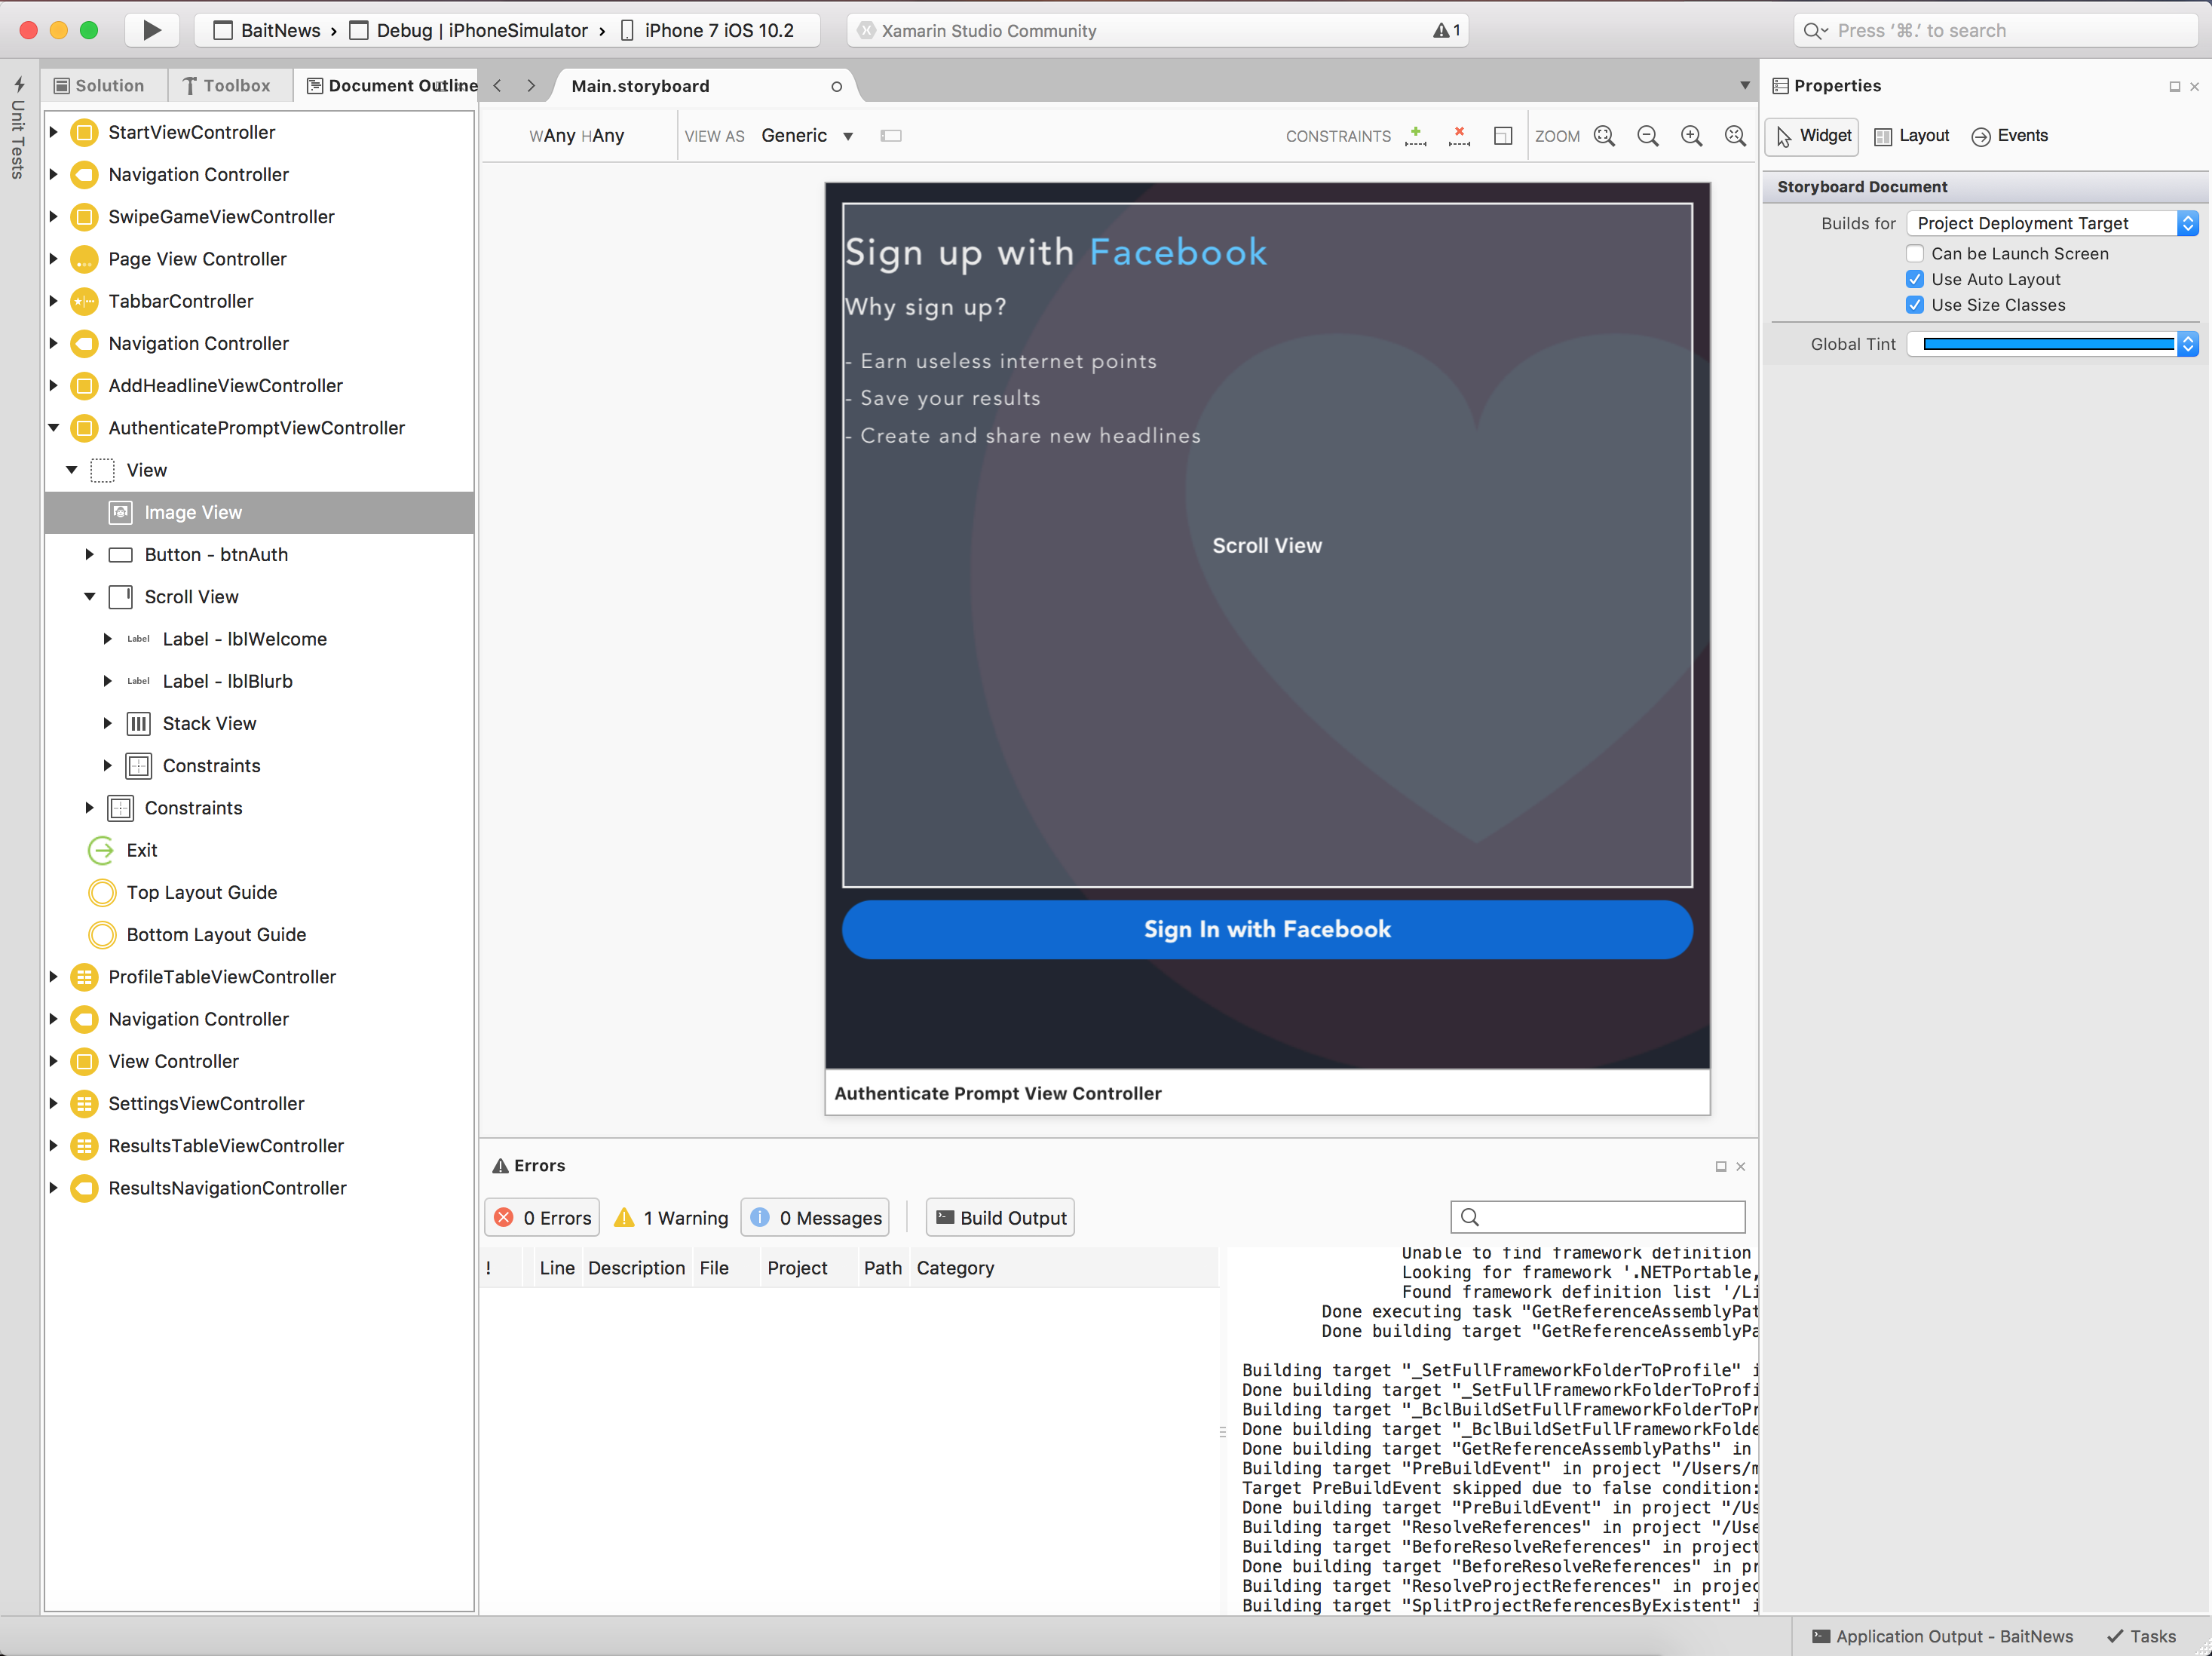
In order for my Storyboard to still look great when I’m designing my UI, I’ve gone ahead and placed a temporary button, but I’ll it make hidden at runtime and replace it with the Facebook custom control. I do this within the ViewDidLoad method of the SignIn ViewController.
var profile = Profile.CurrentProfile;
if (profile == null)
{
    loginView = new LoginButton(btnAuth.Frame)
    {
	LoginBehavior = LoginBehavior.Native
    };

    loginView.Completed += async (sender, e) => { await LoginView_Completed(sender, e); };

    btnAuth.Hidden = true;
    Add(loginView);
}
Auth Completed
async Task LoginView_Completed(object sender, LoginButtonCompletedEventArgs e)
{
    var accessToken = AccessToken.CurrentAccessToken.TokenString;
    //Create access token for user var accessToken = new JObject();
    accessToken["access_token"] = tokenString;

     //Send the token to Azure App Service to auth with backend return await EasyMobileServiceClient.Current.MobileService.LoginAsync(MobileServiceAuthenticationProvider.Facebook, accessToken);
}
Now that we’ve authenticated our user with Facebook, we can take the Facebook access token and send this up to Azure App Service to authenticate with our backend as well. When we do this, we’ll get back a MobileServiceUser which contains a new token that is unique to our App Service backend. It’s worth noting that this token is not the same as the Facebook token we sent.
Conclusion
Where possible, Authentication is something that we as developers should try to avoid maintaining in our apps. If you can offload this work onto a trusted third party, such as Microsoft, Facebook, or Google, then you should. By using third parties we can use SDKs that offer far more functionality than just authentication. The SDKs can handle secure token refresh or provide native UI views for common situations, such as sharing content.
If you’re interested in learning more about Authentication with Azure, I highly recommend reading Adrian Hall‘s eBook. There you’ll find an in-depth tutorial on how to authenticate with all of the supported social providers, as well as Active Directory.
 Light
Light Dark
Dark
0 comments