
Lightweight Ads for Android Apps
 The easiest way to start monetizing your mobile apps is to connect with advertisers and show relevant ads within them. It’s as simple as displaying an ad, your users click on it, and you make money. The main staple in the industry is AdMob from Google, which offers SDKs for both iOS and Android applications and can be integrated in minutes. However, one drawback to the Android library is that its part of Google Play services, which can increase the size of your app. Today we’re going to look at a new SDK for Android, Ads Lite, that gives us a lightweight new version to help reduce app size and decrease the number of dependencies required. This can be extremely useful if you’re running into the 64K reference limit and have to multidex your application.
Monetize App in AdMob
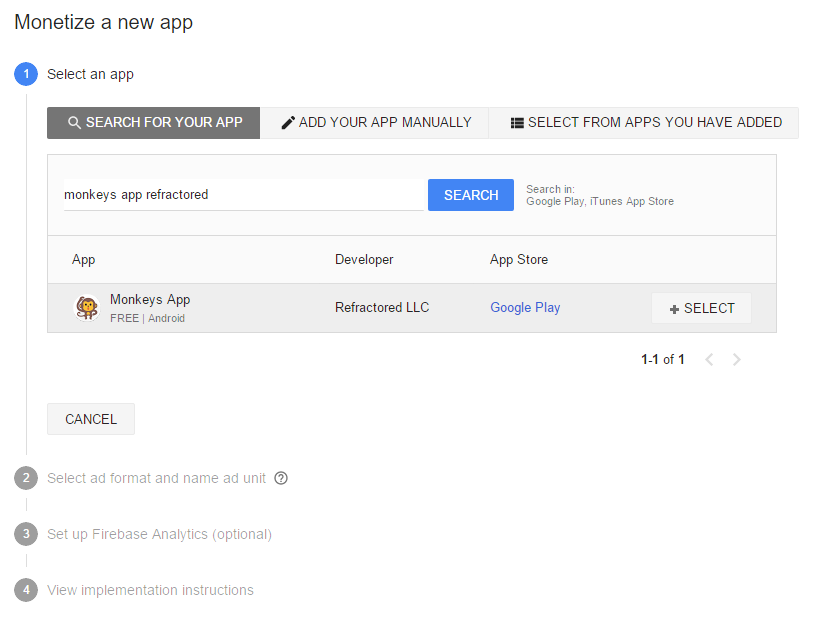
Before we can integrate the SDK, we’ll need to set up our app in AdMob. If you haven’t signed up for an AdMob account, you’ll want to do so at this time to start the monetization process. Once you’ve created an account, we can simply click on the Monetize App button to find our app in the app store or add it manually. Select the Manual process if you haven’t launched your app in Google Play.
The next step is to select the ad format that we want to integrate into the app. The easiest format to integrate is a Banner, which is placed throughout the apps. We have control over different refresh rates along with the type of ads we want to display. We can then link to Firebase for advanced analytics, or skip over this process.
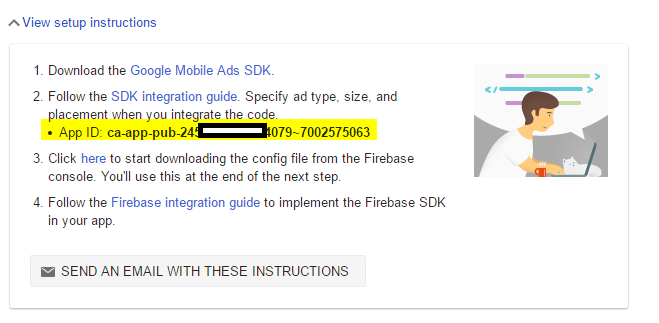
We can add additional ad units or get setup instructions at this point. If we wanted to add ad banners to multiple Activities, it’s best practice to create an ad unit for each. Back on the main app screen, we’ll want to write down our App ID and Ad unit ID to integrate into our code:
Getting Started with Ads Lite SDK
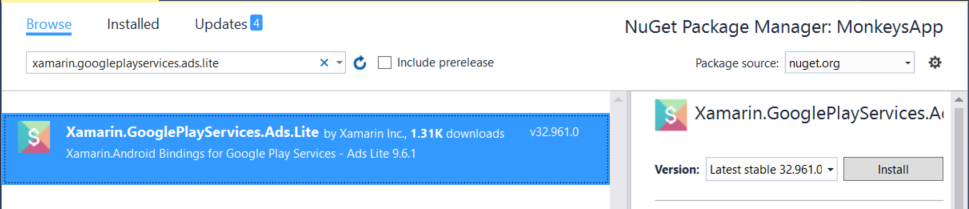
Ads Lite is a brand new SDK that was introduced with Google Play services 9.6.1. It has far fewer dependencies than the standard Ads SDK, but still requires a minimum version of 24.2.1 of the Android Support Libraries. This means that, as of this blog, Ads Lite is currently not compatible with Xamarin.Forms applications (see my blog on adding Ads to Xamarin.Forms apps), but can be added to traditional Xamarin.Android applications easily through the NuGet package.
Add Permissions and Ads Activity
Once the SDK has been added, we must update our Android Manifest with a few permissions and a default Ads activity that can be launched.
The Google Mobile Ads Lite SDK requires the Internet and Access Network State permissions to work correctly. We can add these with the following assembly level attributes:
[assembly: UsesPermission (Android.Manifest.Permission.Internet)]
[assembly: UsesPermission (Android.Manifest.Permission.AccessNetworkState)]
Or, we can add them directly inside the Android Manifest manually. We can find our Android Manifest source under the Properties folder in Visual Studio or Visual Studio for Mac.
Inside of the application tag we will add this very specific activity node:
Integrate AdView
We can now start to add the AdViews throughout our application. Simply open the layout file where the ad will live, and in the root node we’ll add a custom xmlns for our ad under the xmlns:android attribute:
xmlns:ads="http://schemas.android.com/apk/res-auto"
Next, we can add the AdView control:
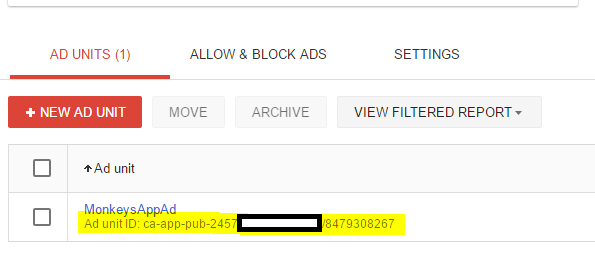
Note that we’re using the SMART_BANNER keyword for the adSize to dynamically fill the width and height and by referencing @string/banner_ad_unit_id for the adUnitId, which we get from AdMob. The ID should be placed in the strings.xml resources folder. This ID starts with ca-app-pub and has a / in it.
YOUR_AD_UNIT_ID
Initialize the Ads SDK
Our AdView is ready to start displaying ads, but we must ensure that the SDK has been initialized with our publisher app ID. It’s recommended to initialize at app launch, such as inside the OnCreate of our MainActivity. This ID starts with ca-app-pub and has a ~ in it.
var id = "YOUR_ADMOB_APP_ID";
Android.Gms.Ads.MobileAds.Initialize(ApplicationContext, id);
Finally, we must send a request for the ad in the code behind where the layout is loaded:
var adView = FindViewById(Resource.Id.adView);
var adRequest = new AdRequest.Builder().Build();
adView.LoadAd(adRequest);
See it in Action
At this point, we’re ready to launch and run our application. We must use a Google Android emulator with Google Play services or a physical device.
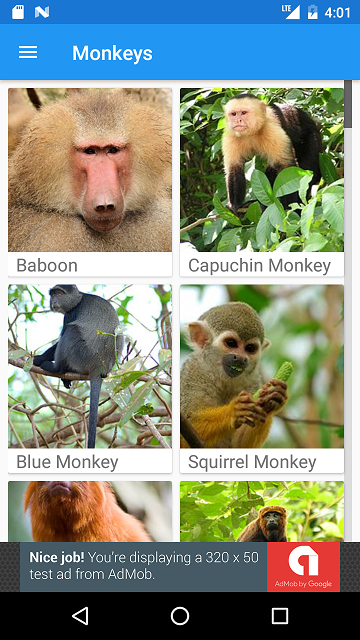
This should look very similar to standard AdMob test ads if you have used the standard Ads SDK in your app. In fact, you could simply replace the standard Ads SDK with Ads Lite SDK with absolutely no code changes!
Limitations
Ads Lite has a reduced footprint because it is unlike the standard Ads SDK, which includes the Google Play services client libraries. Ads Lite strips away the implementation and leaves only an interface for us to develop against. This means that Google Play services must be installed and updated on the device that your app is running on. It’s only recommended to use the Lite SDK if distributing through the Google Play store. If a device doesn’t have Google Play services, it will log an error and an ad will not be displayed.
Learn More
To learn more about the Ads Lite SDK, be sure to read through the Firebase documentation and the full Ads SDK documentation on integrating ads. You can find a full sample of integrating Ads Lite SDK in my Monkeys App on GitHub. If you’re looking to integrate AdMob ads in your Xamarin.Forms applications, read through my posts on integrating AdMob for both iOS and Android Xamarin.Forms apps.
 Light
Light Dark
Dark
3 comments
Hello, I’ve tried what you suggest here but it doesnt seem to work . There is no test banner when I open my app..
Hi James, I’m trying to implement ads on my Xamarin.Android App but some code sections on this blog are empty so I can’t fully configure my app.
Please help
Cleaned up the code in there, sorry about that.