
Creating and Packaging a .NET Standard library
In this post we will cover how you can create a .NET Standard library and then share that with other developers via NuGet. We will be demonstrating this with Visual Studio for Mac, but you can also follow along with Visual Studio, or Visual Studio Code when using the dotnet CLI. If you are on macOS, and haven’t already download Visual Studio for Mac you can download it here. We will create a new .NET Standard library from scratch, configure it for NuGet and then publish to nuget.org. The sample library will be a logging package.
When developing your applications, it is common to create some code that you’d like to share with other applications. In cases where the consuming code is near the library code (e.g. in the same repo) you can share the project with a Project Reference. In cases where the consuming code is not near the library or a different team/org needs to consume it, a Project Reference may not be the correct choice. In these cases you can package your library as a NuGet package and then share it using that.
When using NuGet there are different models of how you can share that NuGet package. You can share the library at nuget.org to the entire community or you can create your own NuGet feed so that you can have better control over who has access to your library. For this post we will be using nuget.org. Most of the content of this post will be relevant no matter how you decided to distribute the package. Let’s get started on creating a sample library project.
Create the shared library project and add some code
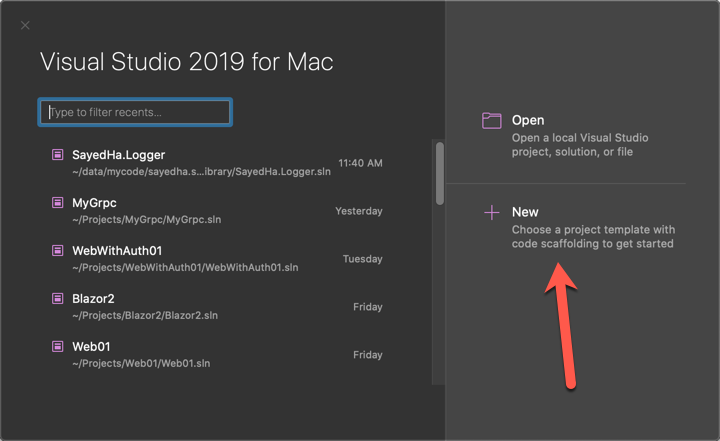
The first thing you’ll do when creating a library is to create a library project that will contain the code. In Visual Studio for Mac you can create a new .NET library project. To do this, after launching Visual Studio for Mac you should see the dialog below, click New to get started.
This will launch the New Project Dialog, shown below. On the left hand side select .NET Core > Library.
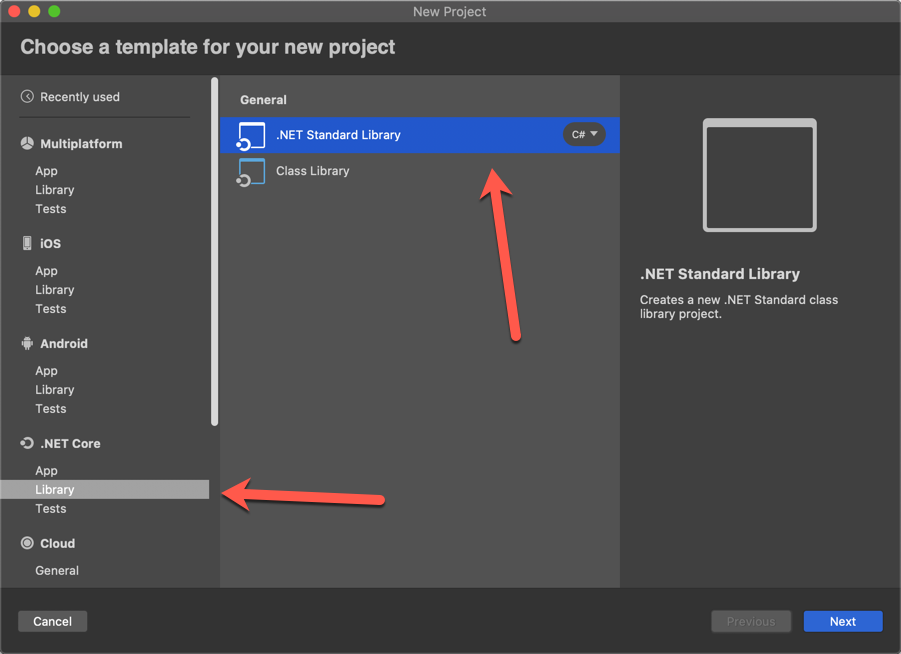
Note: the .NET Core node on the left-hand side of the New Project Dialog is changing to Web and Cloud and will be moved to the top of the list in the next release.
From here you’ll select the .NET Standard template.
A .NET Standard Library is a class library that targets .NET Standard. .NET Standard is a formal specification of .NET APIs that are intended to be available on all .NET implementations. The motivation behind .NET Standard is to establish greater uniformity in the .NET ecosystem.
Click Next to proceed. You’ll be prompted to select the Target Framework. After selecting a Target Framework, or going with the default, click Next. You’ll then be prompted to provide a name and location for the project. In this example I specified SayedHa.Log as the name of the project to create. Click Create after you have supplied those values. When the project, and solution, are created you’ll see the IDE editor open. It should look like the following image.
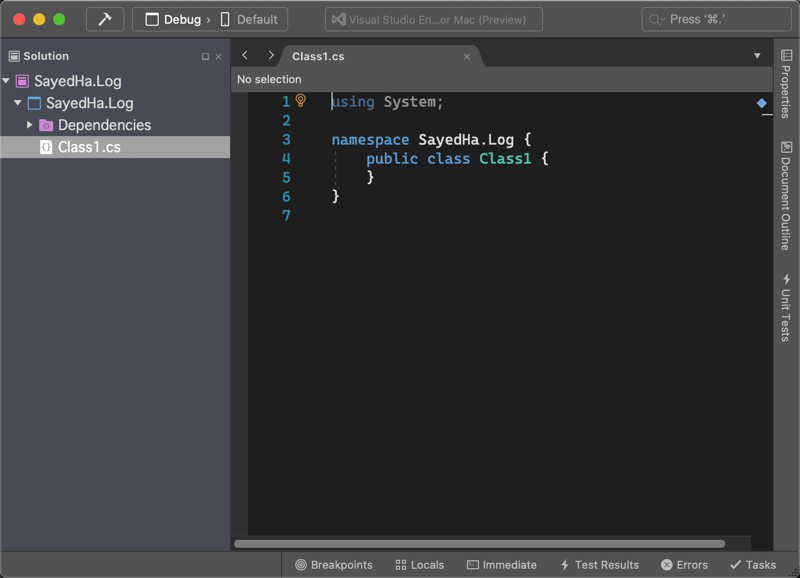
The template will create a class named Class1. You can either rename this file, or simply delete and add a new class with the correct name. I’ll take the latter approach.
To add the new class, right click on the project and select Add > Add Class, give the class the name Logger. You can also use Add > Add File, but you’ll need to select the Empty Class template. Add > Add Class is a shortcut with that template pre-selected. Now we need to add some code to this logger class.
Since this is just an example, the Logger class is going to be very basic. The code for it is below.
using System;
using System.Net.Security;

namespace SayedHa.Log {
    public class Logger {
        private Logger() { }
        public void Debug(object message) { LogIt("Debug", message, null); }
        public void Debug(object message, Exception ex) { LogIt("Debug", message, ex); }

        public void Info(object message) { LogIt("Info", message, null); }
        public void Info(object message, Exception ex) { LogIt("Info", message, ex); }

        public void Error(object message) { LogIt("Error", message, null); }
        public void Error(object message, Exception ex) { LogIt("Error", message, ex); }

        public void Fatal(object message) { LogIt("Fatal", message, null); }
        public void Fatal(object message, Exception ex) { LogIt("Fatal", message, ex); }

        public void Verbose(object message) { LogIt("Verbose", message, null); }
        public void Verbose(object message, Exception ex) { LogIt("Verbose", message, ex); }

        protected void LogIt(string prefix, object message, Exception ex) {
            string formatstr = ex == null ? "{0}:\t{1}" : "{0}:\t{1}\tException:{2}";

            Console.WriteLine(string.Format(formatstr, prefix, message, ex));
        }

        public static Logger GetNewLogger() {
            return new Logger();
        }
    }
}
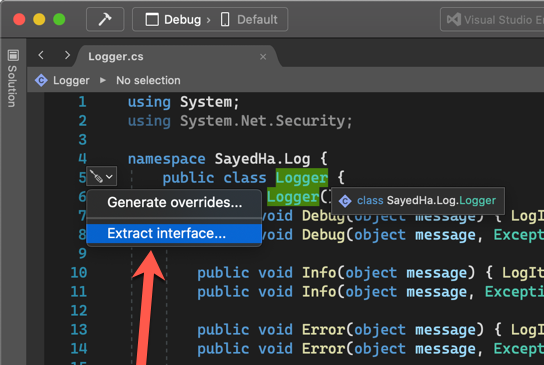
We have now created the Logger class with the methods that we would like to support. Since we are going to distribute this and it will be used by a variety of apps we should create an interface for this so that we can have more flexibility in the future. To create an interface from this class we can use the Extract Interface feature in Visual Studio for Mac. Put your cursor on the name of the class and then right click and select Quick Fix. See below.

After selecting Quick Fix on the class you’ll be prompted to select the quick fix you’d like to apply. In this case we will use Extract Interface.
After selecting Extract Interface a dialog will appear in which you can name the new interface and which methods should be included. By default all methods and properties will be included in the interface, and the proposed name of the interface will be the name of your class prefixed with “I”. For this case we will go with the defaults.

Now the interface has been generated, added to the project and the Logger class has been modified to implement that interface. One additional change that I made to the Logger class was to modify the GetLogger static method to return ILogger instead of Logger. We are done with the code portion, so let’s move on to configure this as a NuGet package.
Adding properties to support packing
Creating a NuGet package from a .NET Standard Library project is very easy. We will use Pack to create a package from this. You could do this now, but it’s best to add some metadata to the project before distributing it. These properties will be shown in nuget.org, and other NuGet servers. We will add some properties to the project file, the .csproj file. To get started, right click on the project and select Edit Project File.
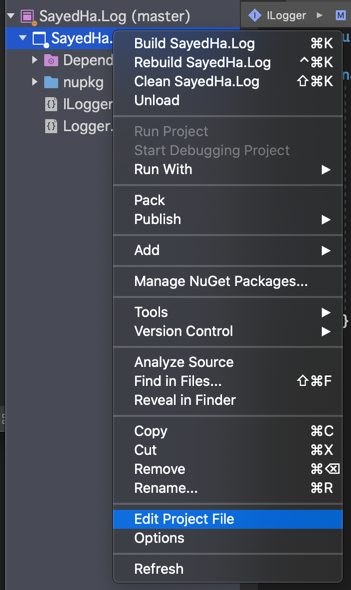
Note: in previous versions of Visual Studio for Mac Edit Project File was nested under Tools in the project context menu.
This will open up the project file for editing. We will add several properties to this file. The final result is shown in the snippet that follows, we will explain the properties after the code.
<Project Sdk="Microsoft.NET.Sdk">

  <PropertyGroup>
    <TargetFramework>netstandard2.0</TargetFramework>
  </PropertyGroup>

 <PropertyGroup>
    <!-- where should the nuget package be created at -->
    <PackageOutputPath>./nupkg</PackageOutputPath>

    <!-- nuget related properties -->
    <Authors>Sayed Ibrahim Hashimi</Authors>
    <Description>Sample library showing how to create a .NET library.</Description>
    <Version>1.0.0</Version>
    <Copyright>Copyright 2020 © Sayed Ibrahim Hashimi. All rights reserved.</Copyright>
    <PackageLicenseExpression>Apache-2.0</PackageLicenseExpression>
    <RepositoryUrl>https://github.com/sayedihashimi/sayedha.samplelibrary</RepositoryUrl>
    <RepositoryType>git</RepositoryType>
    <PackageIconUrl>https://raw.githubusercontent.com/sayedihashimi/sayedha.samplelibrary/master/assets/icon-120x120.png</PackageIconUrl>
    <PackageIcon>icon-120x120.png</PackageIcon>
  </PropertyGroup>
  <ItemGroup>
    <None Include="icon-120x120.png" Pack="true" PackagePath="\"/>
  </ItemGroup>
</Project>
These are the properties that I typically set when creating a NuGet package. Descriptions for the properties that I used are below. You can see the full list of NuGet related properties that can be set over at NuGet metadata properties.
| Property name | Description |
| PackageOutputPath | Path to where the .nupkg file should be placed. |
| Authors | Name of the author(s) of the project. |
| Description | Description that will be shown in nuget.org and other places. |
| Version | Version of the NuGet package. For each release to nuget.org this must be unique. |
| Copyright | Copyright declaration. |
| PackageLicenseExpression | An SPDX license identifier or expression. |
| RepositoryUrl | Specifies the URL for the repository where the source code for the package resides and/or from which it’s being built. |
| RepositoryType | Repository type. Examples: git, tfs. |
| PackageIconUrl | URL for the package icon. This property is being deprecated in favor for PackageIcon. For now it is advised to declare both properties for maximum compatibility, see this doc. |
| PackageIcon | Icon to be shown for the package. |
In addition to these properties we also have an item for the Icon.
After adding this content to your project, you can save and close that file. We are now ready to package this an upload it to nuget.org.
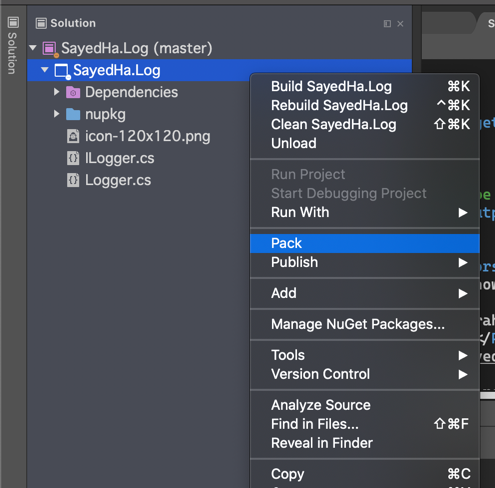
To create the NuGet package, right click on the project in the Solution and select Pack. This will pack your project and put it in the folder specified in the PackageOutputPath property. If you did not set this property, the .nupkg file will be located in a folder under the bin folder. If you are following along using the dotnet CLI execute the dotnet pack command to create the NuGet package.
Publish to nuget.org
Now we are ready to publish this to nuget.org. We will briefly go over that here, but for more details you can read more in the docs at Publishing packages. To publish a package to nuget.org, you’ll need to create and account and sign in. After signing in, click on your profile on the top right and select Upload Package.
Yes, Visual Studio for Mac uses the “Pad” term for the equivalent of what Visual Studio (Windows) calls “Tool Windows”. There’s discussion about changing that term to align with Windows, but it’s the correct term at this point.

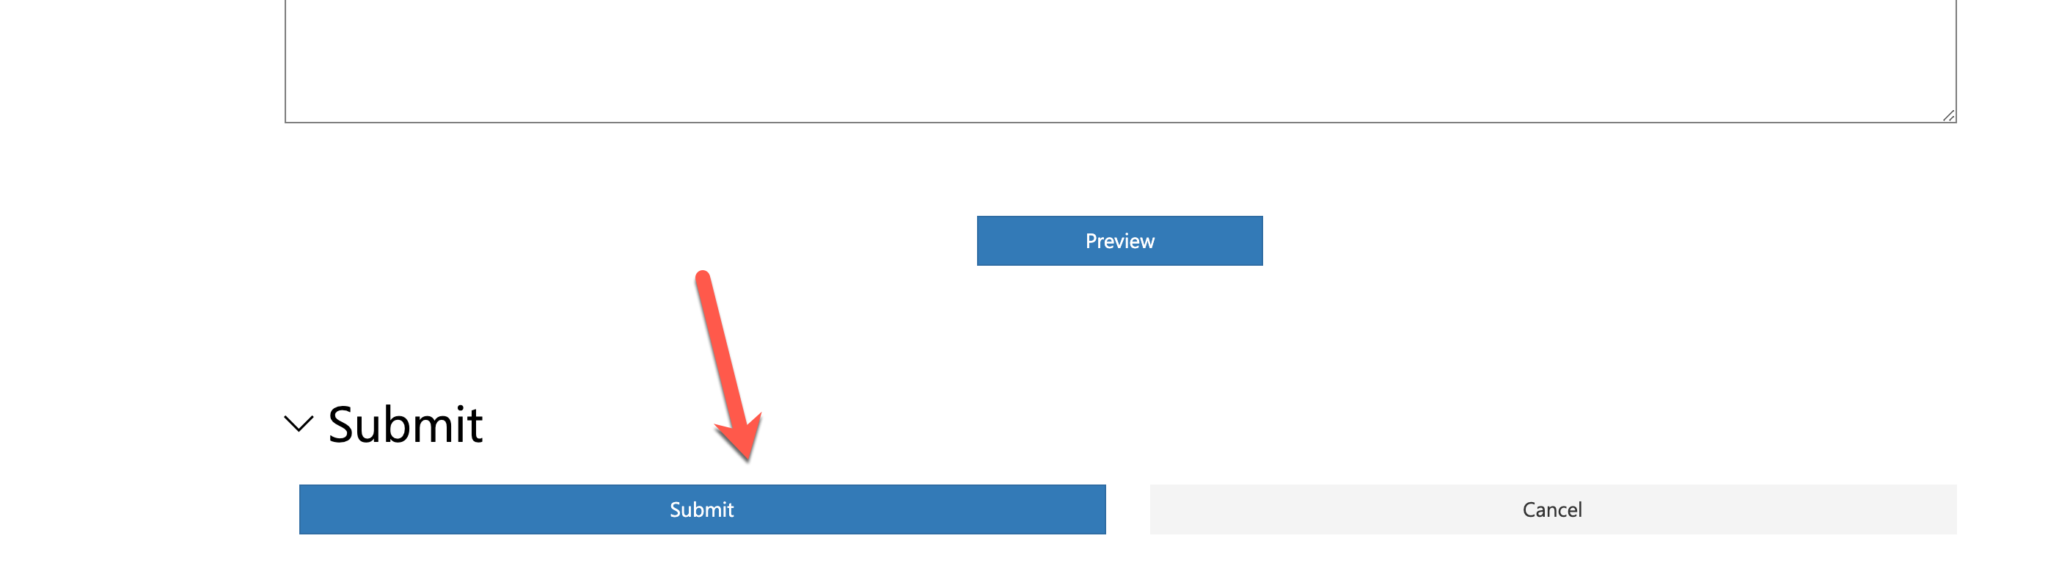
You’ll be prompted to upload the .nupkg file. You can find this file in the nupkg folder under the project. If you have customized the PackageOutputPath project property different from the sample, then the file will be located at the path you specified. After you upload the package, the metadata will be presented. It’s good to carefully verify that there are no errors because you cannot change a package version which has been published. After verifying the info, scroll down to the bottom of the package and click Submit.
Your package has now been published to NuGet. After a few minutes your package will be index and ready to . Now that it has been published users can add this package to their projects to develop against the API. In Visual Studio for Mac, to add a NuGet package first right click the project in the Solution Pad and select Manage NuGet Packages. This will open a dialog that can be used to search and install packages. See the following image.
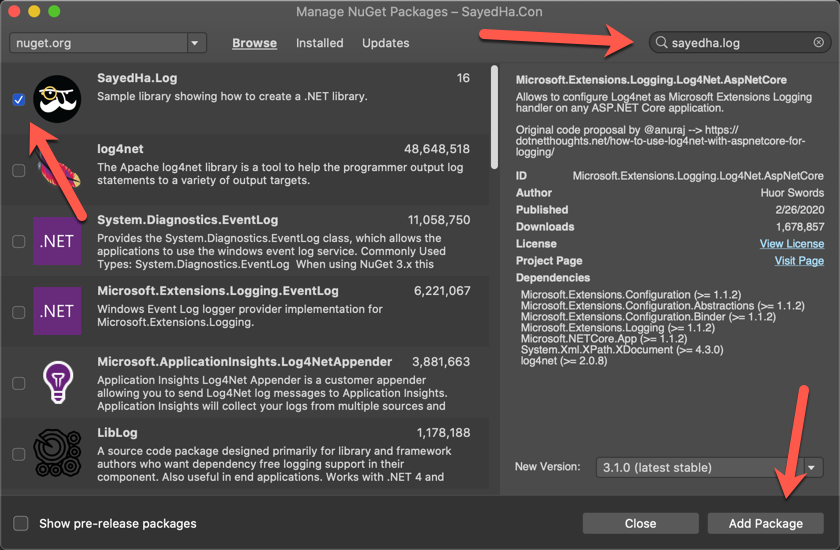
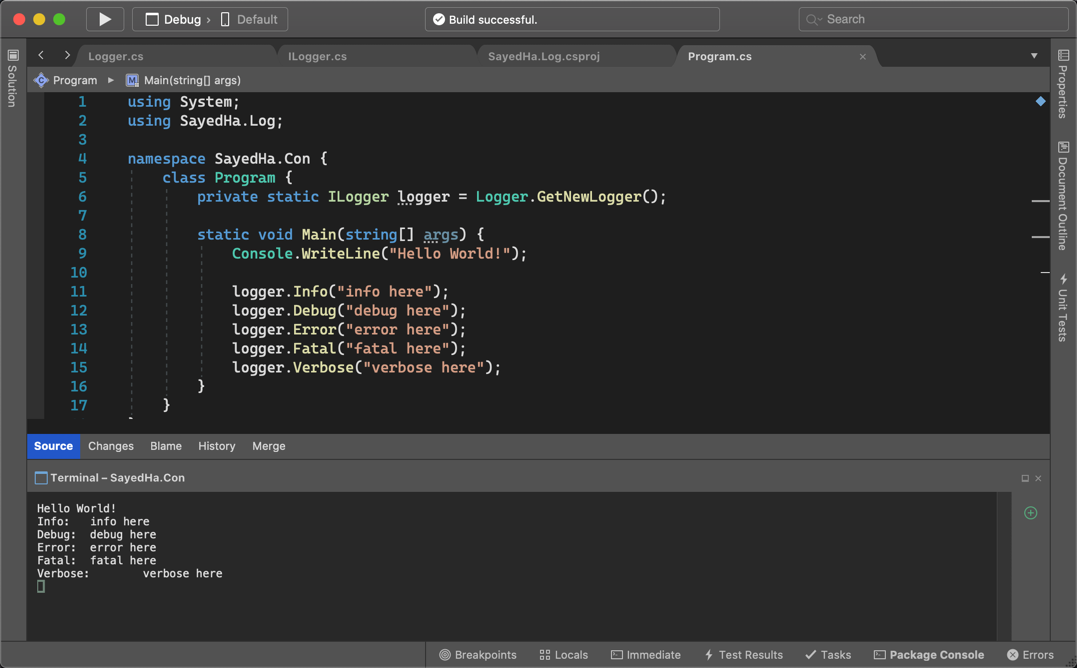
In this search box on the top right search for the package, sayedha.log in this case, then check the checkbox next to the package to install and finally click Add Package. When using Visual Studio the process is similar but with a different UX. When using the command line you can use dotnet add package. In the image below you’ll find some sample code of using the package and the output when running the it.
Summary and wrap up
In this post we have created a simple .NET Standard library, modified it to be a NuGet package and published it to nuget.org. This was a very basic library, when creating more realistic libraries there may be additional things to consider. For example, if you want to support multiple frameworks you will need to make some changes. For more details on that see Cross-platform targeting for how to get started with that.
Make sure to follow us on Twitter at @VisualStudioMac and reach out to the team. Customer feedback is important to us and we would love to hear your thoughts. Alternatively, you can head over to Visual Studio Developer Community to track your issues, suggest a feature, ask questions, and find answers from others. We use your feedback to continue to improve Visual Studio 2019 for Mac, so thank you again on behalf of our entire team.
Resources
- Download Visual Studio for Mac
- Code for this sample
- Hosting your own NuGet feeds
- Publishing NuGet packages
- Cross-platform targeting
 Light
Light Dark
Dark
2 comments
Hi Sayed,
Maybe it would also be interesting to make a mention of the use of SourceLink. This is something that would greatly improve your debugging experience when consuming a shared package.
I did have some trouble getting it to work properly due to a bug in the sdk (to be fixed in 3.1.300 as I understand), but as mentioned by the NuGet Package Explorer, issue 572 provides a workaround until then.
Thanks for posting this article. This is something that I’ve been wanting to do for some time and this article has been very helpful.