
Visual Basic Windows Phone 7 Series #6. How to create an application bar for Windows Phone 7
In our last post, I explained how to create a control tilt effect application for Windows Phone 7. In this blog post, I want to share a sample that will help you to create an application bar for Windows Phone 7. This application will allow you to add the menu functionality. It also will allow you to adjust the visibility and opacity of the application bar.
I will now demonstrate how easy it is to create an application bar for Windows Phone 7, using Visual Basic for Windows Phone Developer Tools. The application bar can be created in 4 simple steps as follows:
- Create a sample application and add controls
- Add event handlers
- Build and debug the application
- Rebuild in the release mode for publishing
Prerequisites:
- Visual Studio 2010 Professional, Premium, or Ultimate. If you do not have any of the releases, you can download any of the following trial versions as per your preference: Professional, Premium, or Ultimate.
- Windows Phone Developer Tools RTW
- Visual Basic
for Windows Phone Developer Tools – RTW
Note: You can install the newer version- Windows Phone Developer Tools 7.1 Beta instead of the above mentioned two tools as it will take comparatively less time. However, this sample was created using the previous version.
To create the application bar, let’s follow the 4 simple steps mentioned earlier:
Step 1 – Create a sample application and add controls
Create a sample application
- Create a new project and browse to the “Silverlight for Windows Phone” node.
- Select the “Windows Phone Application” template.
- Enter a name for the application.
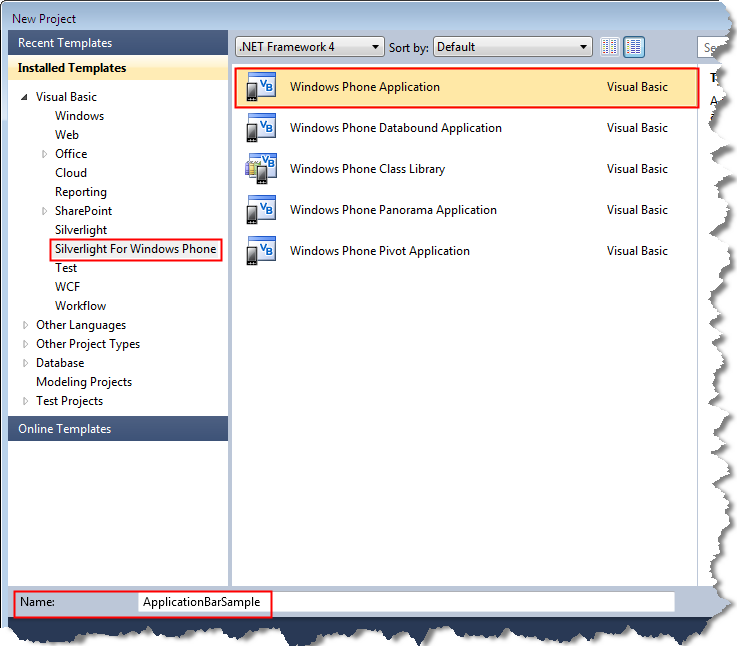
- Click OK. The MainPage.xaml page is displayed.
Add controls
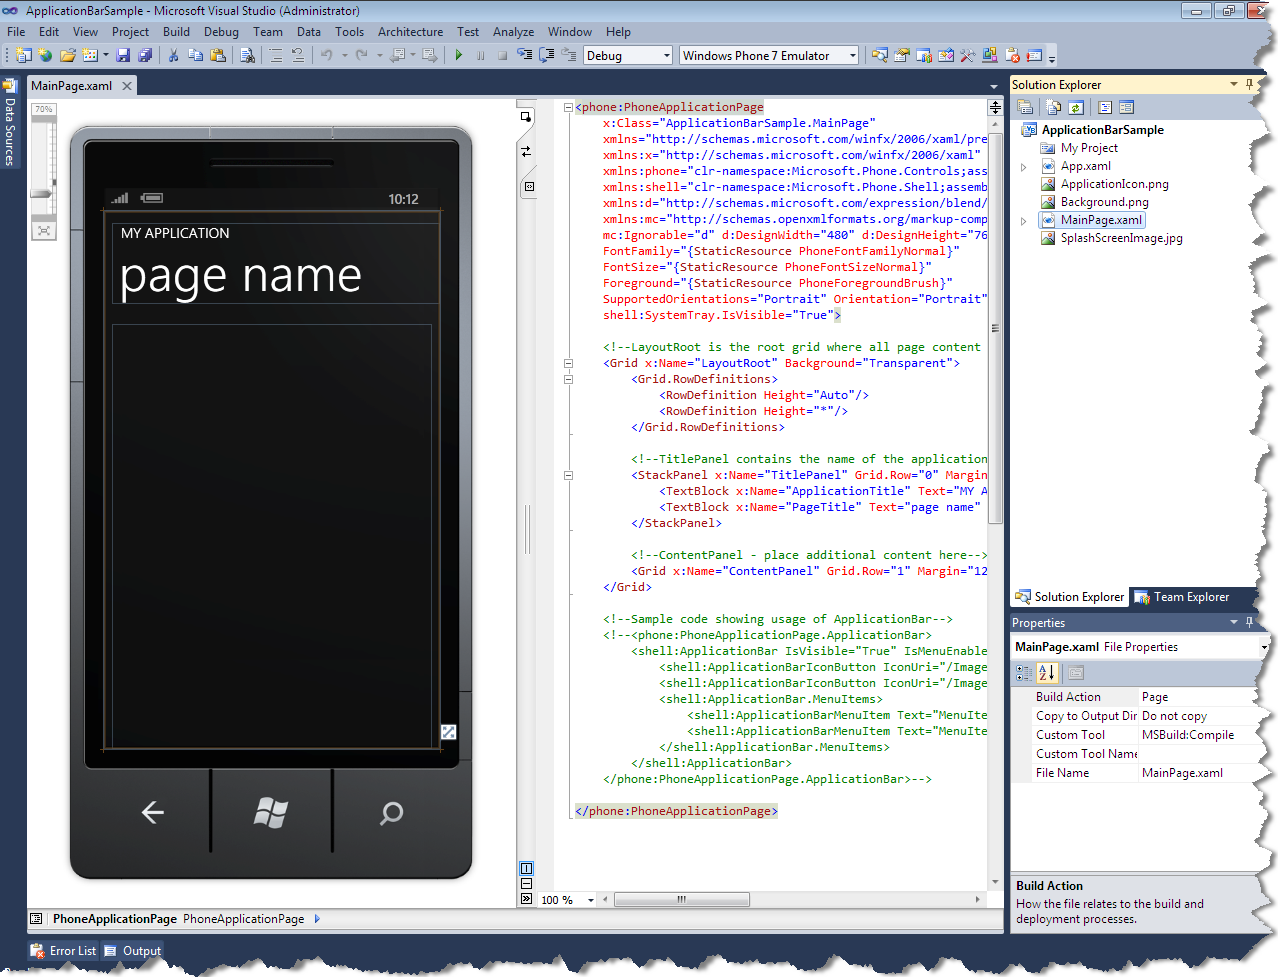
- Click the MY APPLICATION text. In the Properties window, change the text property to “APPLICATION BAR SAMPLE”.
- Click the page name text. In the Properties window, change the text property to “application bar”.
- In Solution Explorer, right-click the application name and add a new folder.
- Rename the new folder as “Images”, and add the required icon images to the folder.
- To create buttons, add the following XAML code:
<Path Data=”M0,30 l30,-30 30,30 -15,0 0,100 -30,0 0,-100 z” StrokeThickness=”2″ VerticalAlignment=”Top” UseLayoutRounding=”False” Margin=”50,0,0,0″ RenderTransformOrigin=”0.5,0.5″ HorizontalAlignment=”Left” Fill=”{StaticResource Gradient}”/>
<Path Data=”M0,30 l30,-30 30,30 -15,0 0,100 -30,0 0,-100 z” StrokeThickness=”2″ VerticalAlignment=”Top” UseLayoutRounding=”False” Margin=”00,0,50,0″ RenderTransformOrigin=”0.5,0.5″ HorizontalAlignment=”Right” Fill=”{StaticResource Gradient}”/>
<Path Data=”M0,30 l30,-30 30,30 -15,0 0,100 -30,0 0,-100 z” StrokeThickness=”2″ VerticalAlignment=”Bottom” UseLayoutRounding=”False” Margin=”50,0,0,0″ RenderTransformOrigin=”0.5,0.5″ HorizontalAlignment=”Left” Fill=”{StaticResource Gradient}” RenderTransform=”{StaticResource UpsideDown}”/>
<Path Data=”M0,30 l30,-30 30,30 -15,0 0,100 -30,0 0,-100 z” StrokeThickness=”2″ VerticalAlignment=”Bottom” UseLayoutRounding=”False” Margin=”0,0,50,0″ RenderTransformOrigin=”0.5,0.5″ HorizontalAlignment=”Right” Fill=”{StaticResource Gradient}” RenderTransform=”{StaticResource UpsideDown}”/>
<Canvas Height=”349″ HorizontalAlignment=”Center” Margin=”50,214,50,237″ Name=”canvas1″ VerticalAlignment=”Center” Width=”380″>
<TextBlock Canvas.Left=”14″ Canvas.Top=”10″ Height=”39″ Name=”VisibleLabel” Text=”application bar visible” Style=”{StaticResource PhoneTextNormalStyle}” Width=”250″ />
<TextBlock Canvas.Left=”277″ Canvas.Top=”10″ Height=”28″ Name=”VisibleTextBlock” Text=”yes” Style=”{StaticResource PhoneTextNormalStyle}” Width=”79″ Foreground=”{StaticResource PhoneAccentBrush}” />
<TextBlock Canvas.Left=”14″ Canvas.Top=”60″ Height=”39″ Name=”OpacityLabel” Style=”{StaticResource PhoneTextNormalStyle}” Text=”application bar opacity” Width=”250″ />
<TextBlock Canvas.Left=”277″ Canvas.Top=”60″ Height=”28″ Name=”OpacityTextBlock” Text=”1.0″ Style=”{StaticResource PhoneTextNormalStyle}” Width=”79″ Foreground=”{StaticResource PhoneAccentBrush}” />
<TextBlock Canvas.Left=”14″ Canvas.Top=”110″ Height=”39″ Name=”MenuEnabledLabel” Style=”{StaticResource PhoneTextNormalStyle}” Text=”menu enabled” Width=”250″ />
<TextBlock Canvas.Left=”277″ Canvas.Top=”110″ Height=”28″ Name=”MenuEnabledTextBlock” Text=”yes” Style=”{StaticResource PhoneTextNormalStyle}” Width=”79″ Foreground=”{StaticResource PhoneAccentBrush}” />
<Button Canvas.Left=”14″ Canvas.Top=”260″ Content=”show application bar” Height=”71″ Name=”showButton” Width=”342″ Click=”showButton_Click” Visibility=”Collapsed”/>
</Canvas>
Your application now looks like this: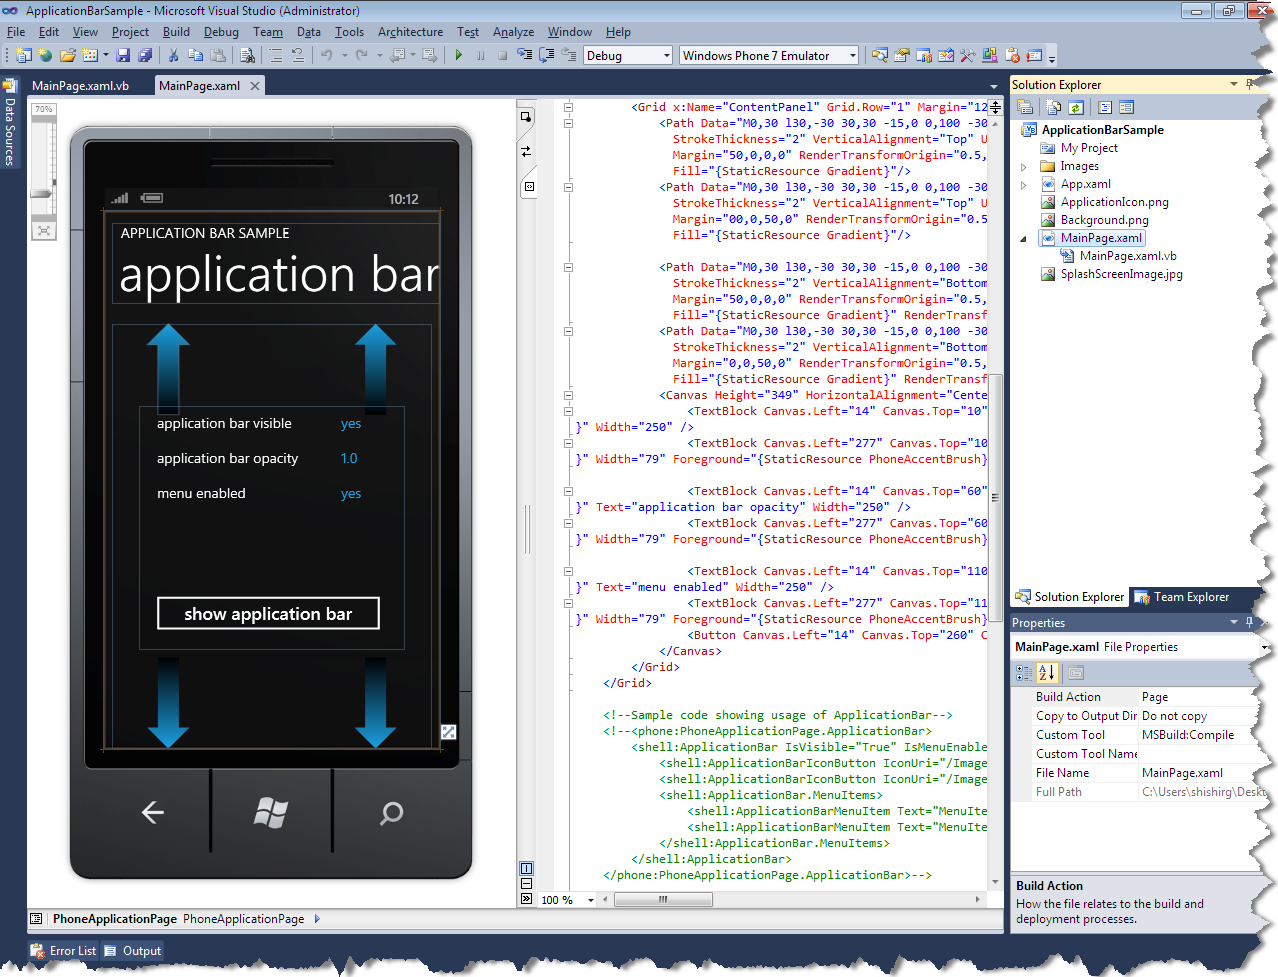
Step 2 – Add event handlers
Adding event handlers is one of the important tasks. To add the event handlers:
- Open the MainPage.xaml.vb page.
- To initialize a new instance of the ApplicationBar property, add the following code:
ApplicationBar = New ApplicationBar()
- To enable the menu and make the application bar visible, add the following code:
ApplicationBar.IsMenuEnabled = True
ApplicationBar.IsVisible = True
- To create event handlers for the icon button’s click event, add the following code:
Dim hide As New ApplicationBarIconButton(New Uri(“/Images/expand.png”, UriKind.Relative))
hide.Text = “hide”
AddHandler hide.Click, AddressOf hide_Click
Dim opacity As New ApplicationBarIconButton(New Uri(“/Images/opacity.png”,UriKind.Relative))
opacity.Text = “opacity”
AddHandler opacity.Click, AddressOf opacity_Click
Dim enabled As New ApplicationBarIconButton(New Uri(“/Images/menuenabled.png”,UriKind.Relative))
enabled.Text = “enabled”
AddHandler enabled.Click, AddressOf enabled_Click
- To add the icon buttons, add the following code:
ApplicationBar.Buttons.Add(hide)
ApplicationBar.Buttons.Add(opacity)
ApplicationBar.Buttons.Add(enabled)
- To create event handlers for the menu item’s click event, add the following code:
Dim foregroundItem As New ApplicationBarMenuItem(“use foreground color”)
AddHandler foregroundItem.Click, AddressOf foregroundItem_Click
Dim accentItem As New ApplicationBarMenuItem(“use accent color”)
AddHandler accentItem.Click, AddressOf accentItem_Click
- To add the menu items, add the following code:
ApplicationBar.MenuItems.Add(foregroundItem)
ApplicationBar.MenuItems.Add(accentItem)
- To add the event handlers for the click events, add the following code:
”’ Click handler for accent color menu item.
”’ Changes the colored UI elements to the built-in PhoneAccentColor
Private Sub accentItem_Click(ByVal sender As Object, ByVal e As EventArgs)
UpdateColor(CType(Resources(“PhoneAccentColor”), Color))
End Sub
”’ Click handler for accent color menu item.
”’ Changes the colored UI elements to the built-in PhoneForegroundColor
Private Sub foregroundItem_Click(ByVal sender As Object, ByVal e As EventArgs)
UpdateColor(CType(Resources(“PhoneForegroundColor”), Color))
End Sub
”’ Click handler for opacity icon button.
”’ Sets the opacity value of the ApplicationBar to 0, 1, or .5
Private Sub opacity_Click(ByVal sender As Object, ByVal e As EventArgs)
If ApplicationBar.Opacity < 0.01 Then
ApplicationBar.Opacity = 1
ElseIf ApplicationBar.Opacity > 0.49 AndAlso ApplicationBar.Opacity < 0.51 Then
ApplicationBar.Opacity = 0
Else
ApplicationBar.Opacity = 0.5
End If
UpdateText()
End Sub
”’ Click handler for hide icon button.
”’ Changes the Visible property of the ApplicationBar to false
”’ And makes the “Show Application Bar” button visible
Private Sub hide_Click(ByVal sender As Object, ByVal e As EventArgs)
ApplicationBar.IsVisible = False
showButton.Visibility = Visibility.Visible
UpdateText()
End Sub
”’ Click handler for menu enable icon button.
”’ Changes the IsMenuEnabled property of the ApplicationBar
”’ When IsMenuEnabled is false, the menu will not pop up
Private Sub enabled_Click(ByVal sender As Object, ByVal e As EventArgs)
ApplicationBar.IsMenuEnabled = Not ApplicationBar.IsMenuEnabled
UpdateText()
End Sub
”’ Click handler for show button.
”’ Sets the Visible property of the Application Bar to true
Private Sub showButton_Click(ByVal sender As Object, ByVal e As RoutedEventArgs)
ApplicationBar.IsVisible = True
showButton.Visibility = Visibility.Collapsed
UpdateText()
End Sub
”’ Updates the TextBlock objects to reflect the current state
”’ of the ApplicationBar
Private Sub UpdateText()
VisibleTextBlock.Text = If(ApplicationBar.IsVisible, “yes”, “no”)
OpacityTextBlock.Text = ApplicationBar.Opacity.ToString(“0.0”)
MenuEnabledTextBlock.Text = If(ApplicationBar.IsMenuEnabled, “yes”, “no”)
End Sub
”’ Helper method for changing the color of the UI
Private Sub UpdateColor(ByVal c As Color)
Dim brush As New SolidColorBrush(c)
VisibleTextBlock.Foreground = brush
OpacityTextBlock.Foreground = brush
MenuEnabledTextBlock.Foreground = brush
CType(Resources(“Gradient”), LinearGradientBrush).GradientStops(1).Color = c
End Sub
Voila! Now your application bar for Windows Phone 7 is ready! You just need to build and debug the application.
Step 3 – Build and debug the application
- To build the application, select Build > Build Solution. The project should build without any errors.
- To debug the application, set the deployment target of the application to “Windows Phone 7 Emulator”.
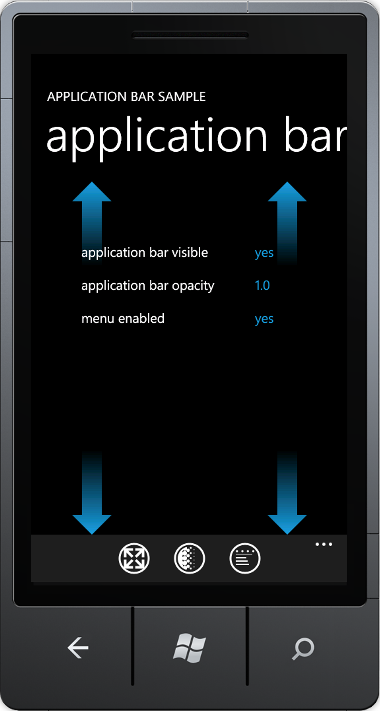
- Select Debug > Start Debugging. The emulator window is displayed.

- To test the application in the landscape mode, select the rotation control from the edit panel.

The emulator rotates into the landscape mode and accordingly, the controls resize themselves to fit the screen.

Note: To stop debugging the application, select Debug > Stop Debugging.
Step 4 – Rebuild in the release mode for publishing
- On the standard toolbar, change the configuration manager to Release.
- To rebuild the application, select Build > Rebuild. The XAP file of the application is generated.
Finally, to submit your application to the market place, you can refer to upload your application walkthrough.
Summary
That’s it! We’ve now seen that creating an application bar for Windows Phone 7 isn’t that tough. In fact, you’ve created it in just 4 simple steps!
You can find the full source code for the Visual Basic application bar for Windows Phone 7 here.
 Light
Light Dark
Dark
0 comments