
Updating Git certificate bundles to use Department of Defense signed certificates
App Dev Manager Daniel Setlock and Consultant Joe Morris tackle certificate revocation checking against Team Foundation Server secured with a .mil URL, or any URL secured with a Department of Defense (DoD) signed certificate.
Prerequisites:
- Department of Defense Root Certificates
- Git CLI
- Unix2dos tool or similar
Introduction
Some of the audience of this blog might not realize this, but we as Premier Developer have a presence in a lot of different industries, retail, health care, insurance, financial, energy, public sector, and many more. I spend a lot of time supporting organizations in the public sector, specifically the Department of Defense, and they come with their own set of security requirements.
While the most recent issue I encountered is by no means new, and the work-around is tried and true, I wanted a better way of doing business.
The most recent problem revolves around Git 4 Windows (Or any other Git client) and certificate revocation checking against Team Foundation Server (Or other source control) secured with a .mil URL, or any URL secured with a Department of Defense (DoD) signed certificate.
Specifically, when you download your Git client it comes with a ca-bundle.crt file that contains root certificates from a lot of different Certificate Authorities (CA’s). What is not included in this bundle is self-signed certificates, corporate certificates, or more widespread certificates, such as the DoD Root Certificates.
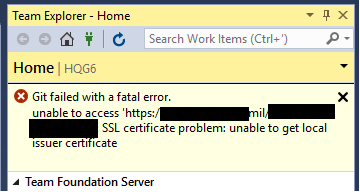
When attempting to clone a repo, push, etc. you might encounter an error stating:
Error encountered while cloning the remote repository: Git failed with a fatal error. unable to access ‘https://asecurewebsite.mil/tfs/projectcollection/_git/project/’: SSL certificate problem: unable to get local issuer certificate
This will occur through the CLI.

Or through a GUI
The simple, ‘tried and true’, solution to this issue is setting sslverify=false. At that point, certificate revocation is no longer checked, and in my mind, opens up another attack surface. In an effort to provide a more legitimate capability, myself and a coworker repurposed another blog posting for our needs.
The result is the ability to check revocation against DoD sites very easily. You can follow the instructions below, or jump to the end and download the new ca-bundle.crt and instructions. Also see troubleshooting steps for credential manager and agents if you experience issues there.
Install DoD Root certificates
For those interested in doing this themselves, I used the information at the following blog post as a guide for this. (https://blogs.msdn.microsoft.com/phkelley/2014/01/20/adding-a-corporate-or-self-signed-certificate-authority-to-git-exes-store/)
To start, download and install the DoD root certificates (if they are not already present on the machine). They are located here: https://iase.disa.mil/pki-pke/Pages/tools.aspx
Scroll to the bottom and select For DoD PKI Only – Version 5.5 (or most current).
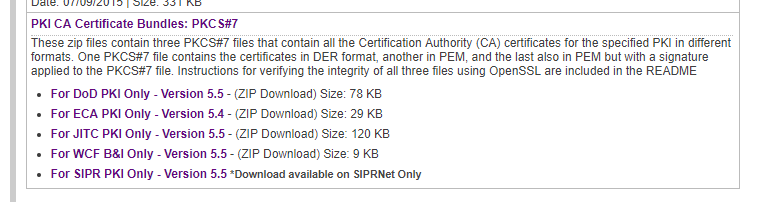
A .zip file is downloaded. Extract the files and it should look like this:
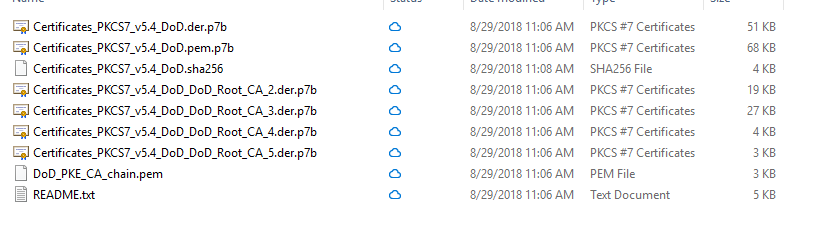
Install the .p7b files for CA_2, CA_3, and CA_4.

Navigate to the DoD Root certificates that were just installed. (launch Microsoft management Console and add the Certificate snap-in or search for ‘certificate’ and select ‘Manage Computer Certificates’)
Open each of the DoD Root CA certificates, select the Details tab, and select ‘Copy to File…’
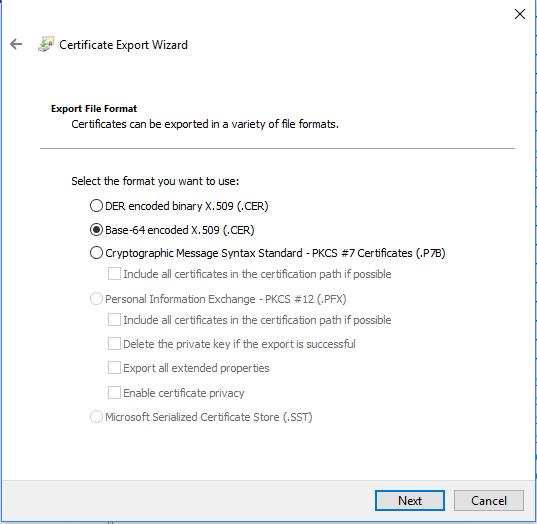
Select ‘Base-64 encoded X.509 (.CER)
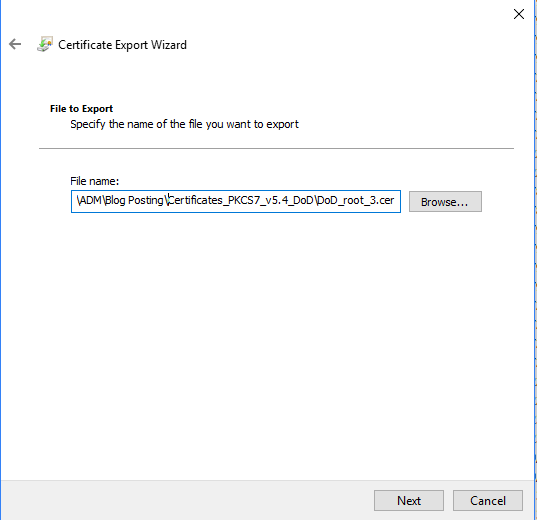
Save the output with a meaningful name in a known location. (In this example, the same location the certificates previously downloaded are stored, with different names)
Create a new ca-bundle
Navigate to your Git install directory and locate the ca-bundle.crt file. Make a copy of this, and move it to a different directory that is accessible from anything on the machine. It can be under /users/ or simply create a ‘DoD’ directory under the location to move the copy to. Depending on the client you use, and version, the install directory may change.
For Git 4 Windows it should be installed in:
C:\Program Files\Git\mingw64\ssl\certs
Or
C:\ Program Files (x86)\Git\mingw64\ssl\certs
Once you have a copy of the ca-bundle.crt, using a tool like unix2dos, reencode the file so that it can be opened.
![]()
Open the output with notepad and you will see similar:
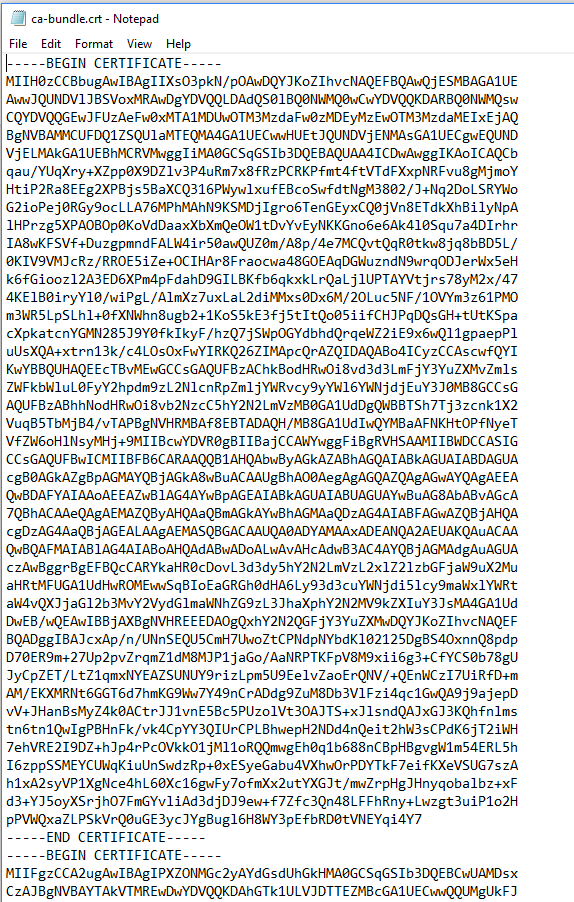
After this, open up each of the exported DoD Root Certificates in Notepad. Copy and paste the hash into the ca-bundle.crt file, one after another, at the end of the file. The total size should be 254kb.
Once you have the completed ca-bundle.crt, move it to the appropriate location where it will be accessed.
Update Git configuration
Open a Git CLI, and type:
Git config –global http.sslCAInfo C:/Path/To/CertBundle/ca-bundle.crt
(note the forward slashes / not backslashes \ )
Verify the path updated successfully by opening the Git CLI and typing:
Git config -l
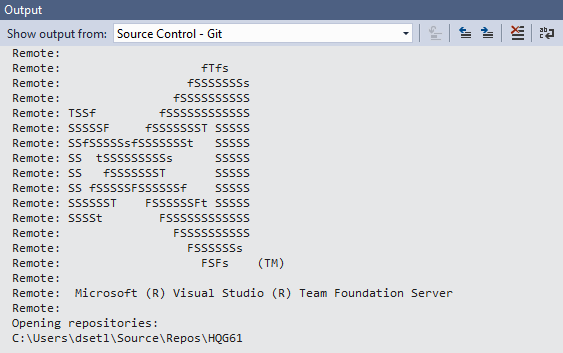
A list of configurations will print out.
Look for the entry shown below:

Ensure that sslverify is set to true. If it is false, run:
Git config –global http.sslVerify true
Restart any open clients and try to clone or push against a repository secured by a DoD certificate.
Simple version
If you would like to skip the creation process, you can download the certificate bundle, and a readme from the following link: github
Please keep in mind that any time a new DoD root certificate is issued, this process will need to be repeated to add that certificate. I will make it a habit of also updating the repo above.
Additional troubleshooting
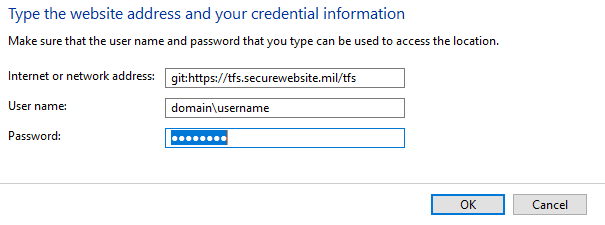
Often times, after this is completed, authentication will still fail but with a different error. Navigate to ‘Credential Manager’ in Windows 10 (Search for Credential), select ‘Windows Credentials’. Look under ‘Generic Credentials’ for the TFS or other source control site, and remove any entries found there.
Add a new Generic credential, and preface the address with git: so that the entry looks like below:
If a build agent also encounters an issue stating that the issuer certificate cannot be verified, place the modified ca-bundle.crt in the appropriate directory on the build agent, such as:
C:\Agent1\externals\git\mingw64\ssl\certs
Restart the build agent and try your build again.
 Light
Light Dark
Dark
1 comment
Dear Daniel and Joe,
It’s about trust, which involves walking up the chain, and certificate revocation checking.
I had a simmilar use case and submled accross more issues when trying to connect azure pipeline agents to the DevOps server. I filed an issue and provided a solution at github.
Best
Daniel