
Exploring Blazor with Visual Studio 2019
In this post, Senior App Dev Manager Keith Beller walks use through Blazor, a new experimental framework for WebAssembly.
What is Blazor?
After 22 years of dominance as “the” native language for client-side browser interaction, JavaScript is facing new competition from other popular languages such as C/C++, Go, PHP, C# and others thanks to the growing adoption of WebAssembly or Wasm. All four major browser engines Firefox, Chrome, Safari and Edge now support WebAssembly. In fact, according to caniuse.com as of March 1st 2019 80.62% of users globally are using web browsers that support WebAssembly.
Blazor is a new experimental web framework that allows you to write client-side web apps using C# all made possible by WebAssembly. That’s right, C# running natively in the browser. Basically, WebAssembly apps are passed to the browser in an efficient binary instruction format that is able run natively and performantly at near-native speed and this has opened up new opportunities for languages like C# to run client-side in the browser.
To demonstrate how easy it is to work with Blazor, we will walk you through a simple example app.
Getting started with Blazor
To get started with Blazor you’ll need Visual Studio 2019, .Net Core SDK 3.0 Preview, the Blazor extensions form the Visual Studio Market Place and Blazor Templates. You’ll find the installation guide (here).
Create a new project
After you’ve installed all the prerequisites, create your first project by selected ASP.NET Core Web Applications. Next, name your project and continue.
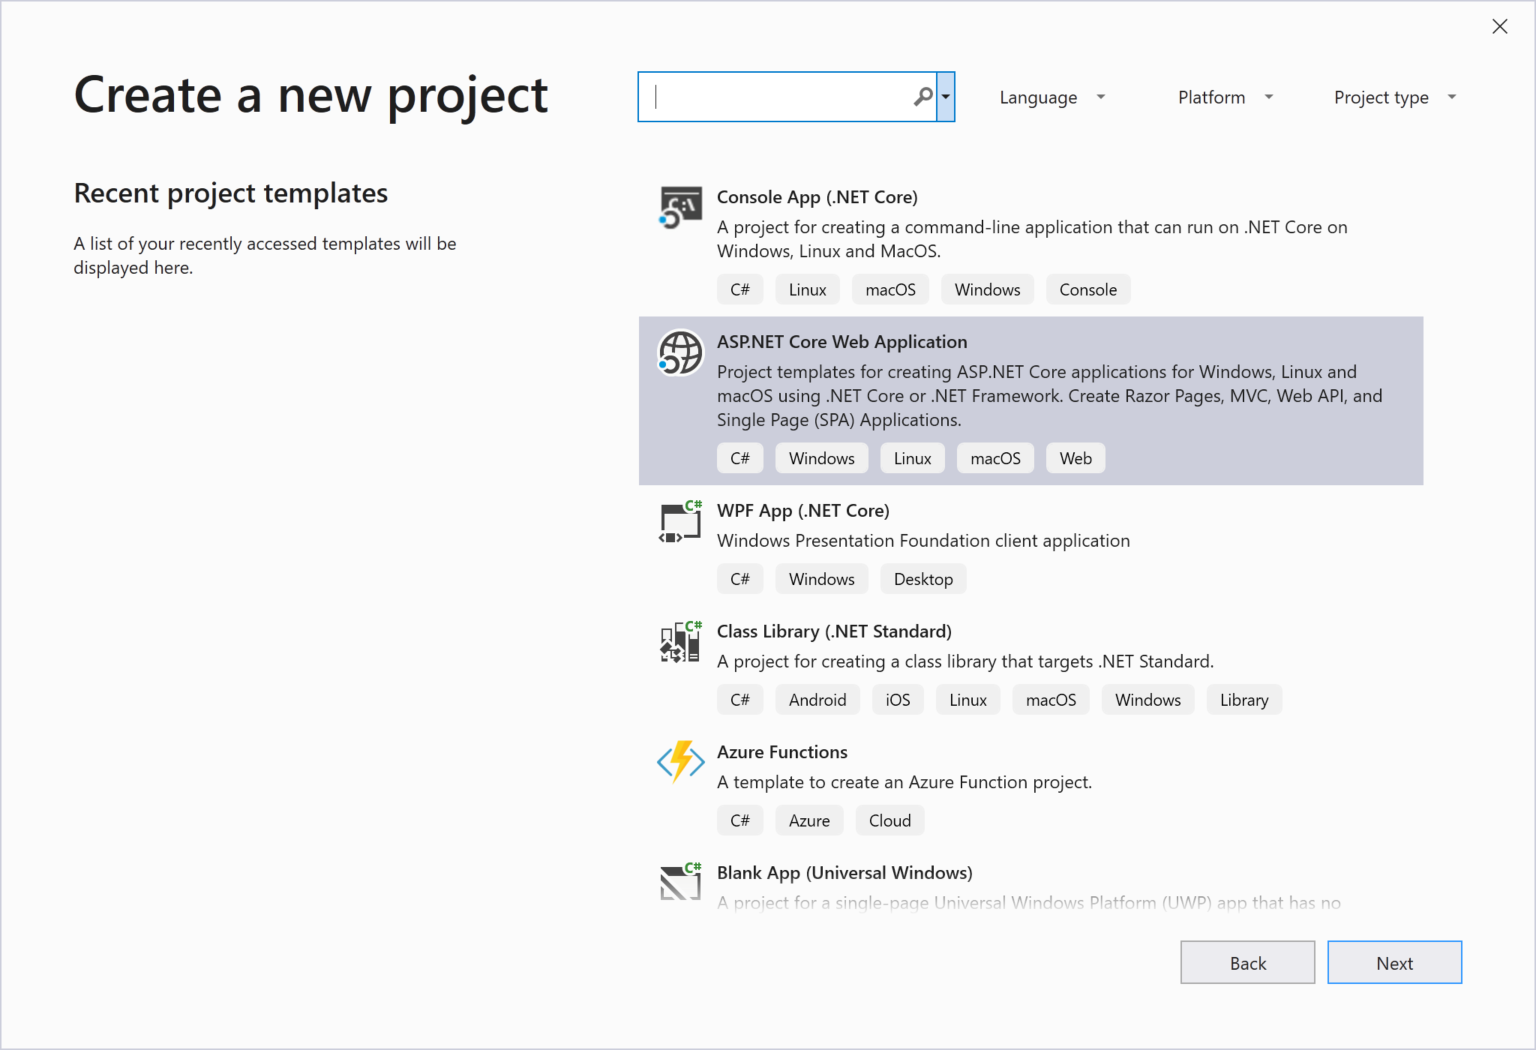
If you’ve installed everything correctly you should see .NET Core and ASP.NET Core 3.0 in the drop-down boxes with two Blazor templates. For this post we will work with the “Blazor” template.

Troubleshooting your first build
The main instructions don’t call this out directly, but you’ll need .Net Core 2.2 installed to build and run your Blazor applications. If you don’t have .NET Core 2.2, you will get an error when you build your app that reads, “Package Microsoft.AspNetCore.Blazor.Cli 0.8.0-preview… is not compatible with netcoreapp2.2”.
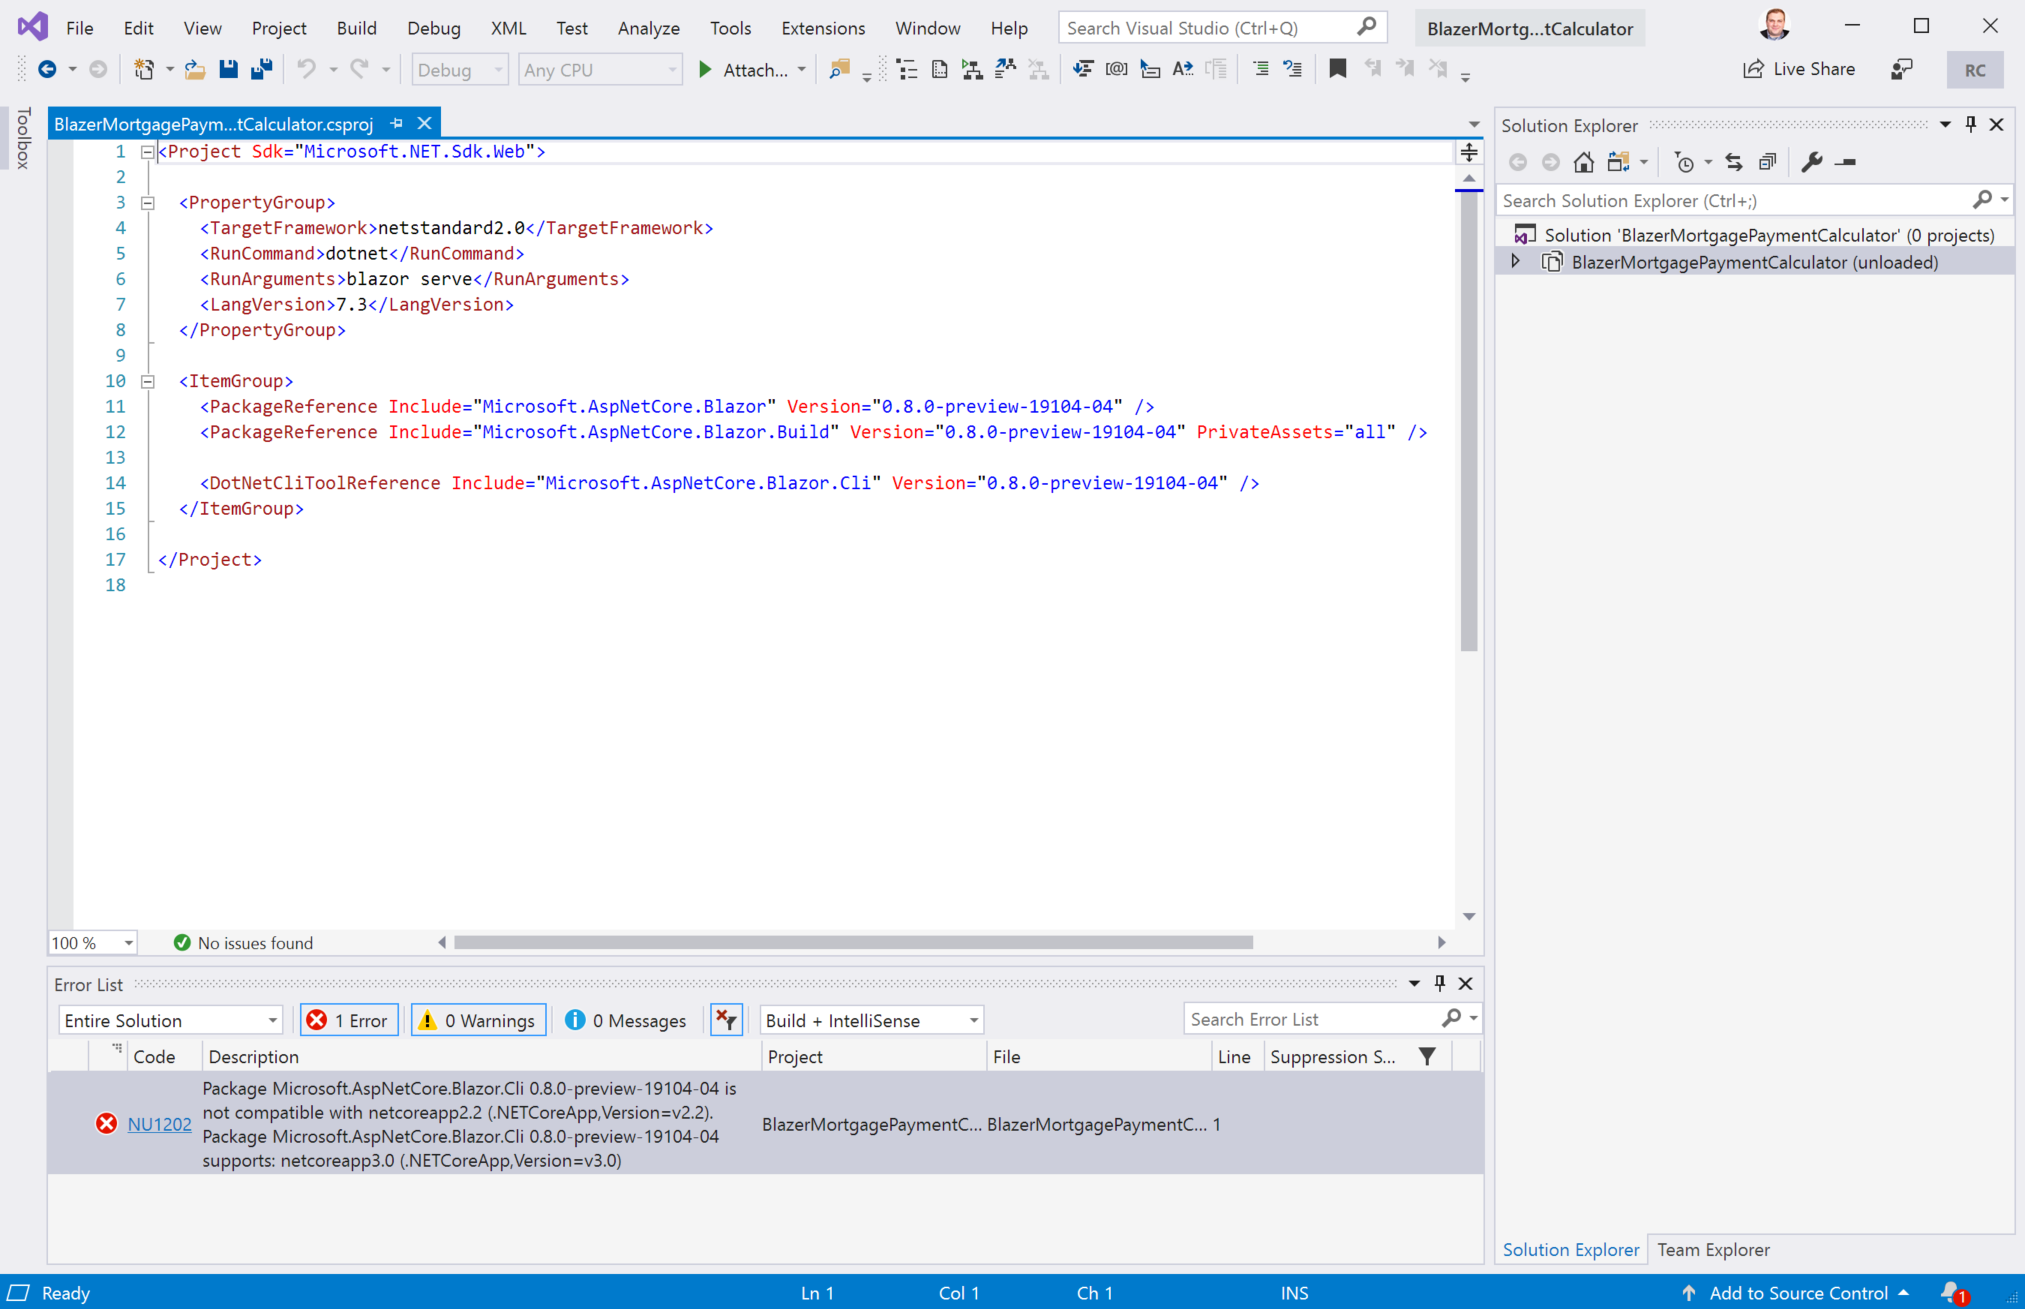
You may think as I did that changing the <TargetFramework> to netcoreapp3.0 will fix the issue. It does not, instead changing the target framework will cause a linker error when you build in the Blazor.MonoRuntime.targets file on the line that executes the command “dotnet "$(MonoLinkerPath)…”. If you tried deleting this line and didn’t save a backup of the file, you’ll need to delete the Blazor packages found in the C:\Users\<USERNAME>\.nuget\packages\ directory and reinstall Blazor. So, to summarize, the fix here is leave the Target Framework alone and just the install .NET Core 2.2 SDK.
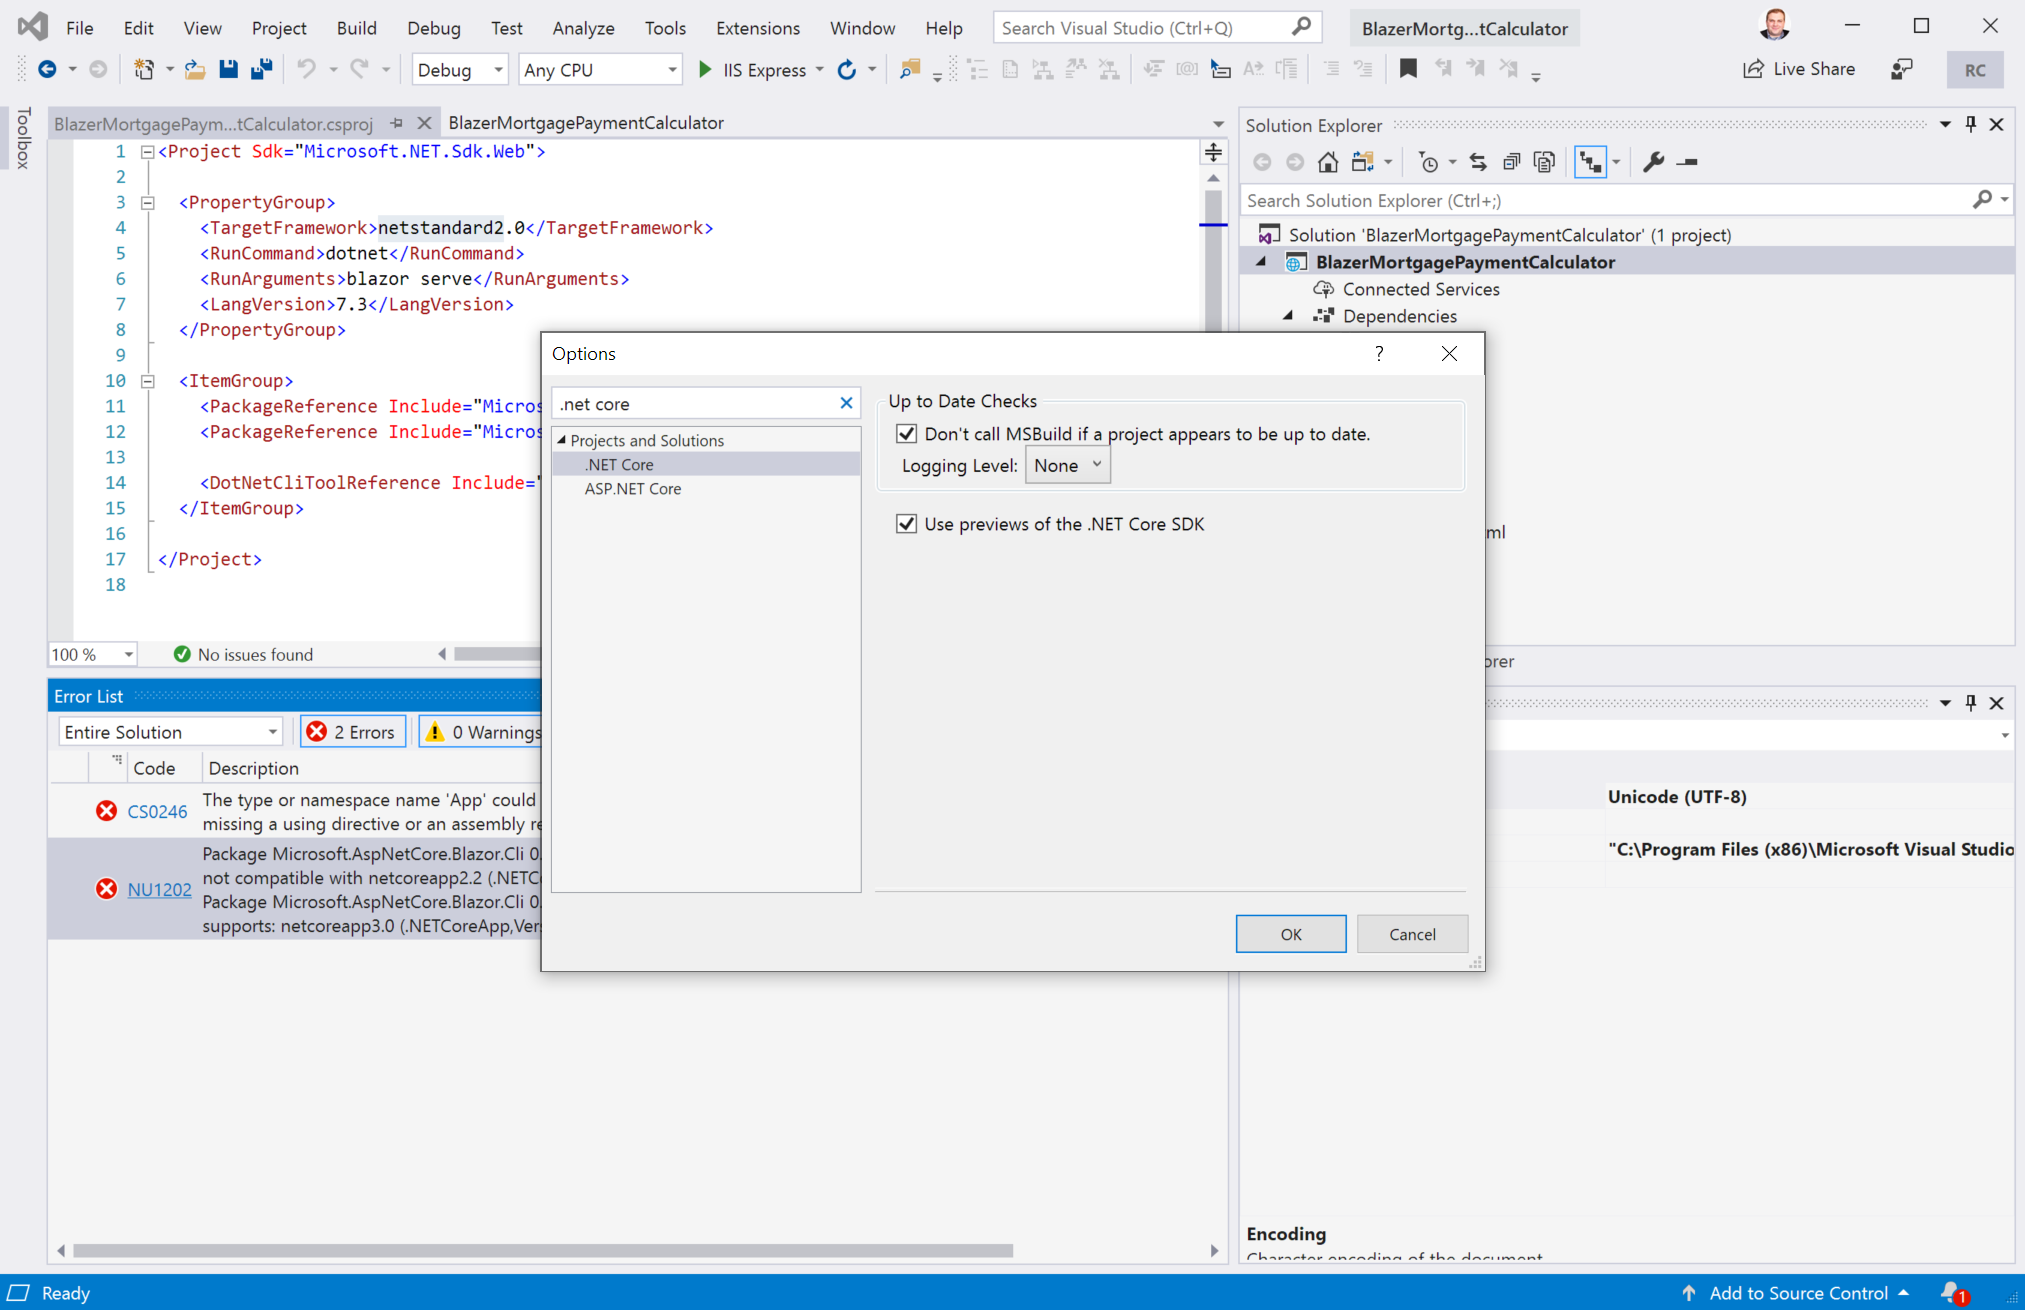
You’ll also want to enable previews of the .NET Core SDK which you can do by navigating to Tools > Options and checking the box “Use previews of the .NET Core SDK”.
Release notes for the latest release (0.8.0) as of this post can be found (here). There is a troubleshooting section in the release notes should you get stuck.
Building a simple Mortgage Payment Calculator
Inspired by this Stack Overflow post, lets create a simple mortgage payment calculator to demonstrate the power of Blazor. If you’re familiar with ASP.NET, you’ll be very at home with the Blazor development experience. Blazor is essentially Razer views that run in the browser.
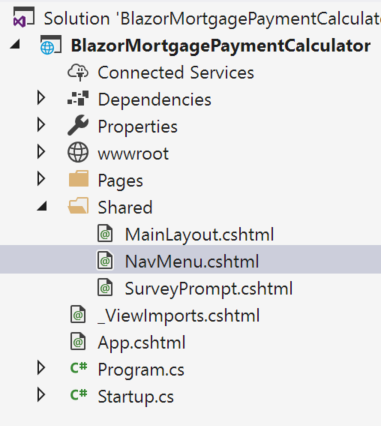
To begin open Shared > NavMenu.cshtml and add the snippet below to the @NavMenuCssClass div container and save the file.
This will add a menu to the app side bar, so you are able to navigate to the calculator page we are going to build.
<li class="nav-item px-3">
    <NavLink class="nav-link" href="calculator">
        <span class="oi oi-list-rich" aria-hidden="true"></span> Calculator
    </NavLink>
</li>
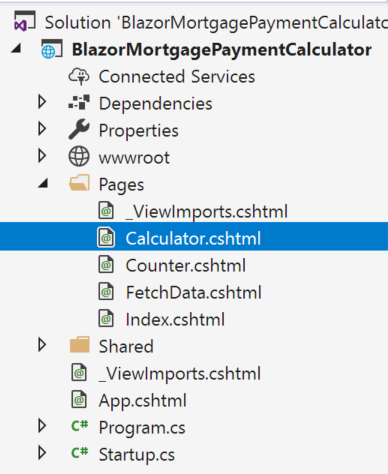
Next, create a file in the Pages directory named Calculator.cshtml.
Paste this code snippet into the file and run the example.
@page "/calculator"

<div class="card">
    <div class="card-header">
        <h1>Mortgage Payment Calculator</h1>
    </div>
    <div class="card-body">
        <div class="form-group">
            <label for="enterPrinciple">Principle Amount</label>
            <input id="enterPrinciple" class="form-control" aria-describedby="enterPrincipleHelp" placeholder="Enter Principle" bind="@p" />
            <small id="enterPrincipleHelp" class="form-text text-muted">Enter the princple amount. e.g. 100000</small>
        </div>
        <div class="form-group">
            <label for="enterInterest">Interest Rate</label>
            <input id="enterInterest" class="form-control" aria-describedby="enterInterestHelp" placeholder="Enter the interest rate" bind="@r" />
            <small id="enterInterestHelp" class="form-text text-muted">Enter the interest rate. e.g.  3.75</small>
        </div>
        <div class="form-group">
            <label for="enterDuration">Term (Years)</label>
            <select class="form-control" aria-describedby="enterDurationHelp" id="enterDuration" bind="@y">
                @for (int i = 1; i <= 30; i++)
                {
                    <option>@i</option>
                }
            </select>
            <small id="enterDurationHelp" class="form-text text-muted">Select the duration of the loan (in years).</small>
        </div>
        <button class="btn btn-primary" onclick="@Calculate">Calculate</button>
        <br />
        <br />
        <div class="alert alert-secondary" role="alert">
            Your monthly payment will be: <strong>$ @m.ToString("0.00")</strong>
        </div>
    </div>
</div>

@functions {

    double p = 100000; // principal
    double r = 3.75; // interest rate
    int y = 30; // number of payments
    double m = 463.12; // monthly payment

    void Calculate()
    {
        double rate = r / 100;
        double monthlyRate = rate / 12;
        double payments = 12 * y;

        m = p * (monthlyRate * Math.Pow(1 + monthlyRate, payments)) / (Math.Pow(1 + monthlyRate, payments) - 1);
    }
}
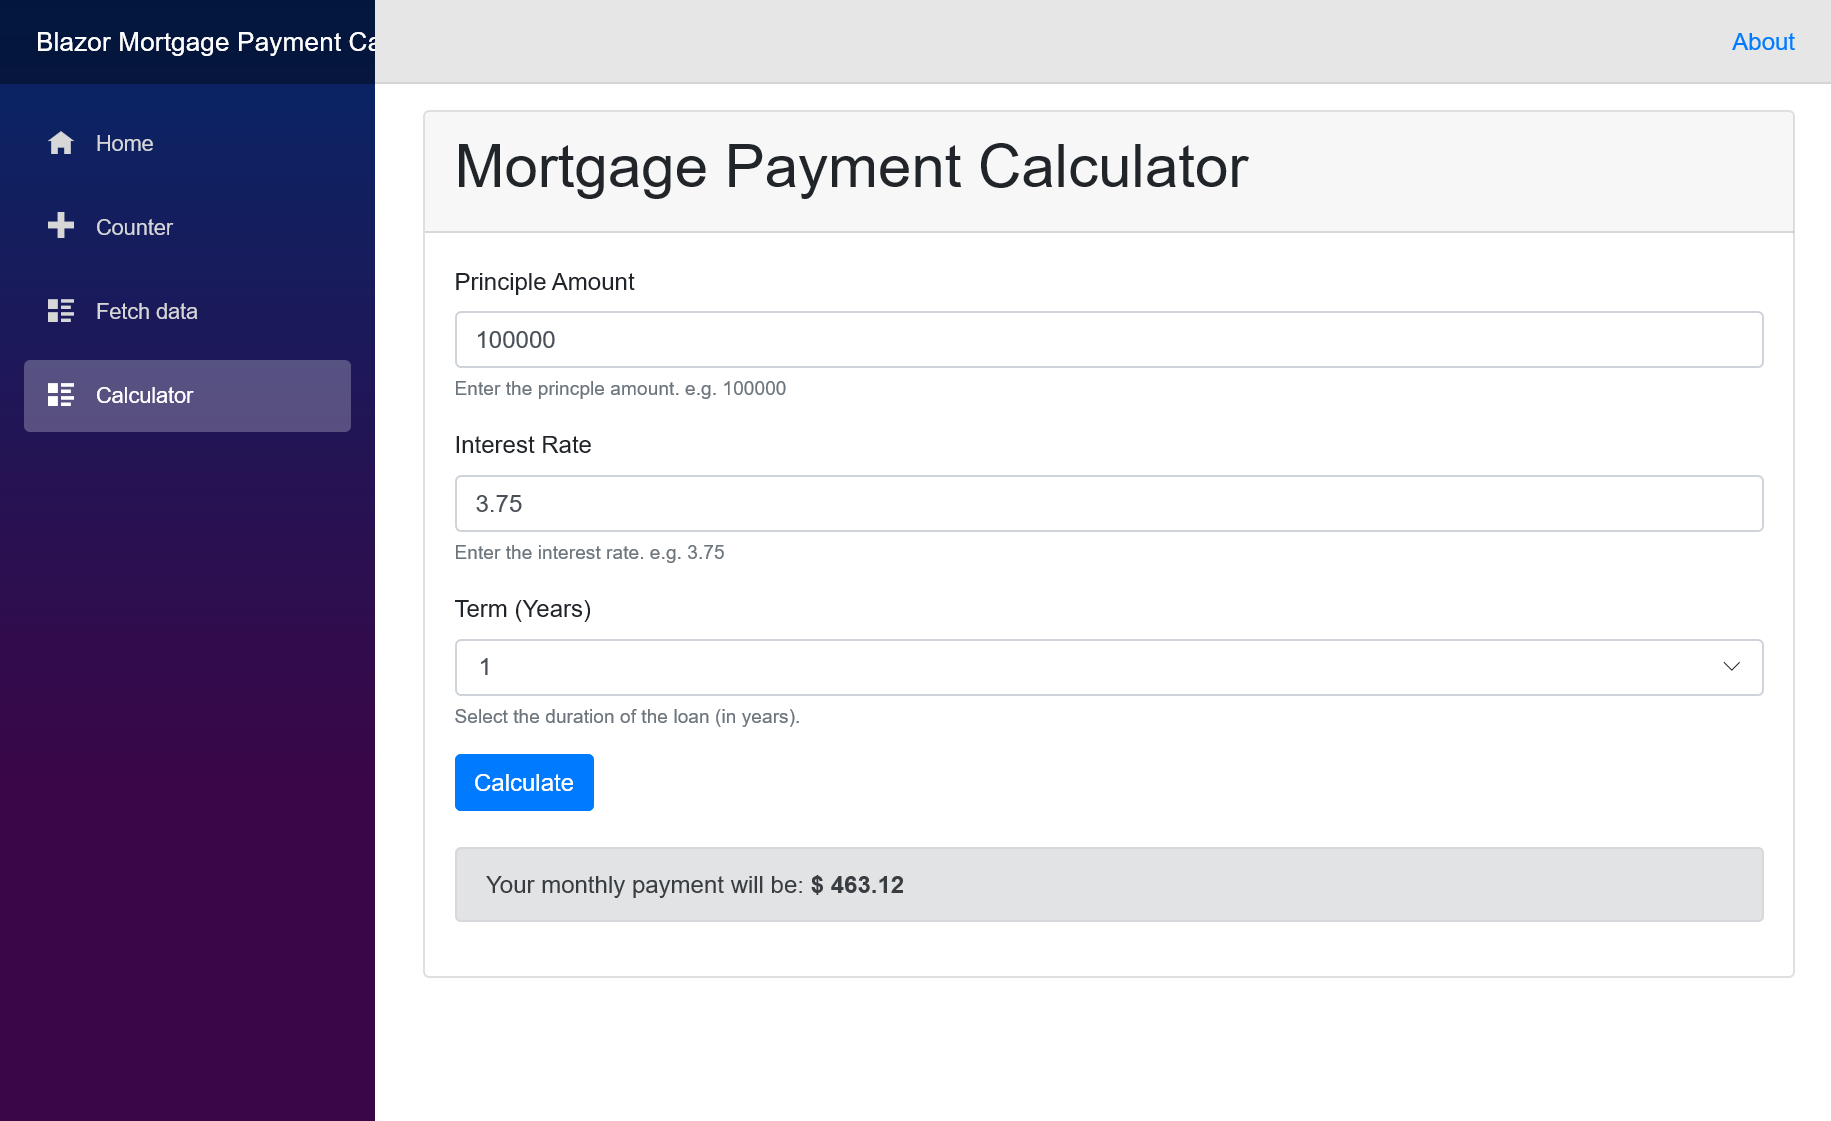
If you’ve done everything correctly you should see an interactive page that looks like this.
Again, if you’re familiar with ASP.NET this is a very low friction development experience. This page took just a few minutes to assemble. The binding experience Daniel and his team has put together looks very promising. Blazor also supports component libraries, dependency injection, debugging and much more. I encourage you to take a closer look at Blazor. For additional learning resources see Daniel Roth’s video published on Channel 9 and also Robert Green’s Visual Studio Toolbox episodes Blazor Part 1 and Blazor Part 2 with special guest Sam Basu and Ed Charbeneau. These videos provide an excellent introduction to the framework.
 Light
Light Dark
Dark
4 comments
Is Blazor still beta?What’s involved with converting a Razor website to Blazor?
Just a word of advice:
Please provide alternative syntaxes for blocks of C# code inside HTML like this:
@for (int i = 1; i <= 30; i++){ <option>@i</option>}
Visual Studio does a bad job at auto-formatting mixed code (C# and HTML), especially after you install addons that add additional formating.
I believe it is easy and much more elegant to use something similar to angular’s attributes, e.g.:
<option @-for(int i = 1; i <= 30; i++)>@i</option>
<option @-foreach(var name in names)>@name</option>
<option @-if(!string.IsEmptyOrWhitespace(name))>@name</option>
This will keep things readable and simple, both for developers and auto-formatters.
Transforming these attributes to normal Razor syntax when you compile them should be straightforward.
I am excited with Blazor, but hearing about brackets inside HTML takes half of my exitement away already.
And probably I am not the only one feeling this way.
After installing the SDK I don’t get the Core 3 option in VS… (facepalm)
There are no Blazor templates In the “Create a new ASP.ET Core Web Application”, with .NET Core and ASP.NET Core 3.1 selected in the dropdown boxes.