
Dynamics 365 Implementation Pt. 3 – Postman
Premier Developer Consultant, Sana Noorani, shows how to test your Dynamics 365 APIs with Postman.
In the last post of my Dynamics 365 implementation series, I will discuss using Postman for API testing. Using this method, you can easily send Web API and HTTP requests and responses. Moreover, you can test the fields that are being added to the integration message to see if they pass or fail. This helps in the efforts to test if the integration message being sent will successfully get posted in D365.
Step 1: Download Postman
When you begin your testing efforts, you will first need to download the desktop version of Postman. You can do that by going here. The link is for the Windows OS. However, it also has the macOS and Linux links under the download button.
Step 2: Add an environment
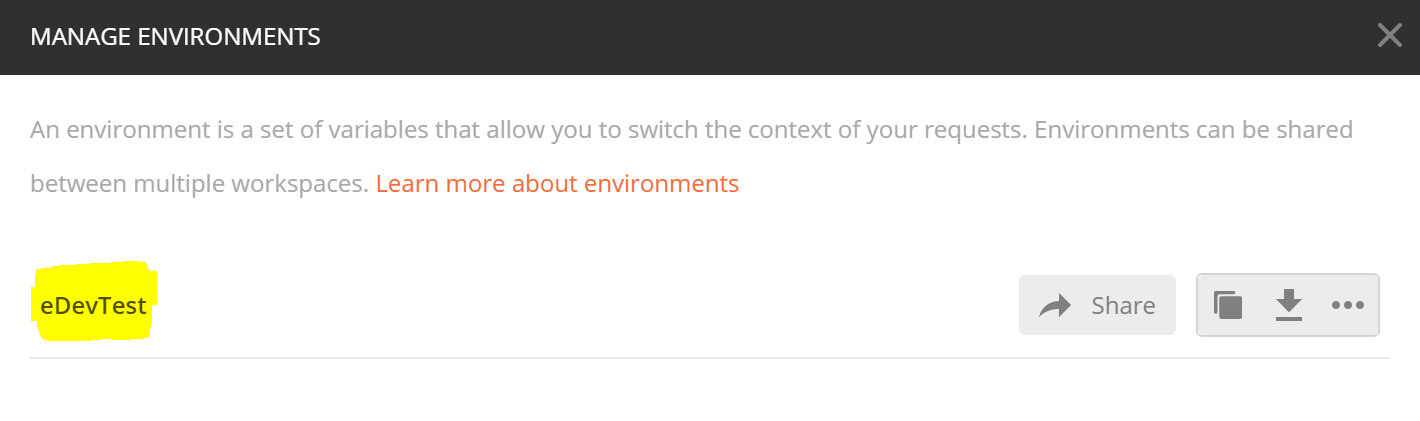
You will need to add a D365 environment to link to. Therefore, you need to go to Settings -> Manage Environments -> Add.
You will be able to add an environment that you will want to do your GET and POST commands on. In my example, I added a test environment called eDevTest.
Step 3: Set up a Collection
In this step, you will want to setup a collection to house all your relevant requests in. This helps you organize the various requests in one folder. In this example, we will be posting to the SalesOrder header level in our eDevTest D365 environment.
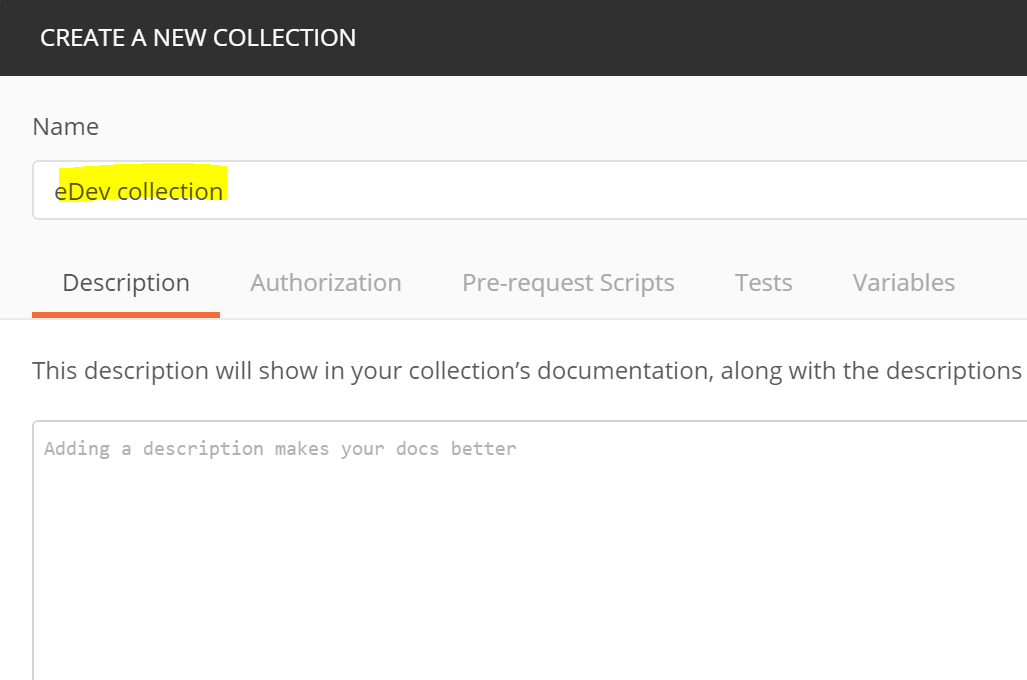
I can create a new collection when I am creating an unrelated request, such as posting Customer details to D365.
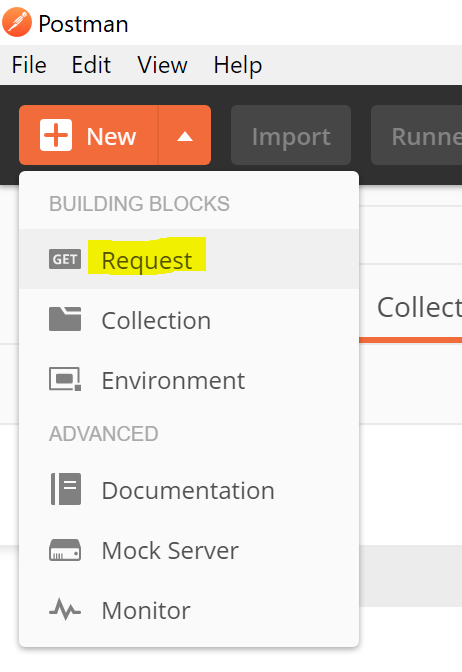
Step 4: Generate an Access Token
In this step, you want to set up an access token which will invoke a request. In Postman, go to the “New” button on the top left and select “Request.”
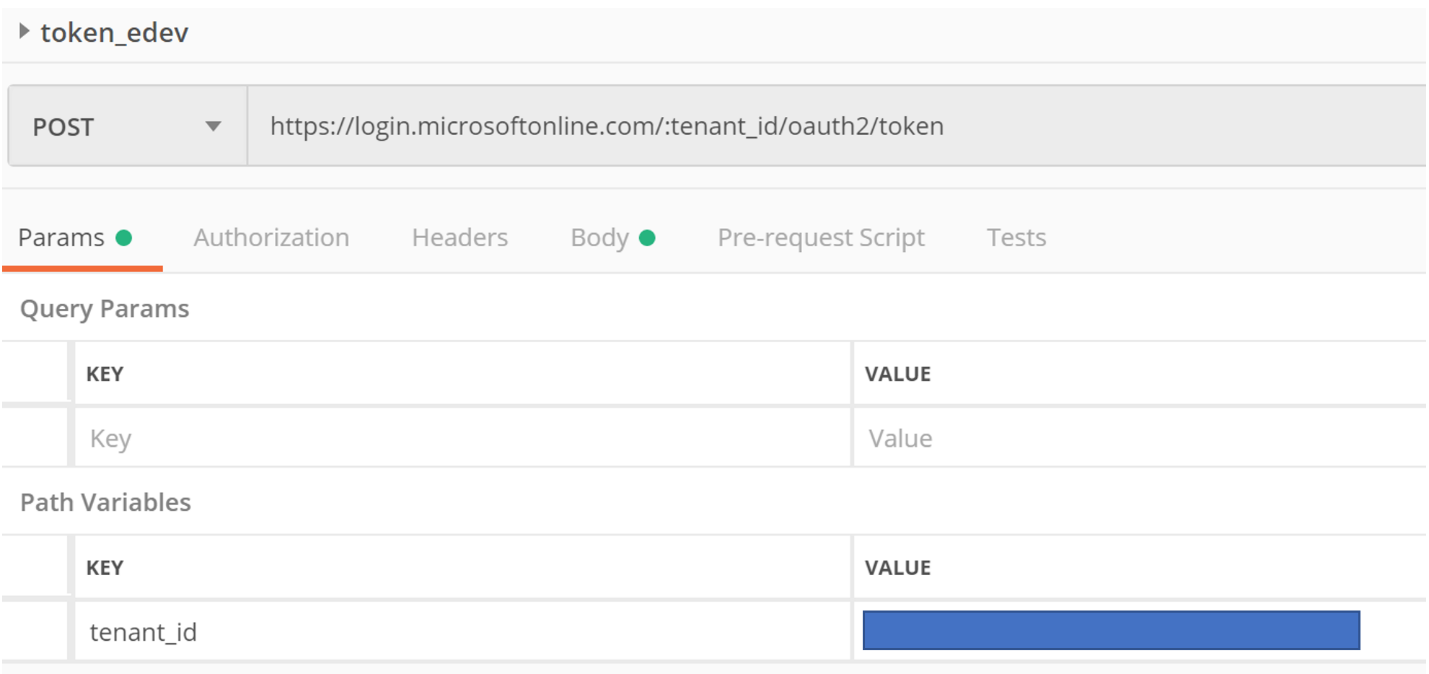
You can name your request token anything you would like to. In my example, I named it “token_edev.” It is descriptive enough so that when I look at the various requests in Postman, I can quickly identify where I am generating the token.
Once the token request is created, you will want to add a path variable. The path variable that we will be creating is a tenant_id which will be used for the web service call. Go to the “Params” tab and then add the tenant id under the path variables section.
After this, you will want to go to the “Body” tab and set the key-value pairs. The specific ones we are adding are grant_type, client_id, client_secret, and resource.
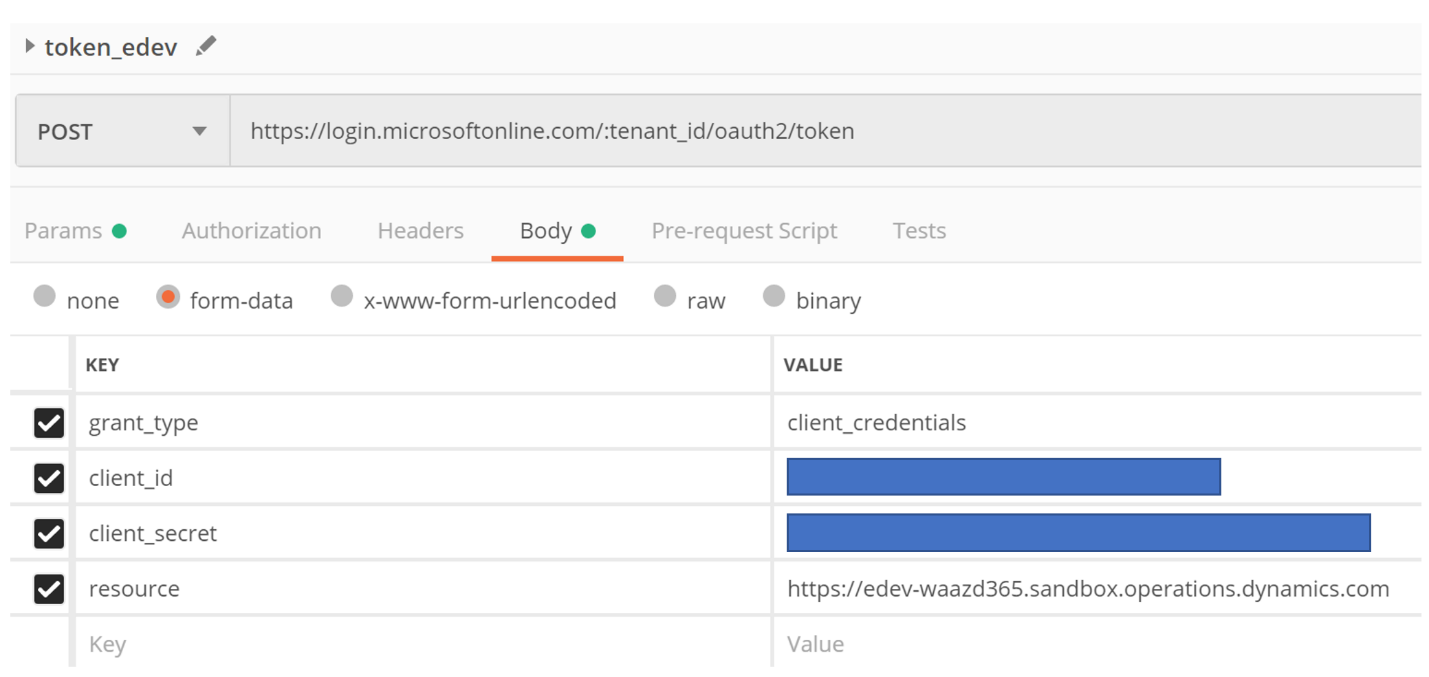
The purpose of the token is to authenticate and sign you in for a predefined period of time. This is typically 15-20 minutes. During this time, you can do a service call. Once the token expires, you will need to generate a new one. You can generate a token by pressing “Send.”
Step 5: Generate a Request to Post to D365
In the last step, we will finally be posting to D365. In my example, I created a batch request (comprised of 2 requests) in which I posted to the Sales Order header and line levels sequentially.
Follow the same steps as before in creating a new request. This time, you will want to name it SalesOrderHeader. After you create the header request, you will want to set the header key/value pairs.
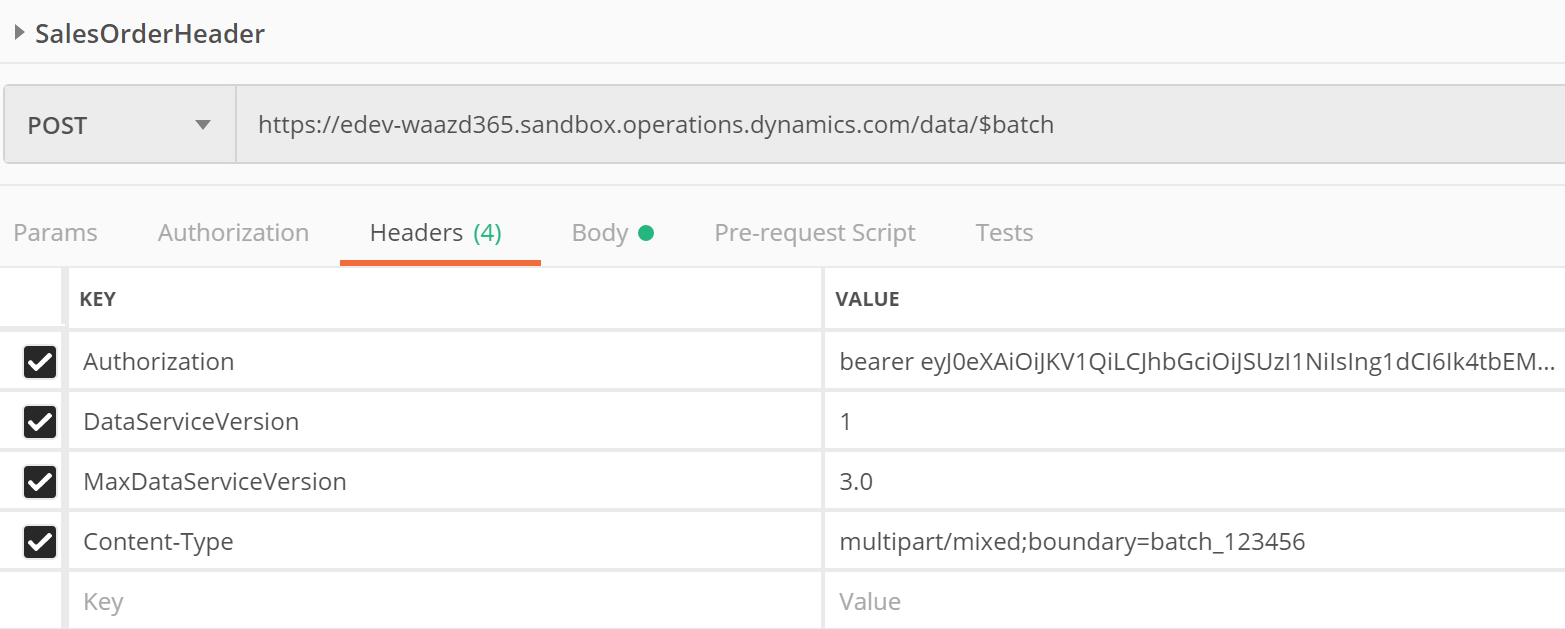
Note that I added the temporary token to the authorization value. Every time you generate a new token, you will need to update this value.
In the body tab, I added raw code to allow for the message to post to D365. Depending on the schema and the message you are trying to post to D365, yours will look different.
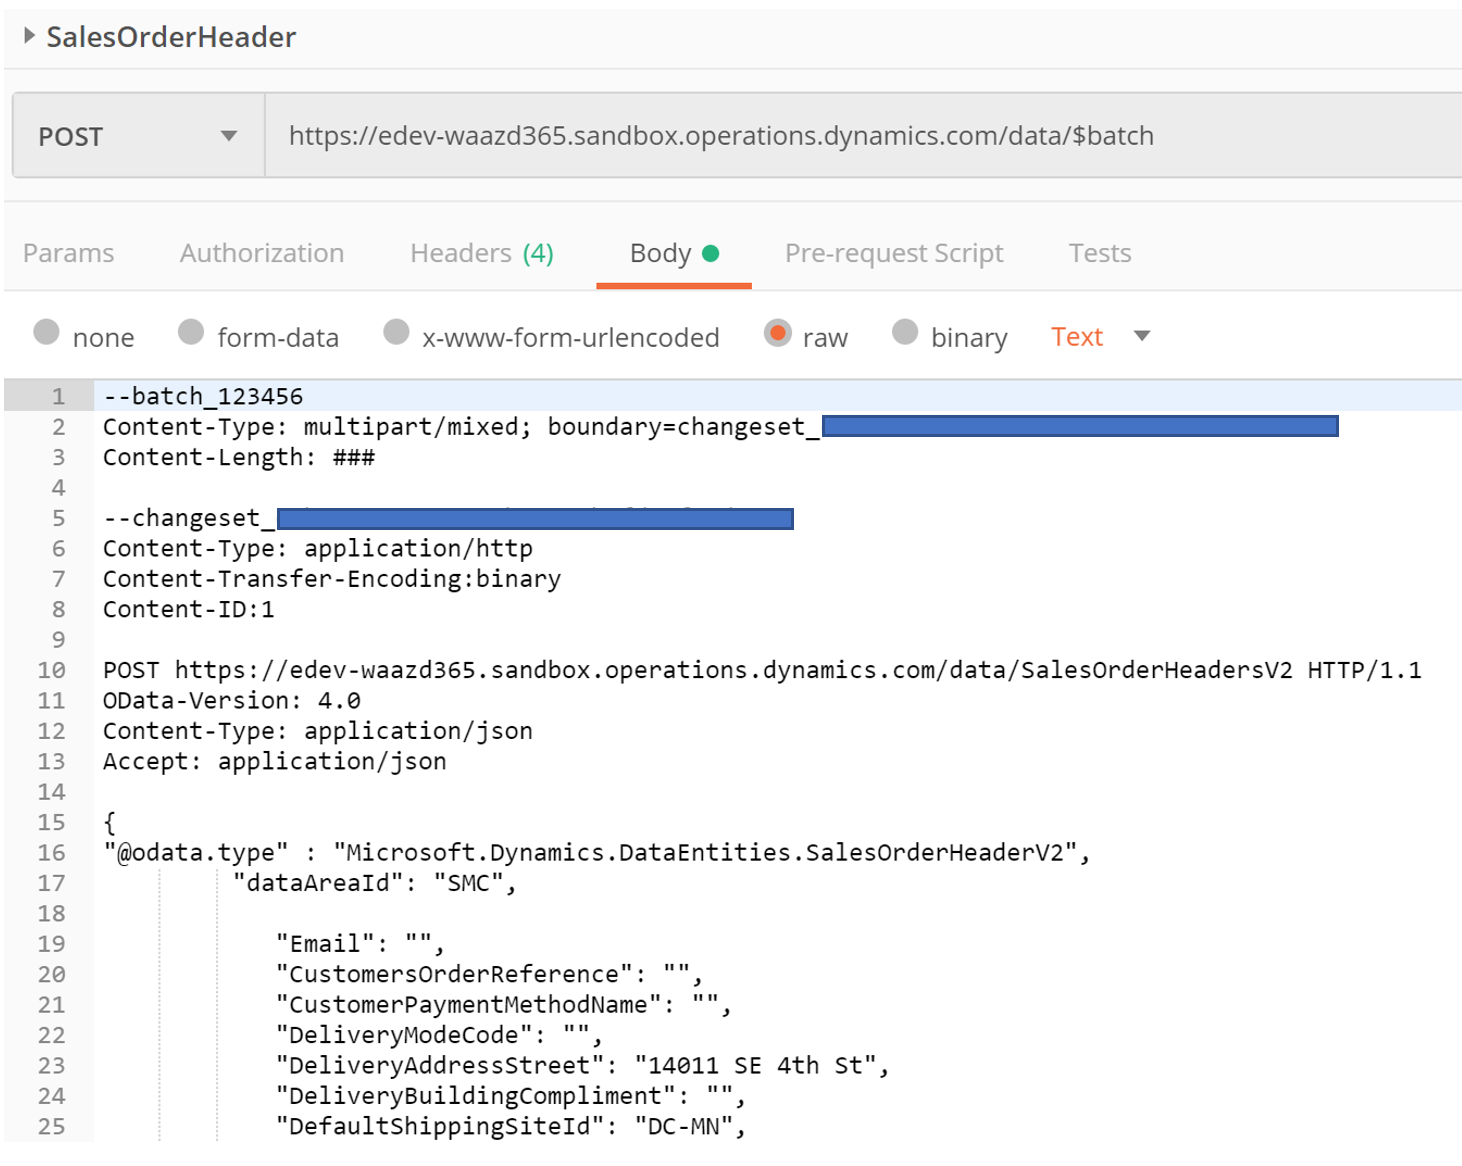
After you have added the code for the body, you are ready to press “Send.” At this point, you will see what posted to your D365 environment.
Congratulations! You now understand the process of testing the fields being added to the integration message. If it successfully posts, you can consider the message to be successful. However, if it fails, you will be able to troubleshoot the message.
 Light
Light Dark
Dark
0 comments