
Azure DevOps: Build pipelines for Arduino microcontrollers
In this post, App Dev Manager Roberto Peña shows how to setup Azure DevOps Build pipeline for Arduino microcontrollers.
If you have ever been to a conference about Azure DevOps, chances are that you have heard the phrase “any language, any platform”, this is a very powerful statement which basically means that anything you can script or call over the network can be used in a pipeline and become part of a DevOps strategy. Today, I have decided to have a little fun and create simple proof of concept pipeline to demonstrate the capabilities of the platform working with microcontrollers.
The main component needed for this proof of concept is an Azure DevOps agent capable of compiling Arduino sketches; as this is not a capability of any of the Microsoft hosted agents, I will configure a self-hosted agent with the proper tools that can be used to compile our files. Arduino IDE includes a command line tool called arduino-builder, this tool is perfect for our needs as it can be used without user interaction directly from a script.
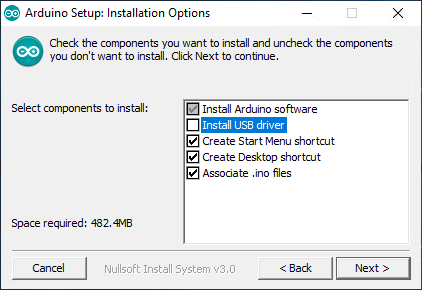
I used a Windows machine for my build server but Linux is also an option as the Arduino tools are cross platform; I downloaded the latest version of the Arduino IDE and proceeded with the setup, as the agent is only used to compile our sketches we do not need the USB driver in our installation.
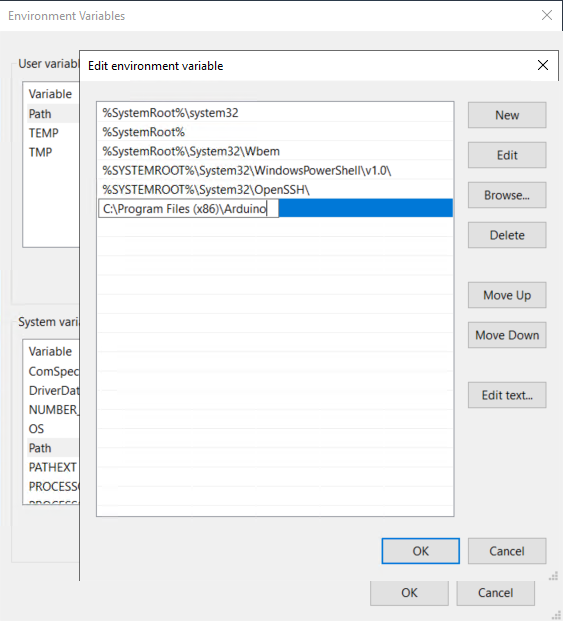
Once installed, it is best to add an entry to our path variable to be able to call this tools from any directory, this will simplify the configuration of our agent and the creation of pipelines.
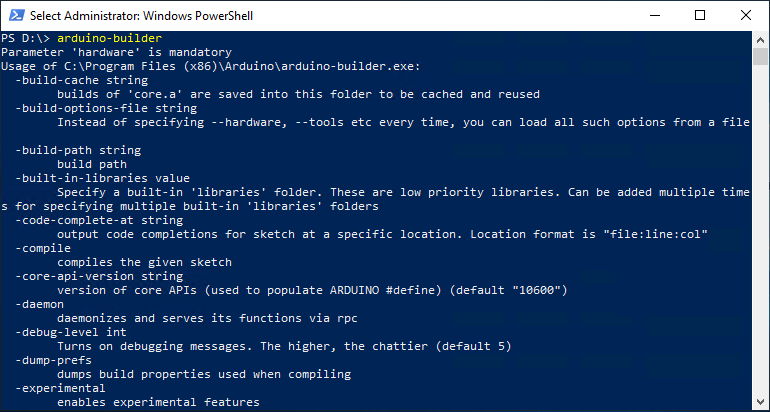
Finally we need to test our build server, we can easily do this opening a PowerShell window and typing arduino-builder, if everything is ok we should get some output with the usage instructions for this tool.
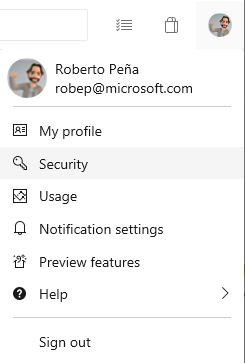
Our server is now ready and we need to configure it as a self-hosted agent in Azure DevOps, in order to do this we will need to provide credentials for our server, the simplest way to do this is using Personal Access Tokens; this is a fairly common task in Azure DevOps, all you need to do is click on your profile picture and click the Security menu.
On this area we will be able create a new PAT, that we can later use to authenticate against our organization, be sure to select the scopes for Agents and do not forget to copy and safely store your token as it cannot be retrieved after it is created. If you would like more information about the scopes for PATs you can visit the following link:
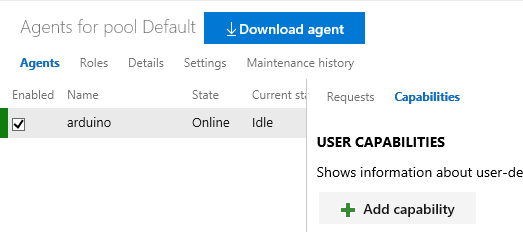
It is time to download and configure our agent, from the Agent pool configuration section, select your platform (in my case Windows), download for your architecture and follow the installation steps provided on the page.

I used most of the default settings, pointed the agent to my Azure DevOps organization URL and provided the PAT to authenticate against it, once the agent was properly registered I set it up to start automatically as a Windows Service.

Your server should become online within a few seconds and we are ready to execute our proof of concept!
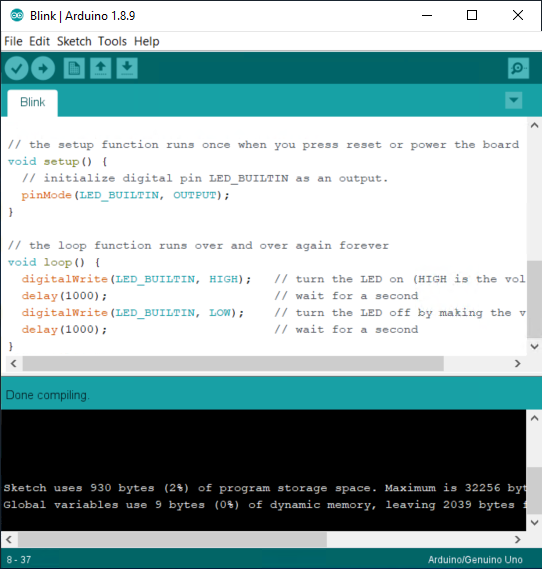
For our next step I will use the sample sketch Blink, but as long as your build server is properly configured and all the libraries and platforms are available in your build server you should be able to compile any sketch. I initialized a local Git repo, set my Azure DevOps team project repo as a remote and then opened the sample file and I saved a copy to my repo.
After pushing my changes to my team project, it is time to add the final piece to my PoC, a build definition that uses arduino-builder to compile my sketches; the YAML file is simple enough, first I create a folder to store the build output, then I use the compiler and finally I publish the results of the build process.
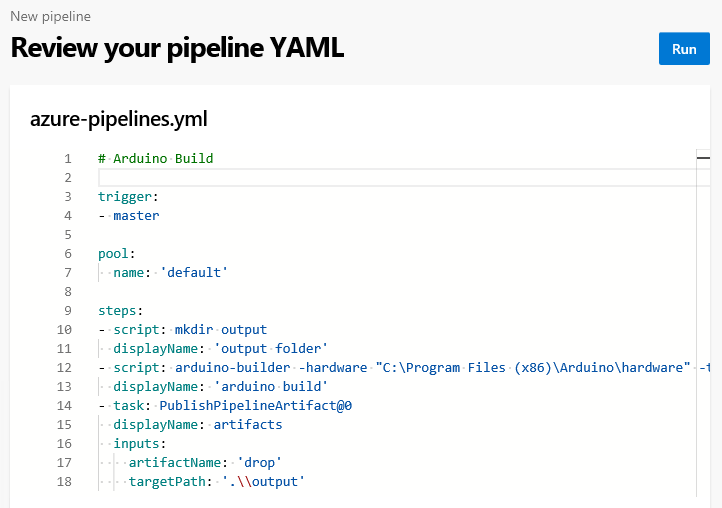
The command used to build the sketch is a little long, you need to provide proper paths for libraries, hardware definitions, tools, and then some other parameters; if you are struggling with this part, here is the full command I used in my build definition:
arduino-builder -hardware "C:\Program Files (x86)\Arduino\hardware" -tools "C:\Program Files (x86)\Arduino\tools-builder" -tools "C:\Program Files (x86)\Arduino\hardware\tools\avr" -built-in-libraries "C:\Program Files (x86)\Arduino\libraries" -fqbn=arduino:avr:uno -build-path .\output Blink\Blink.ino
All we need to do now is run our build, which can be done either manually or by pushing a change into master thanks to the trigger defined in our pipeline. We have Continuous Integration for our Arduino microcontroller!
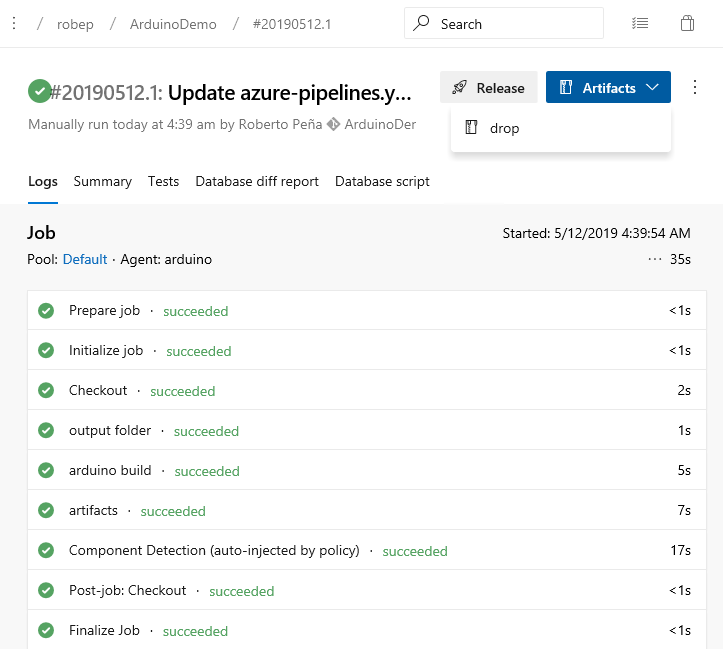
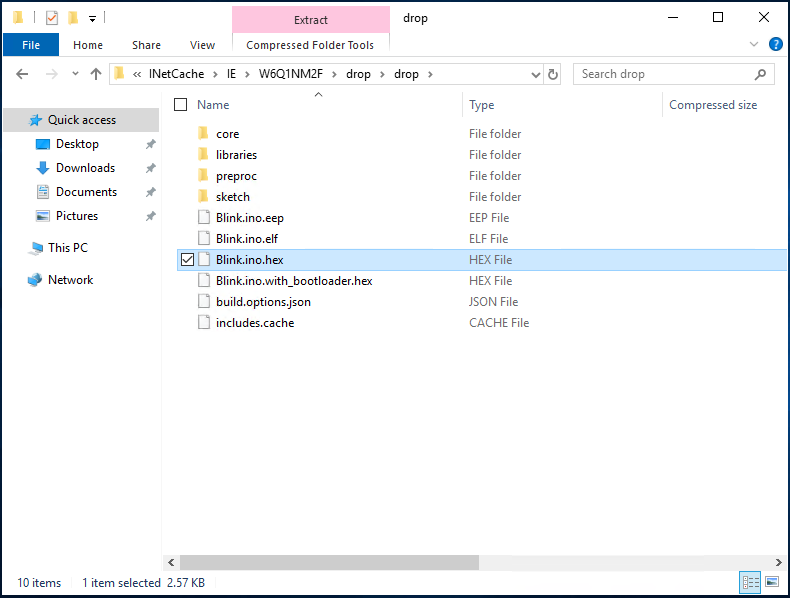
After our first successful build we can download the artifacts where we will find the *.hex file that we can upload to our development board, in fact at this point we could simply create a Release pipeline to copy this file to an app service and have our devices update themselves using OTA updates.
As you can see, Azure DevOps is truly designed for any language and any platform! You can use a command line tool, a script or maybe even invoke a service through a network call; Azure DevOps can help you build and deploy your projects quick and easy and it can be done in a wide range of technologies.
 Light
Light Dark
Dark
0 comments