
How to setup Azure environments for Agent-less deployments in Release Management 2013 with Update 3 RTM
Microsoft Azure makes it easy to set up VMs to use as servers in your environment. Azure adds your VMs to cloud services. You’ll need a Microsoft Azure account to create your VMs. If you don’t have one yet, sign up here.
In Release Management, you’ll create an Azure environment for each release stage. You then link your environment to a cloud service associated with your Azure subscription. Release Management can then access any of the VMs in this cloud service to use in the environment. If you have multiple VMs associated with a cloud service, you can add any of these VMs as servers to your Azure environment in Release Management.
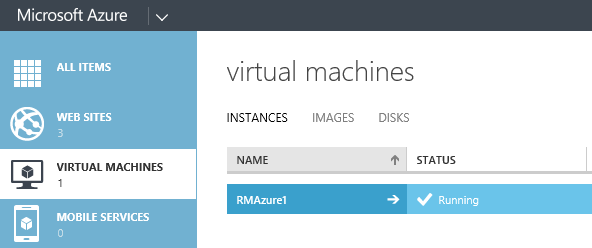
1. In the Azure portal, create the VMs that you want to use in your release environment. By default, each VM you create is added to its own cloud service. If you want to use multiple VMs in an environment, they must all be in the same cloud service. To add a VM to a specific cloud service, choose From Gallery when you create the VM.
2. Add the details for your Azure subscription to Release Management.

Download the settings file from the Azure portal to get your subscription ID and Management Certificate key. Go here to get the name of an existing storage account or add a new storage account using the Azure portal.

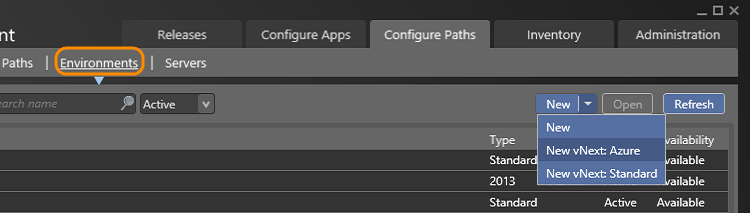
3. Create a vNext Azure environment for each stage in your release path.
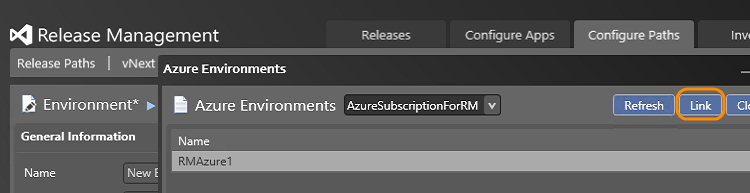
4. Link your Azure environment in Release Management to the Azure subscription that you entered.

Select the Azure subscription that you want to use with this environment. (Sometimes it takes a few minutes to load your subscription.) The Azure cloud services for this subscription are displayed. Select a cloud service to link the subscription to the environment.
If there are no cloud services for your Azure subscription, you cannot link it to the environment. Go to the Azure portal and create a VM for this subscription. When you create a VM, a cloud service with the same name is created by default. Refresh to select this cloud service.
5. Link your Azure VMs in the cloud service as servers for the environment.
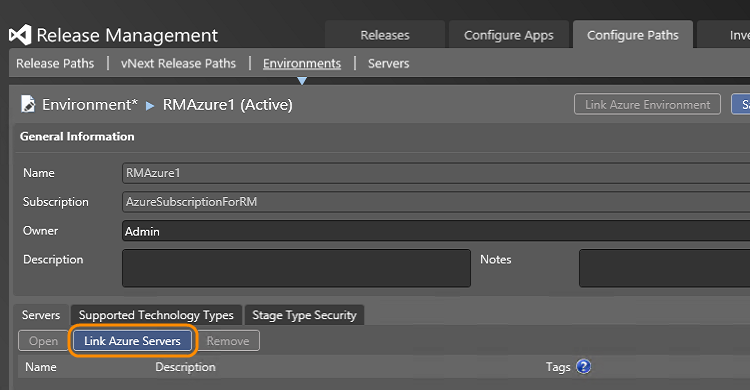
Select the servers that you want to link.

6. For each server, you can add configuration variables that can be used by your deployment actions. For example, you can add username and password here.

If you add configuration variables with the same name for actions in your release template, the values in any actions will override the values that you set here.
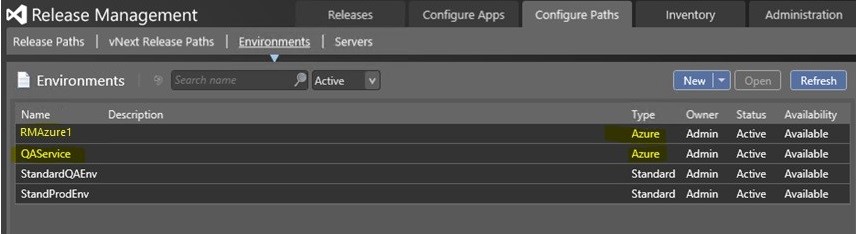
7. View the environments that you created in the environments tab. The type is shown as Azure.
Steps to deploy to Azure environments can be found here.
Other useful links:
1. Release your app to environments without deployment agents.
2. How to setup environments for Agent-less deployments in Release Management 2013 with Update 3 RC.
 Light
Light Dark
Dark
0 comments