Acceptance Testing UI using Visual Studio 2010 Microsoft Test Manager and Fit style tables
A while back I was sitting in a class by Rod Claar and he introduced the concept of using Fit tables for improving collaboration in software development.
The way Fit tables do this is by enabling stakeholders and business analysts to enter expected input and the proper output in a tool they are comfortable with – like excel.
A simple example might look like the following table:
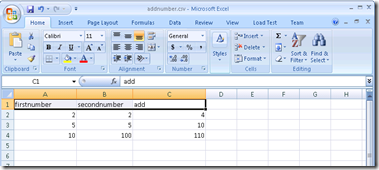
The developer can then run through these tables using test automation to verify the application is doing what is expected.
Data bound coded UI tests makes doing a piece of cake with Visual Studio 2010.
**So how do you create a data bound Coded UI Test? **
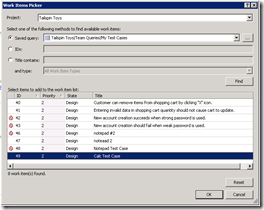
1. Create a Test Case in Microsoft Text Manager. Note the name of the Test Steps such as “Enter First Number”…as they are important later on.

2. Record the actions in the test case
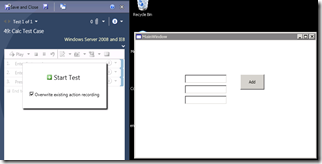
3. Create a Coded UI Test (Test > New Test)
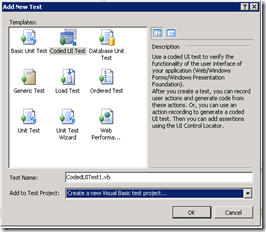
4. Create the CodeUI Test from the test case

Below is the resultant test.
<CodedUITest()>
Public Class CodedUITest1Public Sub CodedUITestMethod1()
‘
‘ To generate code for this test, select “Generate Code for Coded UI Test” from the shortcut menu and select one of the menu items.
‘ For more information on generated code, see **http://go.microsoft.com/fwlink/?LinkId=179463
** Me.UIMap.Enterfirstnumber()
Me.UIMap.Entersecondnumber()
Me.UIMap.PressAdd()End Sub
5. Open the Coded UI Properties.
You do this by opening the Test View window (Text > Windows > Test
View) and choosing properties.

6. Data bind the Coded UI Test. Under properties choose connection string. (See image above)

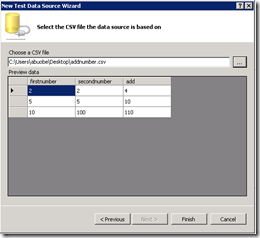
This decorates the Coded UI method definition with a data source attribute you can access from the test context object.
Public Class CodedUITest1
<DataSource(“Microsoft.VisualStudio.TestTools.DataSource.CSV”, “|DataDirectory|addnumber.csv”, “addnumber#csv”, DataAccessMethod.Sequential)> <DeploymentItem(“TestProject1addnumber.csv”)> <TestMethod()>
Public Sub CodedUITestMethod1()
7. In the Coded UI Test use the built in “Params” object to set the input value from the datasource.
For this test case it looks like:
Me.UIMap.EnterfirstnumberParams.UITextBox1EditText = TestContext.DataRow(“firstnumber”)
NOTE: For your specific Test case the param object will take its name from the Test Case.
8. Now when you run your test you will see it sequentially runs through every row in the data source.
You can change this from sequentially to random in the same properties list you set the data connection string.

*

 Light
Light Dark
Dark
0 comments