
C++ development with Docker containers in Visual Studio Code
Content outdated
For up-to-date documentation see Developing inside a Container using Visual Studio Code Remote Development.
Docker is a very popular container platform that makes it easy to create, deploy, and run applications by using containers, and whether you are a seasoned Docker developer or just getting started, Visual Studio Code has great support for working with Docker containers inside the editor.
In this blog post, we are going to walk through how to create a Docker image for C++, start Docker containers, and build and run a C++ “HelloWorld” app in the container using Visual Studio Code.
Install tools
First, let’s get the tools you would need in this walkthrough:
- Install Docker on your machine: for Mac, for Windows, or for Linux.
- Install Visual Studio Code: https://code.visualstudio.com/.
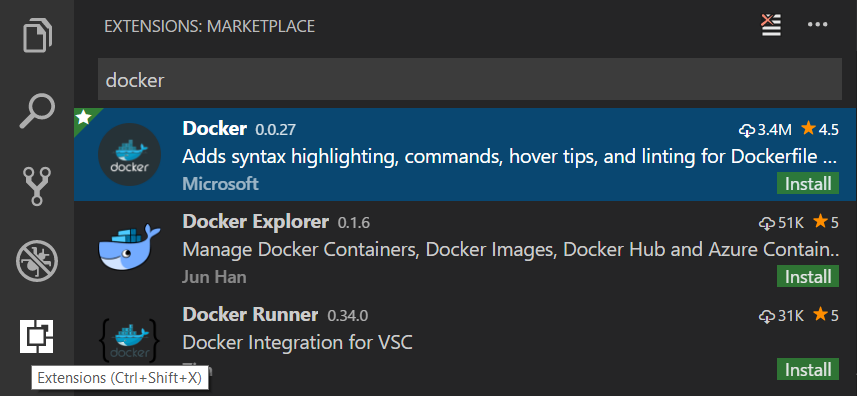
- Docker support for VS Code is provided by an extension. To install the Docker extension, open the Extensions view in VS Code and search for docker to filter the results. Select the Microsoft Docker extension, click on Install, and reload VS Code when completed.

Get our C++ “HelloWorld” app ready
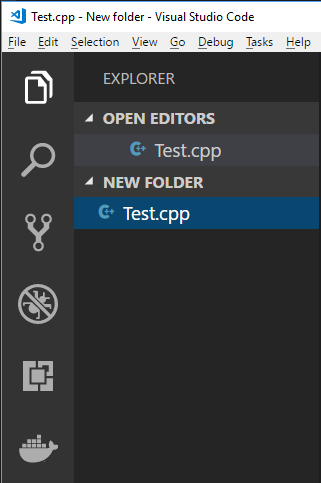
Let’s first work on a C++ “HelloWorld” app, which we’re going to build and run in a Docker container later in this walkthrough. First, create a new folder on your disk and open it in VS Code. Then add a new file named Test.cpp in the folder. Your VS Code window should look like this:
Now let’s put the following content into the Test.cpp file. Save the file and we are done here.
#include <iostream>

int main(int argc, char const *argv[])
{
  std::cout << "Hello Docker container!" << std::endl;
  return 0;
}
Build a Docker image for C++ development
With Docker, you can build images by specifying the step by step commands needed to build the image in a Dockerfile. A Dockerfile is just a text file that contains the build instructions.
1. Create a Dockerfile. The VS Code Docker extension provides a command for adding a Dockerfile to your workspace. With the folder that we created in the previous section opened in VS Code, in the Command Palette (F1), select command Docker: Add Docker files to Workspace to generate Dockerfile, docker-compose.yml, docker-compose.debug.yml, and .dockerignore files for your workspace type.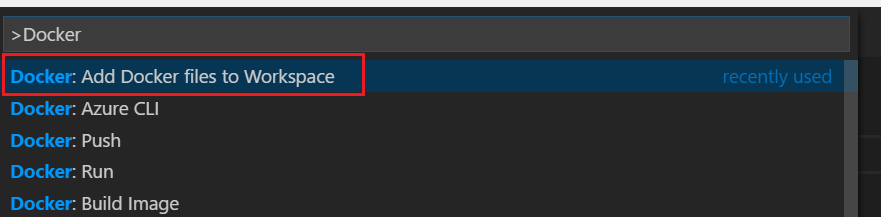
You will be prompted with a list of platforms or languages you could target. In this walkthrough, let’s choose Other from the list, which will give us a generic Dockerfile from which we can build our C++ specific image.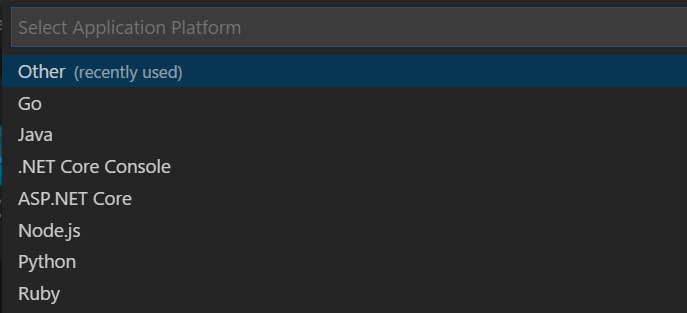
2. Add build instructions to the Dockerfile. Now we are going to edit the generated Dockerfile with instructions for how the Docker image should be built. The Docker extension enables a great experience for editing Dockerfile by providing auto-completion suggestions, snippets, QuickInfo, and linting for the Docker commands.
In the following sections, we will describe how to build a C++ development environment with GCC and Clang as the compiler. Depending on which compiler you choose, you only need to follow one of the two sections (2.1 or 2.2).
2.1 Build a Docker image for a Clang environment
For building a C++ development environment with the Clang compiler, let’s copy the following content into the Dockerfile, which installs Clang on top of a base Ubuntu image.
# Get the base Ubuntu image from Docker Hub
FROM ubuntu:latest

# Update apps on the base image
RUN apt-get -y update && apt-get install -y

# Install the Clang compiler
RUN apt-get -y install clang

# Copy the current folder which contains C++ source code to the Docker image under /usr/src
COPY . /usr/src/dockertest1

# Specify the working directory
WORKDIR /usr/src/dockertest1

# Use Clang to compile the Test.cpp source file
RUN clang++ -o Test Test.cpp

# Run the output program from the previous step
CMD ["./Test"]
2.1 Build a Docker image for a GCC environment
You can follow similar steps as above to build an image that installs GCC instead of Clang. Or, you could use a base image that has GCC pre-installed to simplify the steps. Let’s copy the following into the Dockerfile to use an image pre-installed with GCC:
# Get the GCC preinstalled image from Docker Hub
FROM gcc:4.9

# Copy the current folder which contains C++ source code to the Docker image under /usr/src
COPY . /usr/src/dockertest1

# Specify the working directory
WORKDIR /usr/src/dockertest1

# Use GCC to compile the Test.cpp source file
RUN g++ -o Test Test.cpp

# Run the program output from the previous step
CMD ["./Test"]
3. Build the Docker image. Now that we have the build instructions in the Dockerfile, we can go ahead build the Docker image. Docker: Build Image is one of the Docker commands the Docker extension provides in the Command Palette.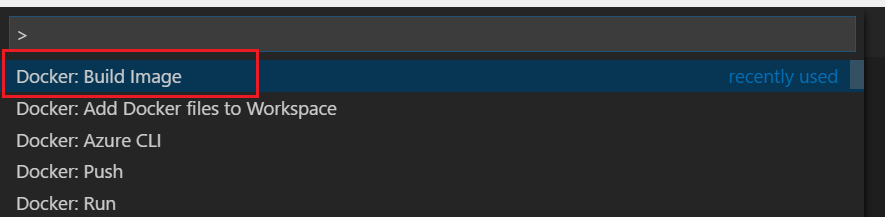
Another way to invoke the Docker Build command is to right click on the Dockerfile itself in the VS Code Explorer window and select Build Image.

You will then get a prompt asking for the name and version to tag the image.
While the build is in progress, you can see in the VS Code Terminal window how each step specified in the Dockerfile is being executed by Docker. See the following screenshot as an example.
Once completed, you can find the built image under the Images node in the Docker tab in VS Code. The following screenshot shows the image we just built appearing at the top of the image list.
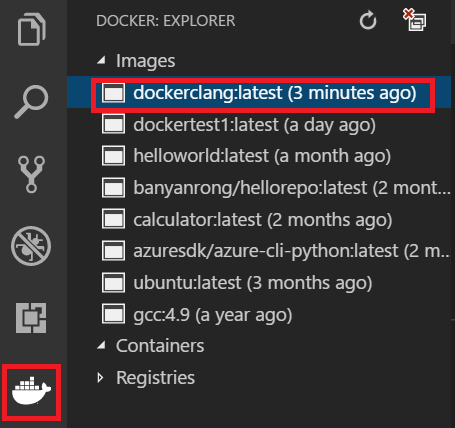
One thing to note is that our base image “Ubuntu:latest” is also in the list. This means it could be reused as the base for other images to be built on top of, with only the image difference stored, which is a huge disk space saving compared with spinning up multiple full VMs.
Run Docker containers
Now that we have an image, let’s try to run it. There’re two ways to run an image using the Docker extension. Run will execute the image and run the default CMD you specified above. In this case we will Run Interactive which will execute the CMD but also give us an interactive terminal which we can use to see what is going on inside the running container.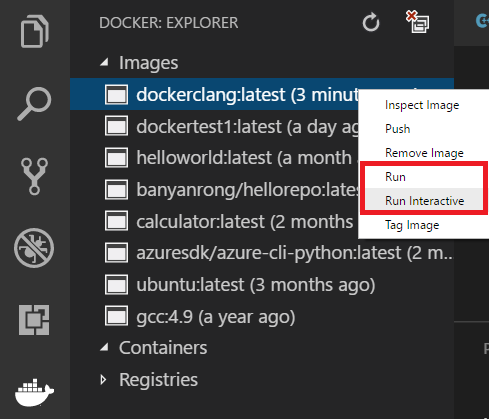
In the Docker:Explorer window, we see the container we just started is running: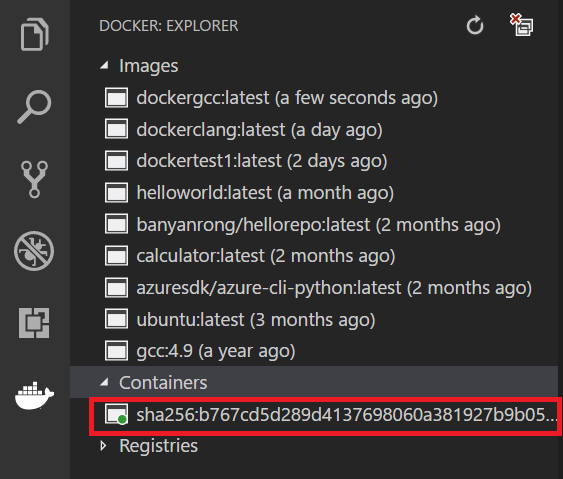
In the Terminal window, we can see the default CMD we specified in the Dockerfile, which is to run our Test app (CMD [“./Test”]), has been executed by Docker and we got the output just as expected.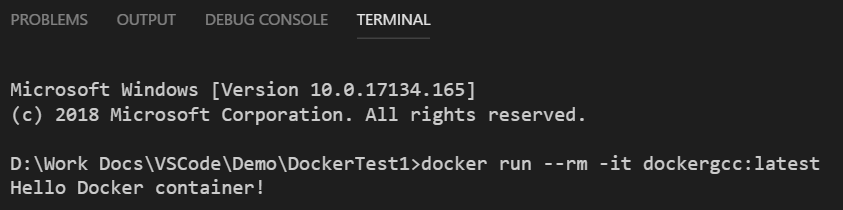
Wrap-up
In this blog post, we walked through step by step for how to use the VS Code Docker extension to build Docker images, start Docker containers, and build and run C++ programs in the container. In a future post we’ll cover how to attach to a process in the container and debug it. If you have any suggestions for future topics regarding using C++ with containers, please let us know by leaving comments below.
Also, if you are using containers or doing cloud development with C++ we would love to hear from you. If you could take a few minutes to take our C++ cloud and container development survey, it will help us focus on topics that are important to you on the blog and in the form of product improvements.
 Light
Light Dark
Dark
0 comments