Using VS Team Services Web Hooks with Azure Functions
Today at the Build 2016 conference, Azure announced a new feature called Azure Functions. Here’s a quick description from the main page.
Azure Functions is an event driven, compute-on-demand experience that extends the existing Azure application platform with capabilities to implement code triggered by events occurring in virtually any Azure or 3rd party service as well as on-premises systems. Azure Functions allows developers to take action by connecting to data sources or messaging solutions, thus making it easy to process and react to events. Azure Functions scale based on demand and you pay only for the resources you consume.
When I saw it demoed, I thought I’d hook up a VS Team Services Web Hook to an Azure Function. Let’s see what that looks like.
First, let’s create an Azure Function.
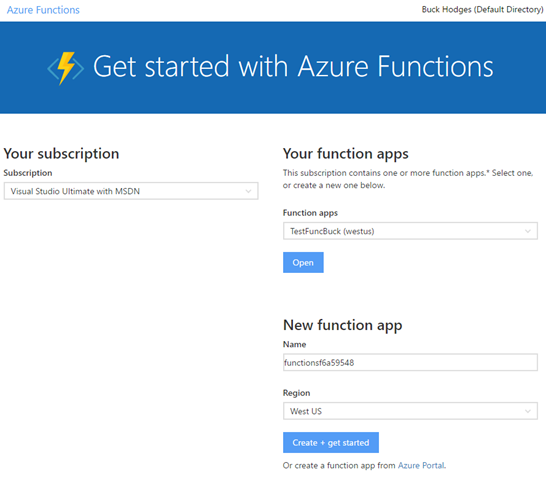
The easiest way to do that is to use the Azure Functions Getting Started page. I’ve already got one, but let’s create a new one in West US.
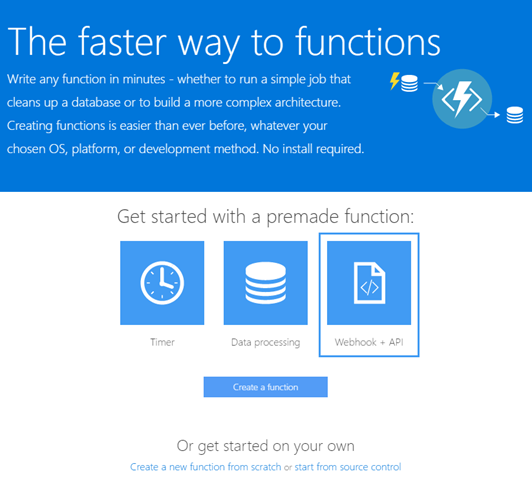
After clicking Create + get started, we’re taken to this page in the Azure Portal. Let’s click on Webhook + API and click Create a function to get our new Azure Function created.
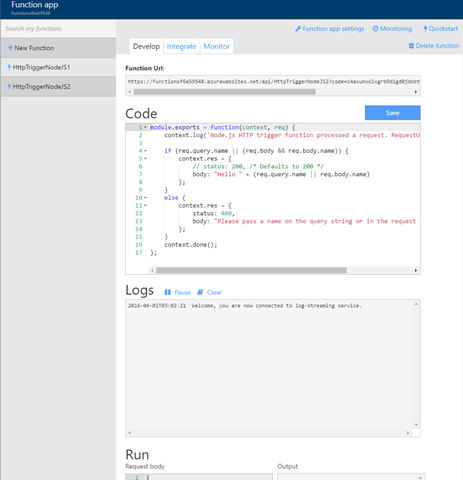
The first time through you should take the guided tour. When you are done with that, it’s the Develop tab you want to be on normally.
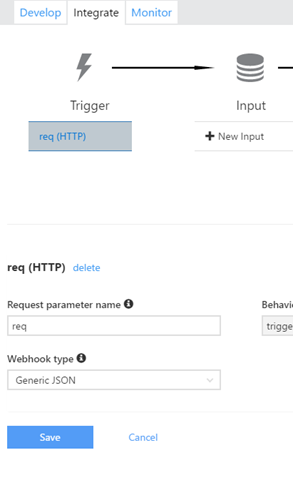
Right now we are going to change the type over in the Integrate tab. Change Webhook type to Generic JSON and Save.
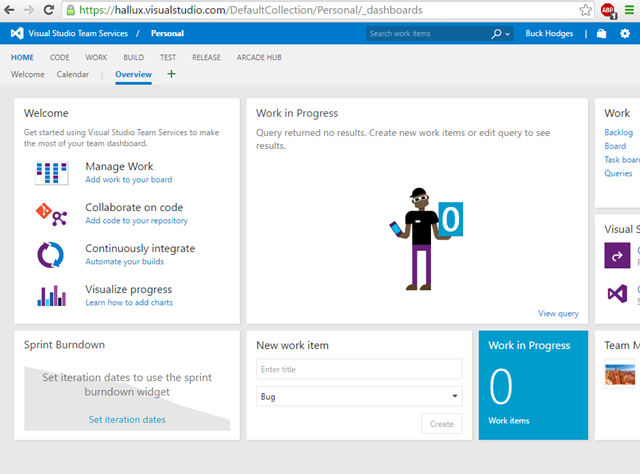
Before going further with the Azure Function, we need to go over to Visual Studio Team Services and configure a Web Hook. Go to the home page for the team project where you want to configure the Web Hook.
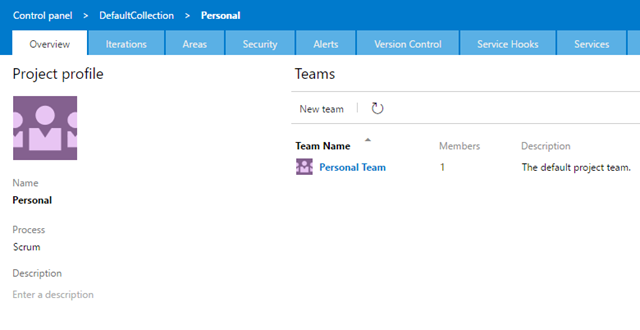
Now click the gear icon in the upper right to go to the Admin web UI.
Now click on Service Hooks to get to this page.
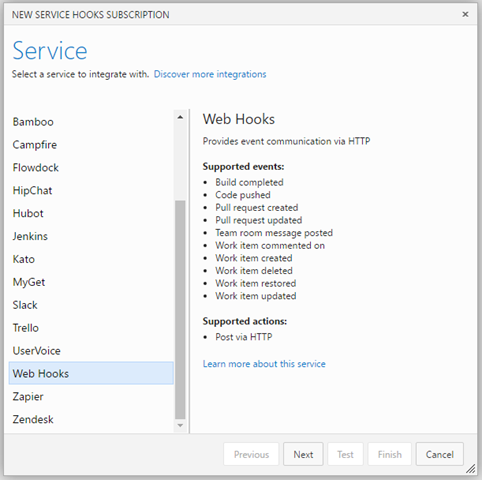
As you can see, I don’t yet have a service hook, so let’s click on Create. We want to select Web Hooks from the dialog that comes up.
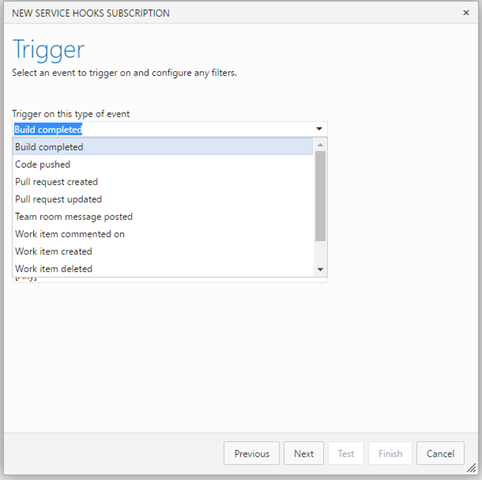
When we click Next, we see the Trigger, and there are a number of different triggers that we could use. Let’s just use the Build completed trigger for this and click Next.
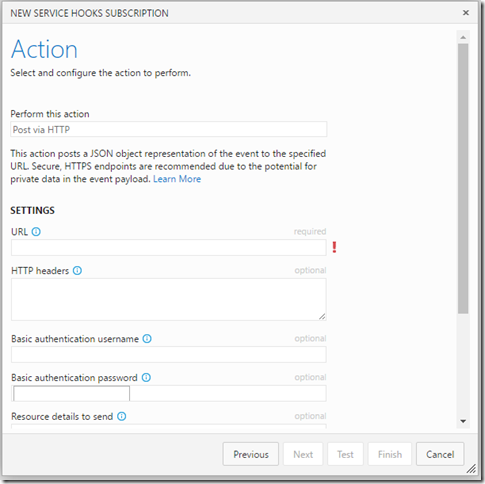
Now we are going to need fill in the URL. It’s the only setting that we have to fill in.
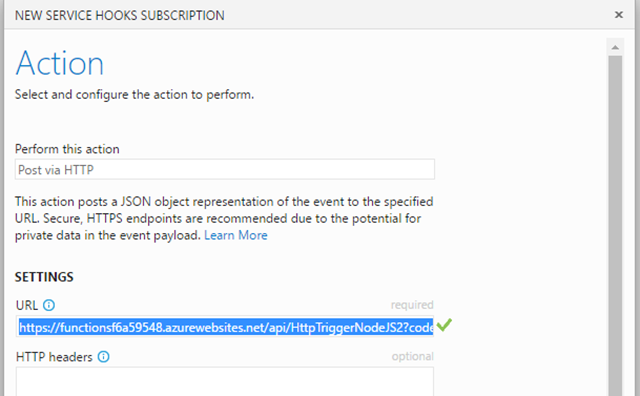
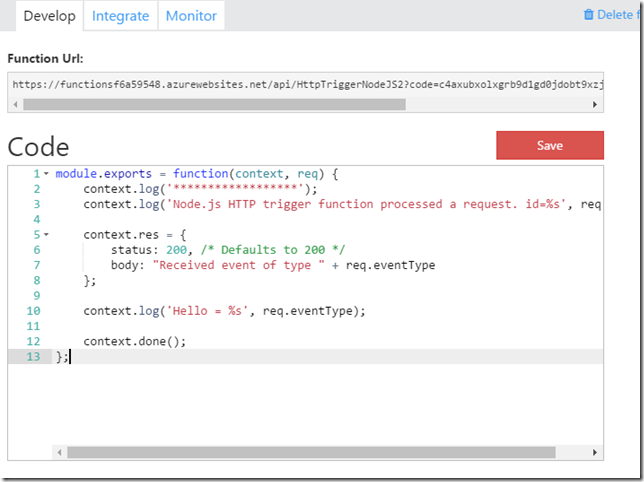
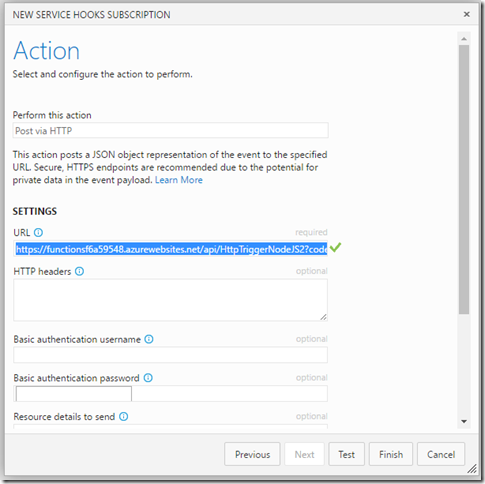
Going back to the Azure Portal, you’ll find the Function Url in the Develop tab. Copy and paste that URL into the URL field in the Action page we were just looking at.
Before we test this out, we’ll need to change the code in the Develop tab in the Azure Portal. The default code that it generated is looking for fields in the request that don’t exist, and you’ll get an HTTP 500 error if you leave it that way. Replace the code with the following code.
module.exports = function(context, req) {
context.log(‘******************’);
context.log(‘Node.js HTTP trigger function processed a request. id=%s’, req.id);context.res = {
status: 200, /* Defaults to 200 */
body: “Received event of type ” + req.eventType
};context.log(‘Hello = %s’, req.eventType);
context.done();
};
Now you’ll need to save the updated code, and you’re Azure Function is ready.
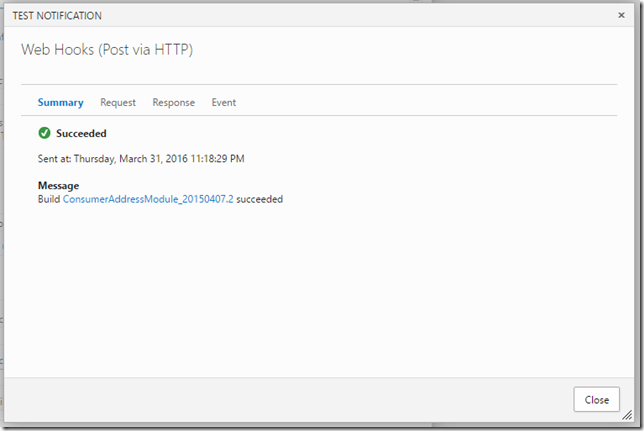
Back in VSTS, use the Test button to try it out.
If everything has been set up properly, you’ll see that the call succeeded.
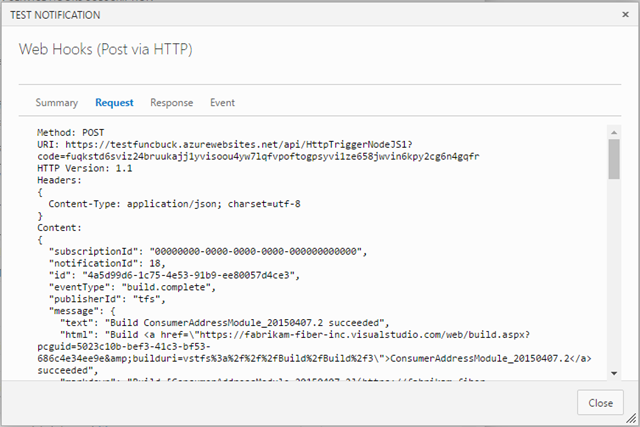
Clicking on the Request tab you’ll see the payload that is sent in the request going out from VSTS.
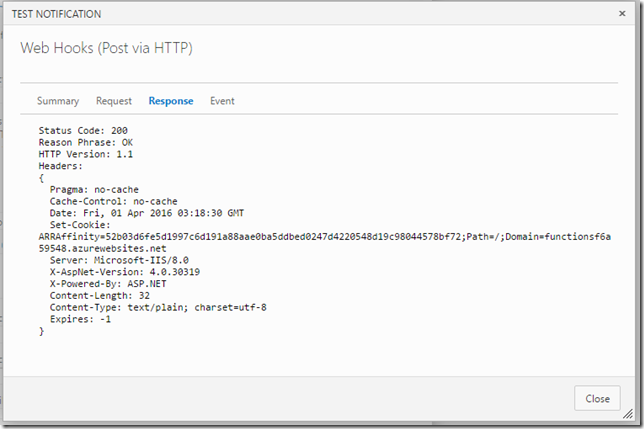
If you click on the Response tab, you can see the headers from the response from your Azure Function.
Back in the Azure Portal, you’ll see the text from the context.log calls in the code over in the Logs view underneath Code on the Develop tab.
Be sure to save your Web Hook in VSTS, and you’re Azure Function will get called every time a build completes. You now have your first Azure Function connected to a VS Team Services Web Hook.
Enjoy!
Follow me at twitter.com/tfsbuck




 Light
Light Dark
Dark
0 comments